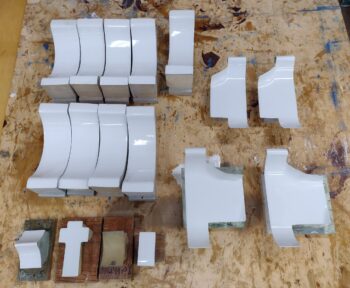
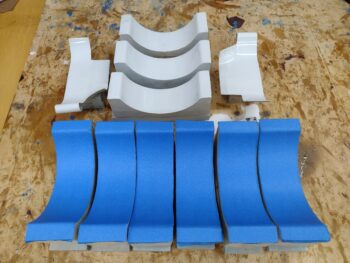
Well, after 2 days of missed delivery attempts from FedEx, I finally got the engine inner baffle molds delivered and in my hands.
I unboxed all the molds and did an inventory to make sure I had all I needed. I was a bit confused at first because I didn’t see the top outboard inter-cylinder baffle, but after a few hours I had a bit of an epiphany and realized that you need to make another pair of each of the front and aft side cylinder baffles, merge those together and then trim them to make up this top inter-cylinder baffle.
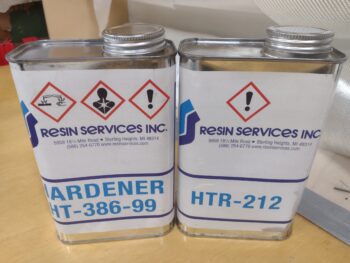
These forms were made to use a higher temp epoxy than I am using, although I am using a decently higher temp epoxy with the HTR-212. I’ll remind everyone in a post I made a while back that our resident community guru, Klaus Savier, noted that CF engine inner baffles could be made with MGS-285 and slow hardener. This stuff beats out even the MGS concoction.
In addition, the high temp epoxy used on these forms was by design meant to have the inner baffle CF layups cured right on the form, using wax, PVA mold release, et al. I specifically chose the HTR-212 high temp epoxy since it cures at room temperature, and doesn’t need to have the layups cured on the forms.
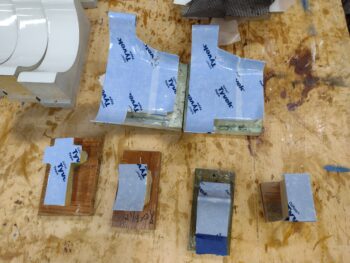
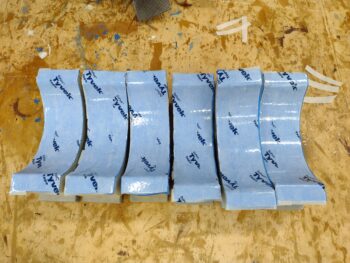
This of course creates another challenge in protecting the forms from the layup, which then entails a rather time consuming tape-up job for each form… but nonetheless that is what I did: starting first with blue painters tape, and then covering that with Tyvek house wrap tape as a mold release.
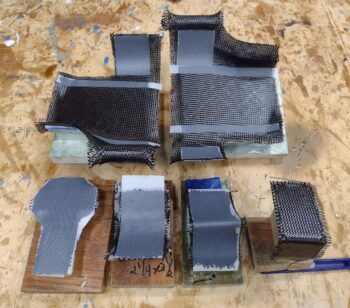
I wanted to get some parts laid up, since clearly there are a lot of them! Round 1 consisted of the larger cylinder baffles that go on the front of cylinder #4 and the aft side of cylinder #1, respectively. These were the trickiest to tape up so I wanted to get them knocked out. In addition, the smaller pieces only have one form, and 2 parts from each form are required so I wanted to get the first round on these knocked out as well.
After taping up the forms, I then cut out 2 plies of CF for each part and laid them up. As par usual, I’ll be modifying these inner baffles to meet the specific requirements of my engine. I also plan on following some of the guidance laid out by both Mike Melvill and Andreas Christou on their implementation of engine baffles to optimize air flow and thus cylinder cooling.
After a short dinner break I headed back out to the shop for Inner Baffles Round 2. This time the focus would be on the inboard baffles that go around the cylinder bases (closest to the crankcase). Here we have 6 cylinder base baffle forms taped up with blue painters tape.
My plan was to tape up all 8 (2 per cylinder) and get those laid up, but between 2 of them having a “pimple” in the middle area of the form and the fact that it was taking so darn long to tape them up (and getting late!), I decided to just knock out 6 —3 pairs— of the cylinder base baffles.
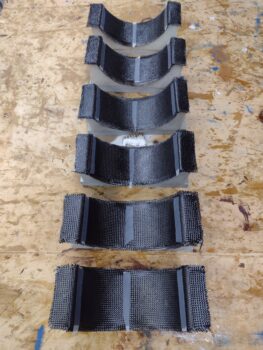
Here they are a good hour plus later after I cut and laid up 2 plies of CF on each one. I cut up scrap pieces of peel ply and then applied 3 strips to each baffle segment for the subsequent attaching of these baffles to the cylinders with RTV (Toyota #103 is recommended, so I ordered some).
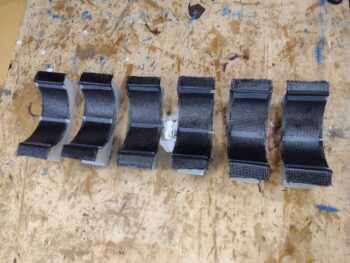
Here we have another shot of the 3 pairs (out of 4 total required) inboard cylinder base baffles 2-ply CF layups.
I’d say I got roughly half of these inner baffles “glassed” up tonight, which is pretty darn ok in my book. Tomorrow I’ll knock out a good bit more. I will note that the weather is getting cold so I cranked up the shop heaters and will need to keep heat lamps on these laid up baffles for their ~24 hour cure.

