
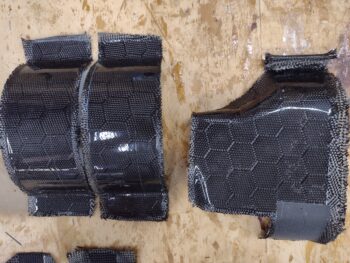
I started off this morning by pulling the two cylinder base inner baffles of their molds, as well as the new cylinder #1 aft end baffle off its mold. The big reveal I mentioned yesterday is that they’re sporting the same CF print as the spinner and flow guide! The cool thing is that these will all be fairly visible on the aft side of the engine when you look into the aft cowl opening.
Unfortunately, this CF is a bit thicker weave and I think I was a hair thin on epoxy in a few spots so the spots look just a tad dry in the light (just cylinder #1 baffle). I have no doubt that it will still work and that it’s mainly cosmetic, but I’ll be relegating this new cylinder #1 aft end baffle to the frontside of cylinder #4, where it’s not as visible.
Along with the cylinder baffles, I laid up the second set of “accessory” pieces that are shown along the bottom of the pic (from L to R): the top inboard inter-cylinder baffle plate, the bottom outboard inter-cylinder baffle, and the angle bracket that screws into place between the cylinders at the top to secure the top inboard inter-cylinder baffle plate. All told, this completes the cylinder base baffles and the “accessory” baffle parts.
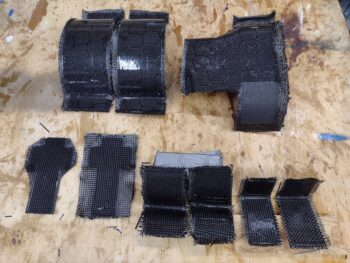
For the larger cylinder end baffles that still left a redo on the cylinder #1 aft end baffle to get better epoxy coverage, and another partial end baffle for the other side top outboard inter-cylinder baffle. Again, these partial end baffles will be merged (separately) with a pair of also partial narrow end baffles (below) that at full length are for the front side of cylinder #3 and the aft side of cylinder #2.
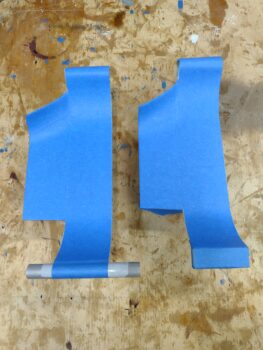
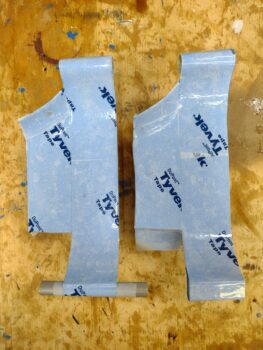
Speaking of which, I prepped the narrow end baffles by taping them up first with blue tape (pic 1) and then using the Tyvek tape on top of that as a mold release (pic 2).
I’ll note that on the cylinder #2 baffle I added a lip [a curl would be much harder to fit into place with oil line present] and a curl on the cylinder #3 baffle [also an oil line present, but at the forward side of the cylinder the bottom length of the baffle will be shortened with the curl positioned much higher up/closer to cylinder].
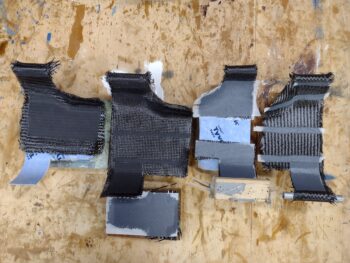
I then did the inner baffles Round 3 layups, which from left to right is as follows:
another partial end baffle for the other side top outboard inter-cylinder baffle;
the redo on the cylinder #1 aft end baffle;
top & bottom sections of aft cylinder #2 baffle (middle to be laid-up over fin extensions);
narrow front side end baffle for cylinder #3;
extra top inboard inter-cylinder plate (if/when fuel spider goes underside…bottom of pic)
My last point of note for the day on the build is that I spoke with my welder, James, who has been quite busy as of late, to set up an appointment on Monday to get the last exhaust pipe (cylinder #3) welded up. From there I can do my end trimmings and final tweaks to get this exhaust pipe saga closed out.
Tomorrow I plan on doing another round (hopefully final) for the engine inner baffle layups. This should get me close to having the full set I need to start trimming these inner baffles up and installing them all.