
My intent today was to knock out the top center flange on the bottom cowling, to get it cleaned up and glassed (CF) with a more pleasing rounded shape. But that didn’t happen. With multiple communications with different canardians regarding baffles going on throughout the day, that only served to spawn more questions, and more curiosity, on various specifics regarding my baffles. In short, it ended up being another baffle oriented day, albeit unintentional.
My first quick task out of the gate was to simply trim the VAN’s baffle kit oil cooler support bracket that I won’t use in that manner since clearly my oil cooler is not getting mounted to the baffles as it might in some tractor aircraft.
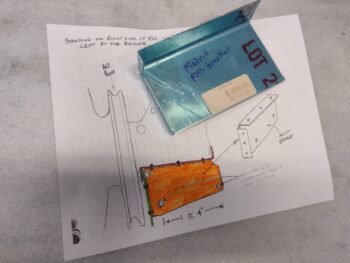
I copied and highlighted the diagram that Mike Melvill hand drew and included in his how-to manual for his cowlings. The diagram depicts a very basic (no dimensions) overview of the bracket he used to attach to the right side of the engine —just forward of the flywheel/alternator pulley— that supports the aft baffle shelf & skirt.
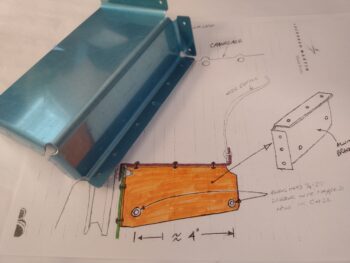
As you can see with the VAN’s oil cooler mounting bracket, it just has a few extra tabs that prevent it from being used as the Melvill bracket. Grant it, some subsequent trimming will almost definitely be required, but the basic configuration is baked into this VAN’s bracket.
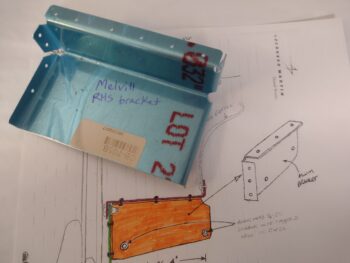
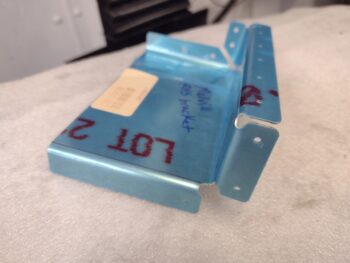
I marked the cut lines on the VAN’s bracket and lopped off the tabs on 3 sides… and Voila! A Melvill baffling bracket I now have on hand!
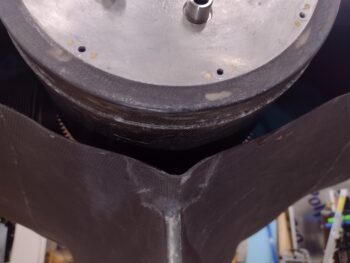
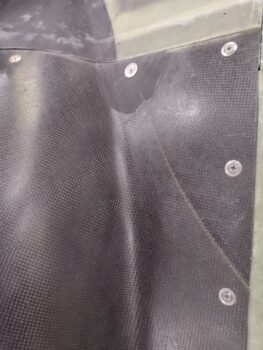
I then grabbed these shots of the top center aft end of the bottom cowling. You can see the dimple on the right side in the first pic… that snuck in on me as it cured I’m guessing because it looked very symmetrical to me when I laid it up. Oh, well.
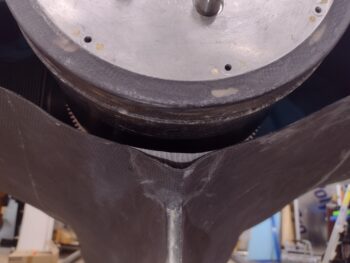
The second pic shows a piece of tape I placed to represent about how I’m going to round off this back end. I will then lop off all the rest of the top center CF and rebuild it to make it look presentable.
As I started in my efforts to rework the top center of the bottom cowling, I needed to remove the top cowling first. I figured I would go ahead and get the countersinks drilled to allow me to use CS screws in the 2 screw positions on the top cowling.
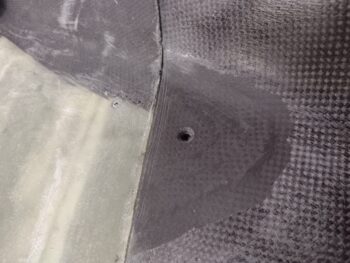
Here we have the drilled countersunk screw hole on the left side, with the right side looking the same. My 3 plies of CF apparently did the trick since you might note that the countersink does NOT go all the way to the inside of the cowling (i.e. making the screw hole bigger than it should be for a #10 screw).
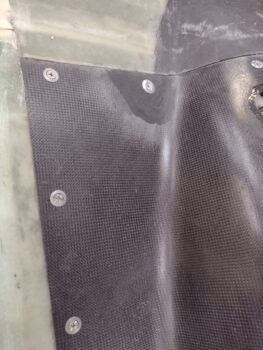
I then spent a few minutes rifling through my Tinnerman-style washers to find the good SS ones… and then threaded in the CS screws. They look great in my opinion and I have to again thank my buddy Dave B. for a well-deserved nudge!
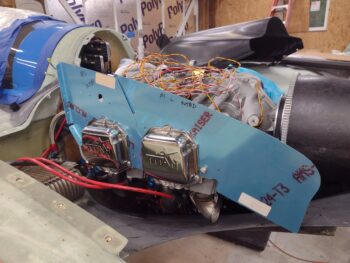
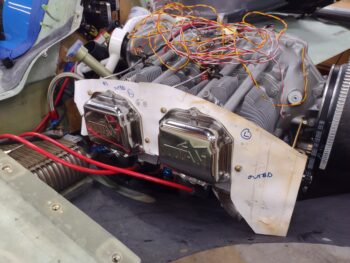
Here’s where my plan went south. Remember, I’m having comms with Steve Beert, Marco, Mike Toomey, et al, regarding baffles and baffle seals. My curiosity got the best of me and I drug some baffle pieces out to the shop.
I didn’t get pics of them, but I also trimmed down the left and right aft VAN’s baffle segments that I plan to use to create the shelf segment of the aft shelf & skirt.
Here we have the VAN’s left side baffle segments in place. You can clearly see that they are much too tall to fit under the cowling and obviously will need trimmed down a good bit. That being said, it’s nice to have baffles that without a single cut slide right into place onto the cylinders… hoo-ah!
To get an actual bead on the height required for my side baffles, I then removed the VAN’s baffles and cut screw holes in Mike Beasley’s “Beasley Baffles” poster board cutouts I have… remember, these things went through both a hurricane and a tornado, so they are a little bit beat up and discolored. BUT, they are working for my purposes here (the right side baffle templates were ruined by excessive water damage).
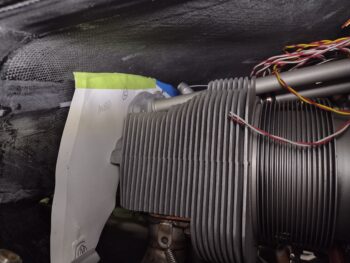
Using the Long-EZ plans as a guide, I’m looking for 1/2″ to 3/4″ perimeter gaps between baffles and top cowling, except at the cylinders which will be around a 3/4 to 1″ gap. With that in mind, I peeked up into the aft cowl opening to check out the the cowl gaps with Mike’s “Beasley Baffles” in place [Point of note: Mike has the Task style cowlings, which is considerably different than my Melvill cowlings].
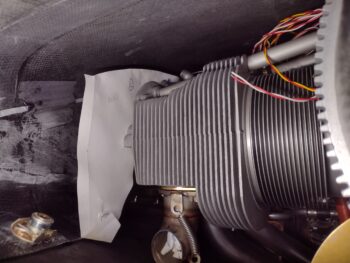
I also peeked at the baffle template mockups through the oil check door, and could tell they were a little short on the aft two-thirds across the left side, and considerable too short on the front third. I added some tape and after a couple of iterations was able to get the approximate 3/4″ to 1″ gap I was looking for.
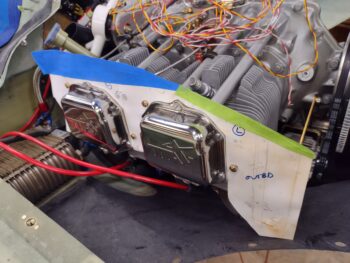
Here’s another shot from the aft end with the added and trimmed tape in place.
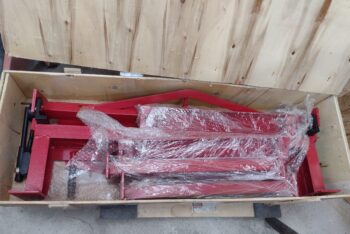
With my initial baffling mockups in the bag, and my education on baffles increased exponentially throughout the day, I then did one more quick task before calling it a night… I cracked open the case, a virtual treasure chest if you will, that has my long-ago bought metal brake inside.
I bought the metal brake to use for any metal bending I might need to do on any project, but specifically for bending aluminum baffle pieces for this bird. I did a quick inventory, grabbed the instruction manual, and then headed into the house.
Tomorrow I do plan on getting back to working the top center lip of the bottom cowl, but I have to say both yesterday and today were very motivational in learning just how doable these baffles are. Pressing forward!