
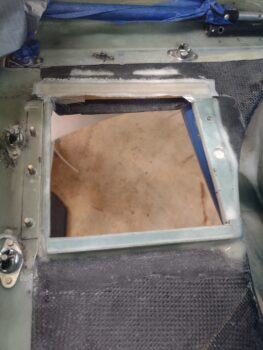
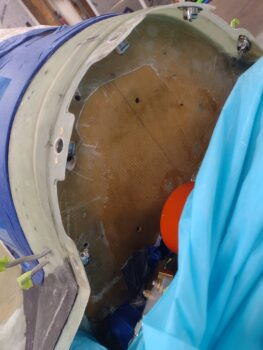
I started out today with grabbing a pic of the glassed plug for the oil cooler forward air scoop.
I then set the oil cooler in place (not shown) and marked the front wall/seal for trimming.
Here’s the first round of trimming. Not surprisingly, there was another couple of rounds of trimming and sanding to dial in the oil cooler front wall/seal height.
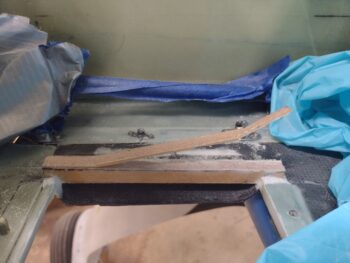
Once I had the height for the oil cooler front wall/seal set, I then made a “flox” corner trough on both the front aft side of the top edge of the front wall/seal, before filling those troughs with micro and glassing the top of it with 2 plies of BID. I then peel plied the layup.
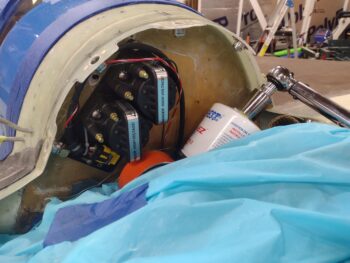
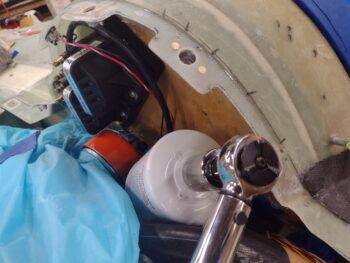
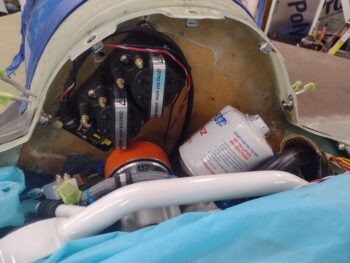
While the above glass cured, I then cleaned up the majority of the dead glass off the firewall from the previous flange layups. There’s a bit more cleanup to do, but for now I pressed forward with checking fit and clearance…
of both the Electroair CDI and the oil filter. I’m happy to report that not only did both fit fine, but that getting the torque wrench onto the oil filter to install was not an issue at all.
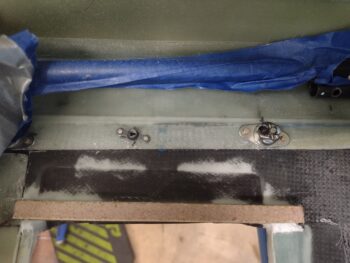
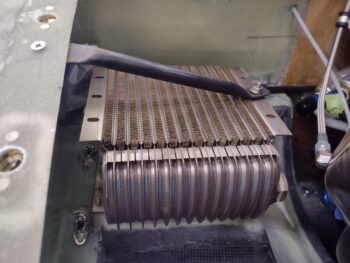
I then safety wired the oil cooler.
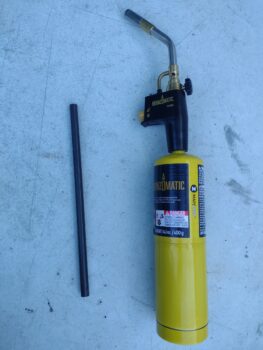
Next up (after a bit of online research) was creating the oil cooler securing brace out 1/2″ x 0.035″ wall 4130 steel tubing. To do this I picked up a Bernzomatic 8000 torch.
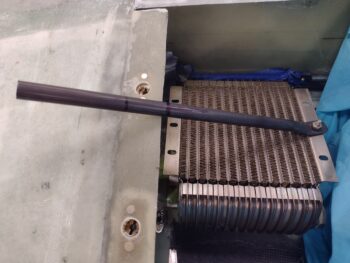
In pic #2 you can see that I was able to both flatten the end (after turning cherry red hot) and then bend it about 20°.

I confirmed the fit of the oil cooler side of the brace first, then marked the remainder of the tube for trimming (not shown is that I pulled the peel ply and razor trimmed the oil cooler front wall layup).
I then trimmed the oil cooler steel brace to length.

It took me about 3 iterations to get both the major angle and minor angle dialed in (remember, the wing curves so I needed a side angle to the major angle).
Once I got the angles set, I clamped the wing side of the oil cooler brace and then drilled a 1/8″ pilot hole.

I then drilled the #10 hole in the wing side of the oil cooler brace… also I trimmed the end so that it was curved.
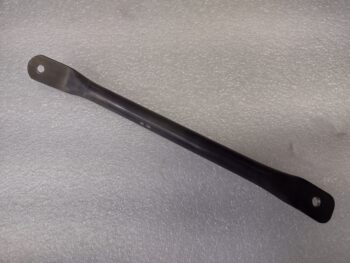
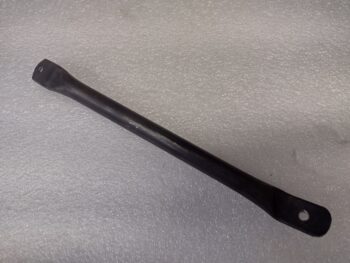
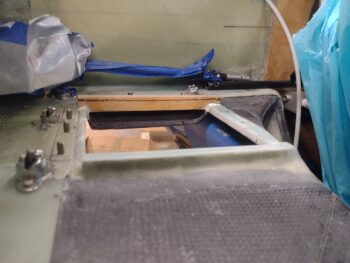
Finally, here is the 4130 steel oil cooler brace set in place.
I will note that I laid up 2 plies of BID on each side of a 1/8″ phenolic plate on the inside of the top wing flange to secure the top wing-side screw… however, the glass was drooping a bit on the underside of the plate and when I tried to tweak it with a tape-covered wide-area washer and bolt it pretty much shredded the layup pretty good.
That was the last of a few things that had gone askew on the layup, so I pulled it and dumped it in the trash, cleaned off all the surfaces of epoxy and will do it over first thing in the morning. Don’t press a bad position, eh?!
Pressing forward… sometimes haltingly!