
I started out this morning by pulling the peel ply and cleaning up the 2-ply CF layups on both the left and right top cowl rib baffles.
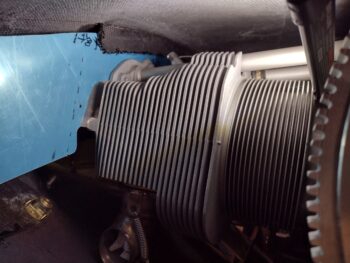
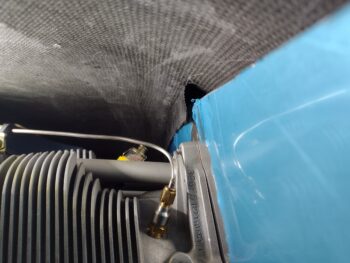
I then mounted the top cowling back onto the plane to check the clearances between the newly “glassed” top cowling rib baffles and the side baffle walls. The left side looked good and evenly gapped all the way down (as far as I could tell… pic 1) while the right side looked good as well, but had a noticeably wider gap on the aft few inches (pic 2).
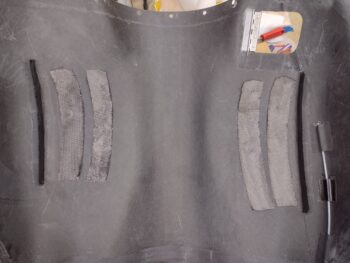
I then finalized the cleanup of the inboard sides of the rib baffles in prep for laying up the 2-ply CF plies, that you can see I cut and are awaiting laying up.
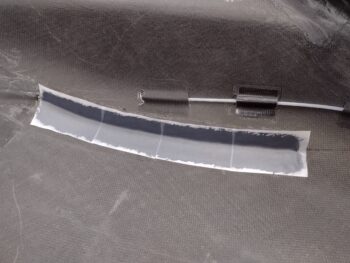
Using Pro-Set epoxy, I then laid up the 2 plies of CF on each inboard top cowl rib baffle.

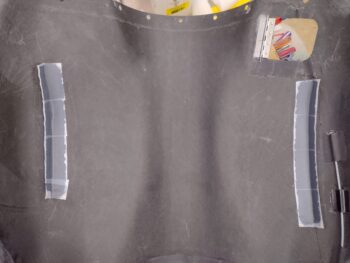
I then peel plied the layups, first the left (pic 1), then the right side (pic 2).
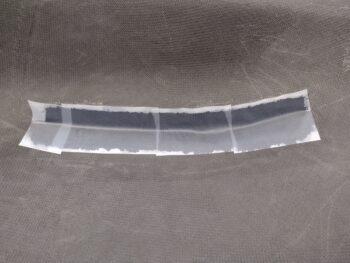
Here’s a final shot of the final 2-ply CF layups to create the top cowl rib baffles.
Perhaps I should have waited another day or two before pressing forward? They say hind sight is 20/20. Well, here is what David Orr (aka Beagle) just posted to my COBA forum question as I was getting ready to hit Publish on this post:
“I’ve gone through the Section IIL plans more recently and annotated what we have edited from the race group experience; hardly a page remains untouched – Library 23DO1. The baffles shown are way too far from the top cowl in the sketch – it seems lighter to trim the baffles to within 1/2″ of the top cowl and let the baffle seal do the job alone. What bothers me about these ribs is how difficult getting the top cowl to the right place when placing them back on the engine, and the wear and tear on them…with a longer baffle, the baffle seal will take a set and jams right up against the top cowl, no ribs needed.”
Not that I’m all experienced in the operations of a Long-EZ, or the intricacies of its engine, but I tend to agree with David. I think it’s much easier just to have a 1/2″ gap and longer baffle seals —sans ribs— than with ribs and trying to get the baffles aligned just right with those ribs. Since I’ve already glassed these ribs in and incurred a few ounce weight penalty, they’ll be staying… but they’ll only be around a 1/2″ high to take up that gap to merely be a preventative failsafe to ensure that no baffle seal gets blown the wrong direction (inward).
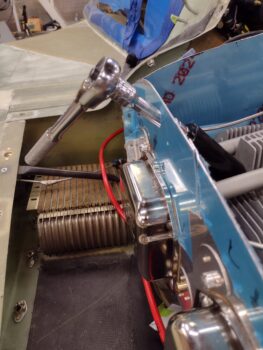
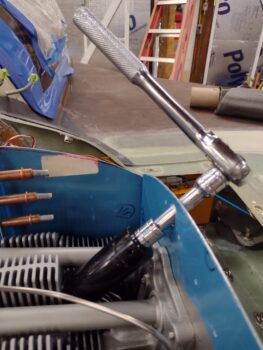
I finished my shop tasks for the day by swapping out the desiccant in the top spark plug desiccant plugs. As I was doing that, I grabbed these pics to show how the forward baffle spark plug access holes work to install/remove plugs with a socket:
Finally, I had about 20 minutes to spare before I needed to head into the house and get ready, so I installed the lower left engine mount bolt’s cotter pin that I just recently received in an ACS order. Strike that off the to-do list. Admittedly, I safety wired the oil level/dipstick tube as well but I didn’t like the quality of my wiring job so that will be redone (sorry, no pics on these).
I then closed up shop early to get ready for a night out with Jess.
Pressing forward . . . slowly!