
I was attempting to do my due diligence in researching the pro’s and con’s of the IIL plans top cowl rib baffle, which I did a good couple hours worth before heading out to the shop. I even posted a question on the COBA forum and within minutes had the first canardian reply that he never installed them, yet his cooling has been fine. The next builder replied that if I didn’t install them that certain nasty cooling gremlins would inhabit my engine compartment and be ready to invade at first engine startup. My polling then was reaffirmed at about a perfect 50/50 split for use/non-use of the top cowl rib baffles.
As I was hoping a lively, informative conversation would ensue on my COBA forum post, I decided to lean forward on the rib baffles and went ahead and traced out my cardboard templates onto some scrap 1/4″ thick OSB (chipboard) and cut those out.

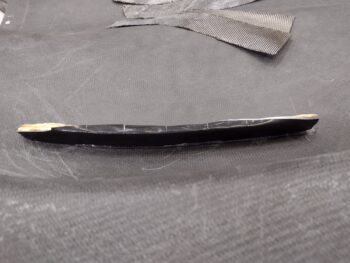
I used my saber saw to cut out the forms and on the edge that interfaces the inside top cowling I angled it 15° on each OSB template… or technically now a form at this point. Since OSB doesn’t have the smoothest surface I covered the outboard side with 1 ply of gray duct tape, followed by another thicker ply of black Gorilla duct tape.
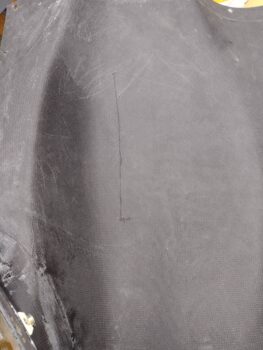
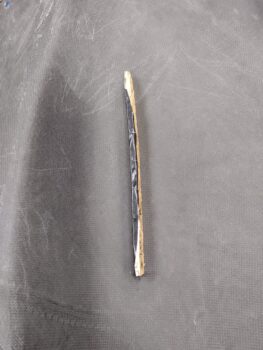
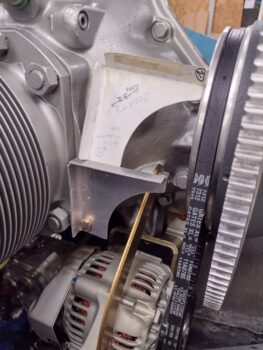
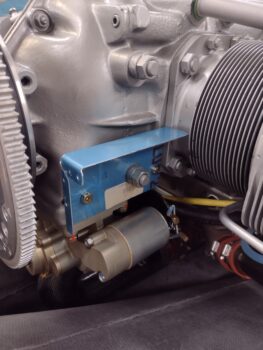
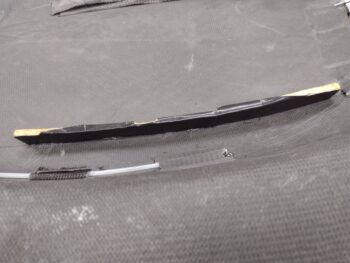
I also installed the top cowling and reached up inside and marked a line just a hair inboard of the right side baffles over the cylinders (pic 1). I then set the right side rib baffle form in place (after I shortened it a couple of inches… pic 2).
I also checked the fit of the left side rib baffle as well. Clearly the 15° angled cut is to allow for the angle of the top cowling so I would get as good and flush of a grip possible when I set the forms in place with hot glue.
My plan for the day was to do the outboard top cowl rib layups later in the evening and let the layups cure overnight. Since it was very early evening at this point I decided to make some noise.
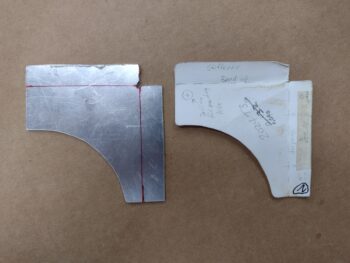
I started out by making up the left side engine bracket that will secure the left aft baffle shelf and skirt. For this I used Mike’s “Beasley Baffles” template he had for this bracket. Mike Melvill calls for using 1/16″ (0.063″) aluminum here, but I figured for this small of bracket that 0.040″ 2024 will do just fine… plus it’s much easier to bend these smaller tabs on 0.040″ thick stock.
I first cut out the bracket using my band saw.
And then used the metal brake to bend the top tab and then the old school wood & vise to bend the vertical tab. I then took a little bit of time to ensure that my bolt hole was at the correct height and position before drilling it out.
And here is my hot-off-the-press… er, brake, aft left inboard shelf & skirt mounting bracket test installed in place.
I then finalized the install of the above bracket’s counterpart on the right aft side of the engine: the Melvill-spec’d bracket. I used my cardboard template to first decide and then narrow the width of the bracket front-to-back, and then finalized the position to allow the giant engine bolt to peek through. I then transferred those bolt & clearance dimensions from my cardboard template to the bracket and drilled out the holes.
Here’s the result. Not bad. I’ll note that since this is 0.032″ 2024 that I’ll be adding a couple of reinforcement tabs onto this bracket when I go live with mounting the right side shelf and skirt.
I had some interaction on the question I posted on the COBA forum regarding the top cowling rib baffles, as I was deciding whether I actually needed them or not. On one hand I want to optimize my cooling, and on the other I’m trying to abide by Burt’s overarching edict of, “If you throw it up in the air and it comes down, leave it out of the plane.”
With no actionable intel coming across the COBA comms channel, and way more activity on a question of ‘How old can fiberglass get before it degrades?‘, the project manager in me kicked in and I realized it would be much easier to slap these rib baffles in now than to try to add them later on. Decision made.
I added a couple of strips of protective painters tape from the inside of the baffles going inboard over the cylinder heads to protect them from any errant hot glue. I then added 3 plies of Gorilla duct tape over a thin piece of cardboard on the front and aft top inboard edge of the baffles. In the middle, where there is a joggle where the baffles overlap, I added 3 plies of Gorilla duct tape. To be clear, these added plies of duct tape on the inside top edge of the side baffles are to create a standoff, so that when I press the rib baffle form up against the baffle there is an inherent narrow gap created between rib baffle and actual baffle.
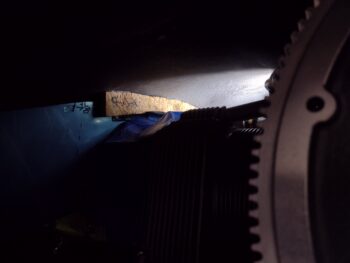
I then set my LED shop light up on top of the engine so I could see and hot glued the top edge of the form to the underside of the top cowling as I lightly pressed the rib baffle form up against the inboard edge of the side baffles. With the Sharpie hash mark I made as to denote where the rib baffle starts on the aft end, I was able to set the rib baffle form in close to the exact spot front-aft where it needed to be. Clearly I did this on both sides, while I just have a shot of the left side here.
I started prepping for the layups as I gave the hot glue well over 10 minutes to cure fully. I then pulled the top cowling off the bird, flipped it over and hit the forms with a few more dollops of hot glue on the inboard edge of each form.
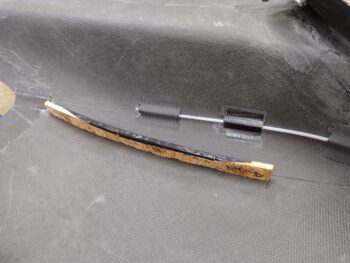
I then spent about 10 minutes per side removing all the hot glue that had squeezed out on the outboard side of each form, where my layups are going in this round (you can see the cut CF at the top of the pics). Here is the outboard edge of the left rib baffle form (pic 1) and the right one (pic 2).
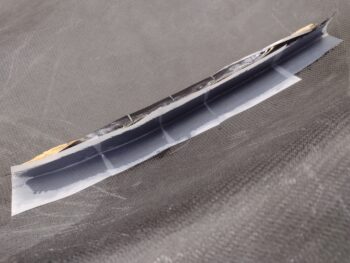
I then whipped up some MGS 285 epoxy and laid in a ply of peel ply along the vertical outboard edge of the form (on the black Gorilla duct tape) before laying up the 2 plies of CF. Here we have the left side layup… I failed to get a shot of the right side.
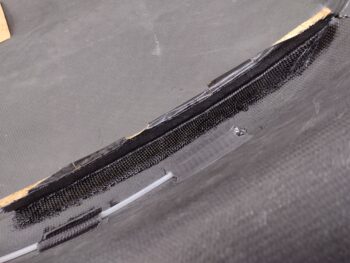
I then peel plied the layups. As much of a pain as it was to create and moreover, attach, these forms, I have to say I’m quite pleased with how these layups turned out.
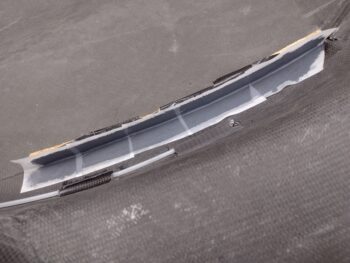
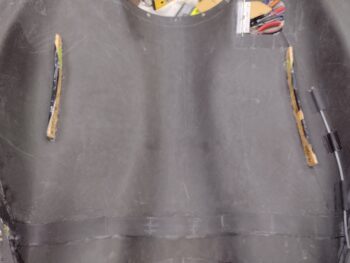
Here’s a shot of both layups on their respective forms on the inside of the top cowling.

Tomorrow evening will be another date night out for me and Jess, so it will be another light build day. I do however intend to get the other half of these top cowling rib baffle layups knocked out before we head out for the evening.