
I started out today by doing a final sanding in the area around the bottom cowling right side bumpout that will provide needed clearance for the aft cold air induction pipe.
I then made up a pour foam dam in preparation for the foam.
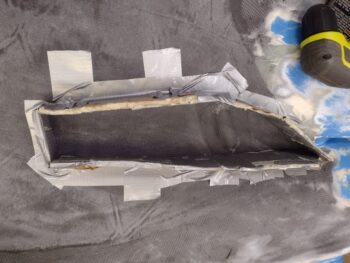
Since this part of the cowling is on a curve, and any liquid —including pour foam— seeks a level plane, I needed to use a bit more pour foam than I would have wanted to. It’s hard to judge on this stuff sometimes, and I definitely wanted a bit too much than too little… and that’s what I got. I didn’t want any pour foam seams here.
I don’t have any shots of it, but last night I dabbed on some coats of primer on the hard-to-reach unpainted areas around the GIB headrest and inside turtledeck. During this half hour waiting period for the pour foam to cure, I sprayed some gray rock paint in a cup, added a little bit of micro to thicken it while also adding a little bit of Acetone to thin it (yes, these may seem like opposing actions, but it needs both to still be a pain to apply with a brush). I then added a sloppy coat of the gray rock paint over the previously applied primer.
I also contacted my welder James and let him know that I was ready to kick off our exhaust pipe welding adventure.
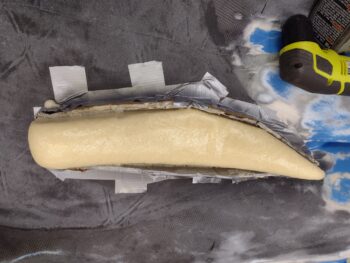
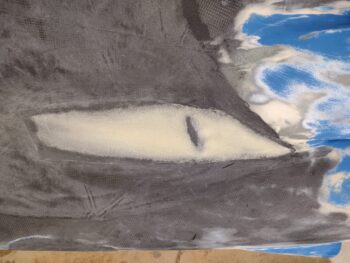
I then got back to work on the bottom cowling right side cold air induction pipe clearance bumpout. I trimmed off the front and aft peaks of the pour foam before pulling off the dam. Although I had way more pour foam than I needed, at least it was a good pour and an all in one go.
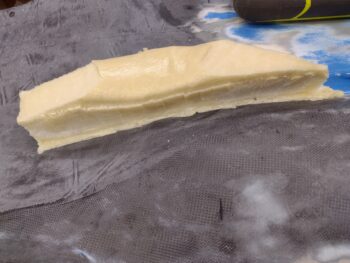
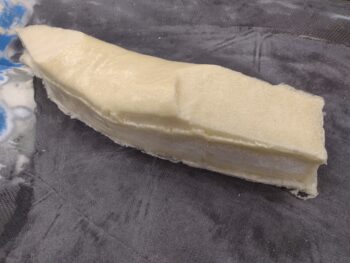
I then spent the next half hour removing nearly all the pour foam: trimming, sanding and shaping it down to just even with the CF bump I made yesterday. I then sanded and Acetoned the edges and vacuumed the foam in prep for a ply of CF.
I then made a quick plastic sheet template of the foam shape to cut out both a ply of CF and a piece of peel ply.
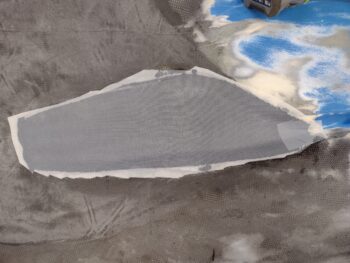
I then whipped up some Pro-Set epoxy, wet micro’d the foam and laid up the 1 ply of CF.
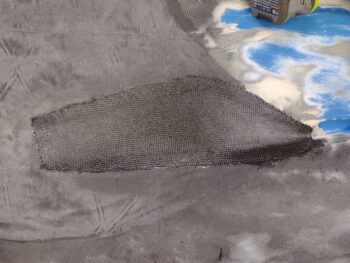
I then peel plied the layup.
I then applied another coat of blotchy grey rock paint (this stuff does NOT like going on with a brush) around the GIB headrest and inside turtledeck, and then cleaned up my paint project before heading into the house to upload these pics.
About an hour later I went back out to the shop and mounted the bottom cowling on the bird. I then spent a good 20 minutes assessing the final position for the outboard left (cylinder #3) exhaust pipe.
Since the nights are getting much colder here now, I also put a heat lamp on the layup just to maintain a decent level of warmth overnight. I then left it to cure overnight.
Barring any curing issues, this pretty much completes the task of creating clearance for the right aft cold air induction pipe. That leaves 2 final major tasks on the bottom cowling: 1) a clearance bump on the left side bottom cowling for outboard/cylinder #3 exhaust pipe, and 2) a cross rib baffle/stiffener once the lower aft baffling is in place.
And with that, I called it a night.