
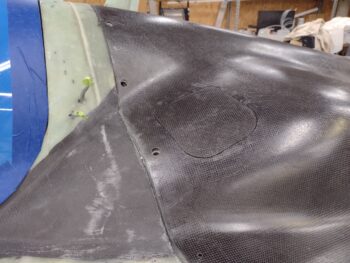
Today was one of those build days that consisted of a lot of small seemingly disparate tasks… although they all centered on either the top cowling’s oil check door or the oil cooler install.
Although I jumped back and forth between the 2 tasks all day long, I’ll begin with focusing just on the oil check door to make this post easier to follow.
I started by pulling the tape and popping off the hot glued popsicle stick tabs before cleaning up the leftover blobs of glue, and a bit of epoxy that had seeped through the gap and affixed itself to the top surface of the upper cowling.
Of course I realized immediately that I had forgotten an initial application of peel ply with the shiny carbon fiber staring me in the face. If I’m lucky I may be able to leave this as the flange and claim that I ‘meant to do that’ all along… ha!
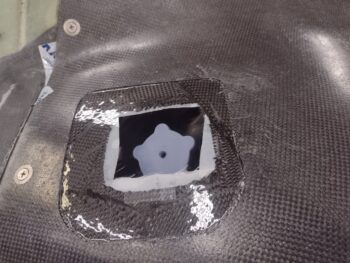
In my haste to get stuff done I guess I skipped over a few steps in my picture taking, as I laid up 2 plies of CF on the interior of the oil check door to reinforce it… as it was a bit flimsier than I preferred. I’ll note while the door was still in place I applied 2 layers of Gorilla duct tape to ensure its form was maintained.
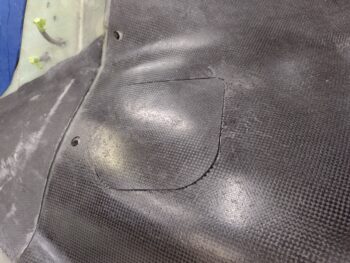
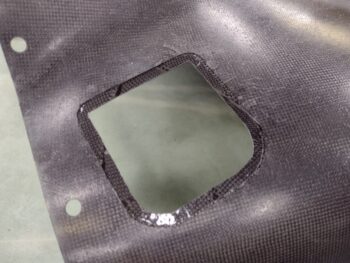
The second pic is with the oil check door back in place… as you can see there is no real appreciable difference in the elevation between door and top cowl surface. This will of course minimize having to pile on more micro for any height mismatches.
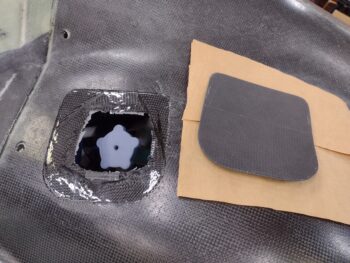
Again, this is not the exact order in which I accomplished my tasks throughout the day, but next up on the oil check door was taping up the perimeter of the opening on the top cowling and then trimming the excess carbon fiber flange down to 0.4″. I actually thought I was going significantly more than the plans recommended 0.25″, but even the 0.4″ flange seems just barely enough IMO… although it should work just fine.
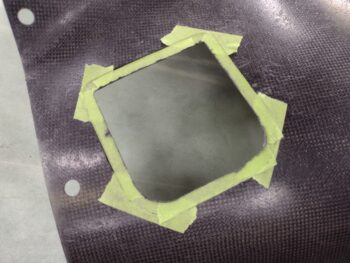
I then pulled the tape off. Here we have the 0.4″ wide perimeter flange for the oil check access port.
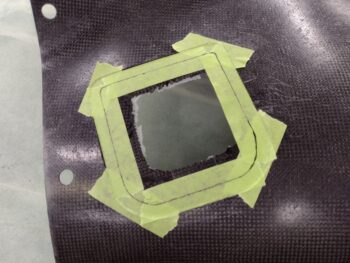
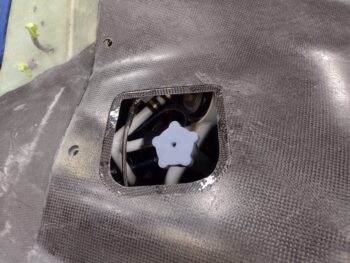
I then set the cowling back in place to check clearance with me reaching my hand in to manipulate the dipstick cap. The clearance seemed plenty and I wasn’t dinging or slicing my hand along the flange, so again, all seems good.
And yes, out of curiosity I again placed the oil check door back in place. All is looking pretty darn good here as far as I’m concerned.
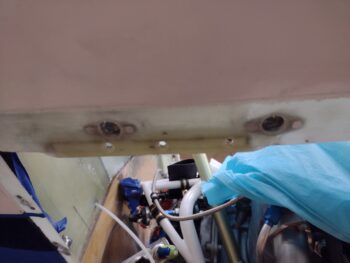
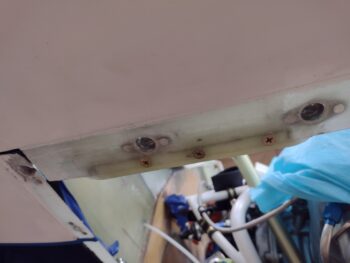
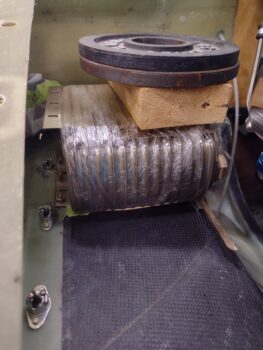
On the oil cooler install side of things, I clamped a piece of scrap wood to minimize the glass blowout on the underside of my drilling the holes for the #10 screws that would be occupying them.
Here are the holes drilled out and then countersunk in the pic on the left. I then put the screws in place and secured them with standard nuts on the top side.
To be clear, I needed to use CS screws here since they are set in the flange that mate with the inside surface of the bottom cowling. Obviously any type of fastener that was proud of this surface would cause issues.
I then set the oil cooler back in place. Previously I drilled new holes in the lower oil cooler flange for these mounting screws and to keep any bits of metal out of the cooling fins I wrapped the oil cooler in Saran/plastic wrap.
Also note that where the temporary standard nut(s) are securing the oil cooler here, those will be platenuts in the final configuration.
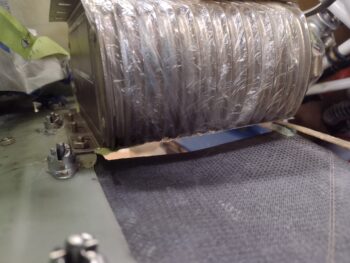
After a good bit of figuring out the desired height/elevation of the oil cooler, I fashioned the inboard slightly elevated edge out of PVC foam… maybe 1/4″ high. I then micro’d the inboard foam elevation piece in place, and weighed it down just a hair while it cured.
Here’s a shot of the inboard foam elevation piece from the outside of the bottom cowling. Note how I trimmed the front scoop just a bit from the original configuration. I don’t know if this was a good idea or not, but I wanted the angled line to intersect the bottom cowling at the front cross edge of the oil cooler.
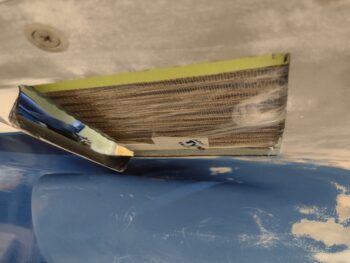
A couple/few hours later I laid up 2 plies of BID on the inboard foam elevation piece, and then peel plied the layup. The vertical edge/inside exit opening of this foam piece is not glassed at this point, which I’ll most likely do tomorrow. And when I do glass it I’ll create “flox” corners to better secure the glass and reinforce the edge.
Also note that I micro’d a thin strip of foam on the outboard edge of the oil cooler opening. Which brings me to another point: you may have noted that the spacing of the oil cooler-securing screws may seem a bit uneven. That’s due to my planning to secure the bottom cowling to the outboard edge of the oil cooler with 2 screws —as is commonly seen on these birds.

However, with the outboard edge of the oil cooler so darn close to the row of CAMLOCs AND the 3 mounting screws, I realized that there is very little added value in adding 2 more screws to keep this thing pinned to the cowling… especially with 3 screws and 3 CAMLOCs right along that edge. I was going to put the 2 screws in the forward and aft original holes on the oil cooler flange, thus why the mounting screws are on slightly different centers to avoid those original mounting holes, CAMLOCs, etc.
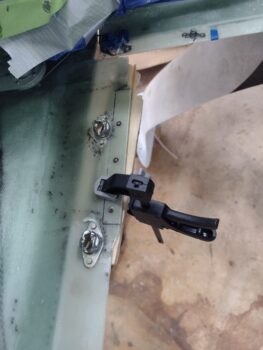
My last official task of the evening was to simply lay up a ply of BID, with peel ply, on the face of the hinge arm that will mount to the inside of the oil check door. Since the oil check door is CF and the hinge assembly aluminum, I just added a BID ply here to avoid any weird reaction between CF and aluminum… in prep for mounting this hinge in the next day or so.
Ok, a lot of nitnoy tasks today to get these installs moving along. I half expected my Pro-Set epoxy to be delivered today, but alas, it was not. So I’ll work these installs and knock them out before jumping full bore onto the bottom cowling rework.
Pressing forward!