
Today was a hodgepodge of tasks, both build-oriented and personal, that I was attempting to knock out.
First up, I’m coordinating and prepping for both my Class III flight physical and upcoming Biennial Flight Review that will allow me to get back into the air.
I also worked and submitted an order to Summit Racing for the -8 AN hose end fittings for both the second oil cooler hose and also the oil heat oil feed hose.
I then sent a quick email to Dale Martin regarding some info he said he had regarding lower cowl aerodynamics. Any good tidbits of info regarding lower cowling design would of course be good to have at this point in time.
After running downtown for yet another round of personal errands, I then finally got out to the shop. I started off with the final sanding of the bottom cowling… sanding for well over an hour.
I then washed off the bottom cowling and while it dried I got to work on the starter mounting.
I first removed the starter and assessed which one of the threaded studs needed to be removed and swapped over into a new position. Why? Out of the 4 possible positions to use a bolt, 2 of them —the aft left and front right— simply won’t work because a bolt 1″ or longer just can’t be mounted into the hole with the way the starter is designed.
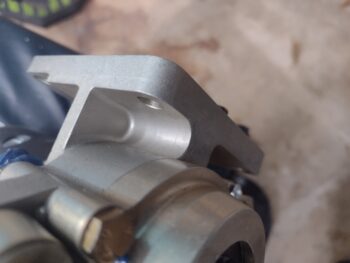
Ahhh, so the aft left position is exactly the one that was left open for a bolt to mount my starter. Again, this is just a non-starter (puns actually not intended!).
At this point I needed to make a decision at which corner —of the 2 viable ones— I would place the mounting bolt. I decided to make it easy on myself and also to allow quick visual verification of the installed mounting bolt by targeting the aft right position.
Thankfully threaded studs are much more easily removed from the steel engine case than they are from the aluminum cold air induction plenum… by far! I was pleasantly surprised that —while not super EZ & requiring a good bit of effort, WD-40, and heat— the stud actually came out without having to destroy it.
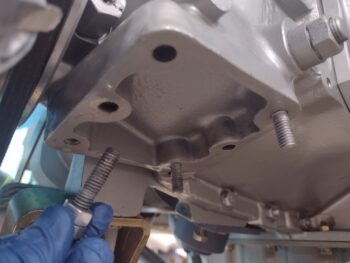
I then cleaned up the stud and reinstalled it in the aft left corner of the starter mounting pad using blue Loctite.
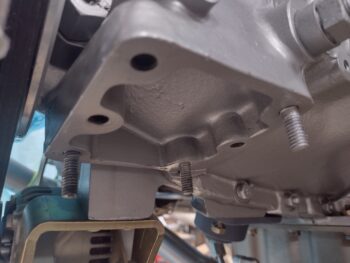
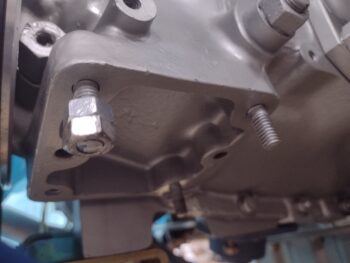
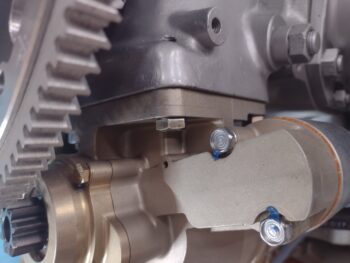
I then temporarily re-installed the starter to check out both the configuration and fit of the aft left stud and mounting nut . . .
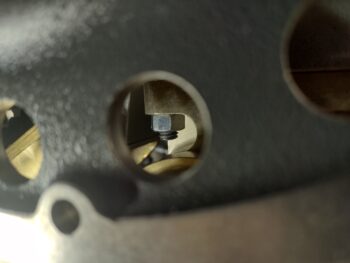
as well as the aft right mounting bolt.
I have a fairly early appointment tomorrow and didn’t want to get wrapped up in working on the bottom cowling, so I decided to call it an early evening (for me anyway!). Tomorrow I do plan on starting full bore on the lower cowling re-configuration and re-construction.