
I started off today with the goal of getting both the top cowl cross rib baffle front half glassed as well as the bottom cowl inlet inboard wall shapes finalized and glassed. They say if you’re reaching all your goals then you’re not setting them high enough… I’d say I’m ok in that department! ha
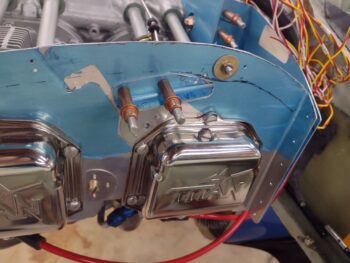
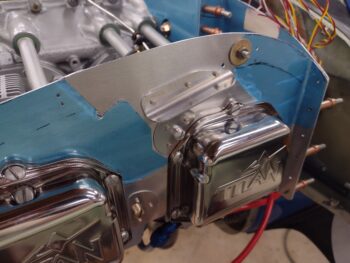
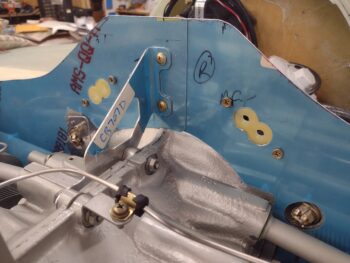
I did have one planned baffle task to do in support of prepping for the top cowl cross rib baffle, and that was to mount the front baffle wall center support bracket that attaches to the center engine crankcase bolts (see below). The unplanned baffle task I got caught up in is that as I was doing some mental inventory on what is left to be done on the front/left/right baffle sides, I noted the pre-drilled holes in the front side baffles for the included stiffeners in the VAN’s baffle kit.
As I was pondering how to fill those holes, I figured I would just throw a rivet in each hole and call them sealed. Then I thought, well, why not make them useful? I set the right side stiffener in place and realized I could simply use it in its shortened state… who knows, it might prove useful in providing an Adel clamp mounting tab in the future?
I shortened the stiffener using my Dremel tool then riveted it into place. Clearly I wanted to ensure it wouldn’t interfere with the baffle seal material mounting.
I did add one more rivet towards the front side, and here you can see that more clearly from the inside of the baffles (note: I’ll assess and most likely install the left side stiffener within the next few days).
I then mounted the center bracket to secure the front baffle wall. I have to say overall I’m quite impressed with the VAN’s baffle kit since they even include new star lock washers to replace the ones I removed when I temporarily removed the crankcase bolts to mount the bracket. I then retorqued the crankcase bolts to 96 in-lbs.
There were pre-drilled bolt holes in the vertical tabs of the bracket but not surprisingly no holes in the front baffle panels, so I drilled those out for an AN3-sized screw. Note since these baffles are for RV tractor aircraft that they are a tad too short in the middle to reach to within a half inch of the inside top cowling…. clearly at the flat part.
I had been thinking about making a forward stiffener in the top cowl after a discussion with Marco months ago how he noted in some videos he took while flying that his Long-EZ’s top cowling was distorting a decent bit while in flight. My thought on combining the top cowl forward stiffener with a forward cross rib baffle (like the side rib baffles, only 90° to those) was re-confirmed in a response to my COBA baffle question from Klaus Savier who said his cowling rib baffles also serve a dual purpose as cowl stiffeners.
Thus, in lieu of messing around with heightening the front baffle wall in the center to get it close enough to the top cowling, I would simply make a combo cross rib baffle/cowl stiffener and call it good. Plus, the slightly lower profile center front baffle wall will give me a slightly better visual when swapping out the oil filter.
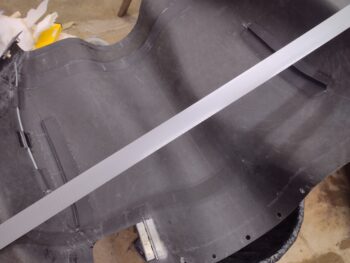
I took measurements of the front baffle wall to different spots along the front edge line of the top cowling, and then put the top cowling back in place. I then drilled very small diameter holes at those measurements. I then inserted a straight dental pick into the drilled holes to determine my distance from the front baffle wall and annotated any corrections onto tape at each hole.
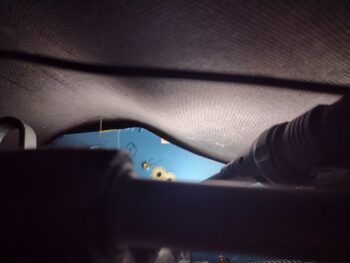
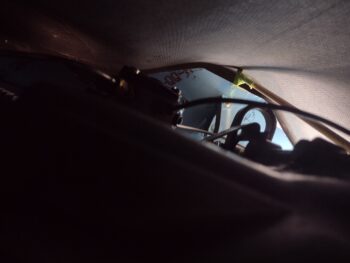
I made my fore/aft assessment of the distance from drilled hole to front baffle by either looking into the oil check door or from the aft end of the cowling with a light (pic 1). Also, I verified the gap from the center of the front baffle wall to inside top cowling as just over 1″. To be clear, if I wasn’t looking to specifically install a top cowl stiffener I probably would not have proceeded with installing a top cowl cross rib baffle.
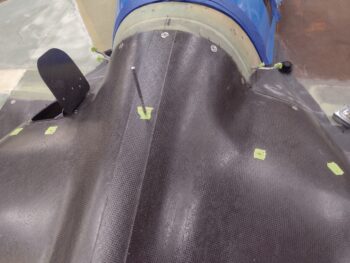
I taped the top cowling on the outside with the duct tape taut and did an eyeball top cowl width measurement with my tape measure. I then removed the top cowl and flipped it over and taped across the bottom to bring the outboard tape taut and at the distance of my eyeball measurement. I also made my corrected cross rib baffle line across the cowl using the drilled holes as references (pic 1).
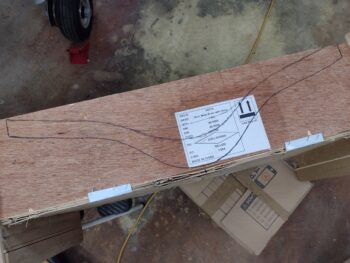
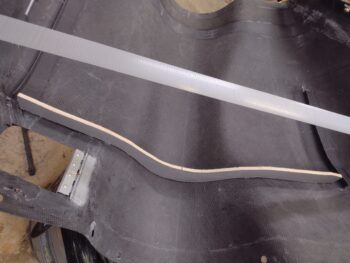
I then made up a cardboard template for the cross rib baffle (pic 2). Now, I should have taped the template in place and put the cowling back on to ensure my template was tracking the inside surface of the top cowl when it was mounted in place. But I didn’t, since mentally I guess I had already captured the “mounted cowl position.” This proved to be a significant error.
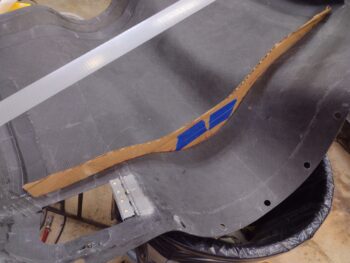
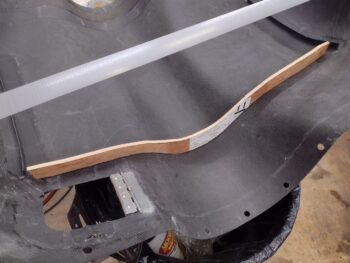
I then used the template to cut out a plywood form. Again, it all appeared well as I test fit my form inside the top cowling.
I then taped up the front side of my form and hot glued it into place.
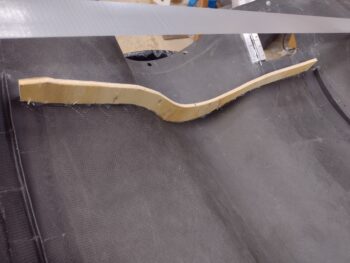
When I went to mount the top cowl into place I could tell I was about a good 1/2″ off my cross measurement, as the sides were in just a bit too much to mount the top cowl back in place. After messing around with it for a while, I realized my lack of due diligence in checking the cardboard template had brought me to a point of having to call NO JOY on the plywood form… at least, a fair bit of it.
I decided to get some CF curing and simply lopped off the low “threat” flatter sides and hot glued those back into place. I then remounted the cowling to check their fit and all was good.
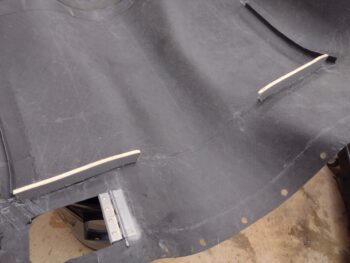
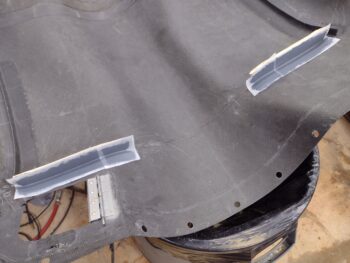
I then cut and laid up 2 plies of CF on each side.
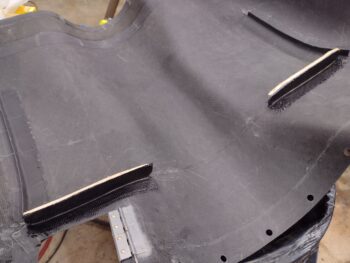
And peel plied the 2-ply CF layups.
After nearly 2 hours of curing, right before I went to bed, I went back out to the shop and mounted the top cowl into place to ensure the top cowl would be in its normal mounted state as these layups went into final cure.
Thus, instead of a one-time layup for the front side, clearly this will be yet another iterative process with a few layup cycles (oh, well… pressing forward).