
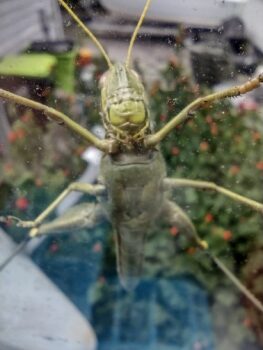
Ever feel like you’re being watched? As I stumbled into the kitchen to grab my morning coffee this morning I saw this huge bubba on my kitchen window staring me down. He had to be nearly 5″ long. His buddy was a “normal” sized grasshopper that was about a foot away, that he completely dwarfed!
(It’s been awhile since I’ve posted a critter pic!)
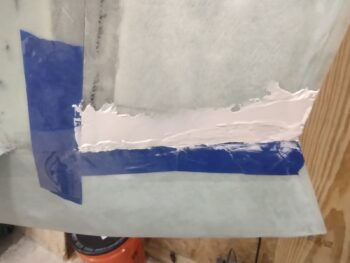
Before starting my adventures on glassing the wing-to-strake transitions/CS spar top fill, I whipped up some micro/410 and applied it on the bottom inboard edge of the rudders.
As time permits I’ll be playing around with glassing in winglet-to-wing intersection fairings to eliminate the washup air that happens from the end of wing higher pressure airflow spilling upwards and disrupting the straight airflow across the bottom of the rudder.
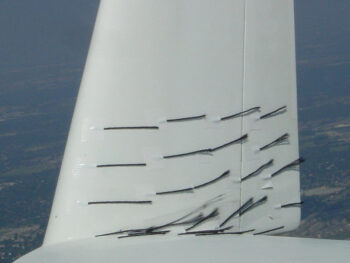
Here’s an oil test that Dave Berenholtz performed showing this roguish air in action… I lifted the pic off his awesome build site.
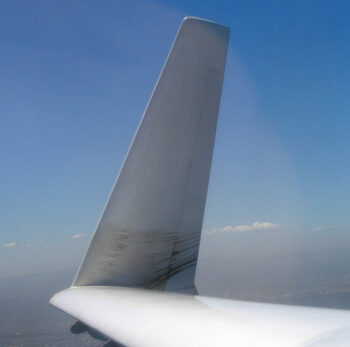
James Redmon of Berkut 13 fame described it as air “departing the intersection in a fan shape and climbing up the winglet.” James did a good bit of tuft testing before also adding a winglet intersection fairing and here’s a shot he took that I nabbed off his site as well.
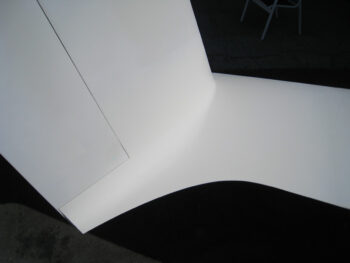
And here are the fairings that wrangles this wayward air. First Dave B’s winglet intersection fairing:

And then James R’s fairing:
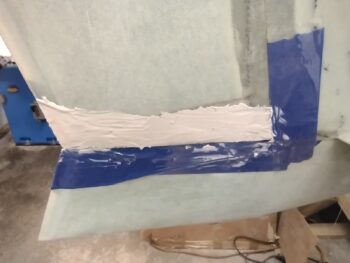
Here we are time traveling ahead many hours to show the rudder micro about 90% cured and after I removed the surrounding protective tape.
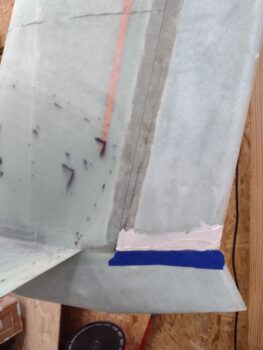
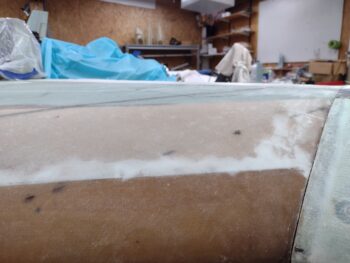
Back onto the strakes… I spent a good 20 minutes sanding down the added foam that I poured into the shallow trough along the top of the CS spar. Here’s a low angle shot of that.
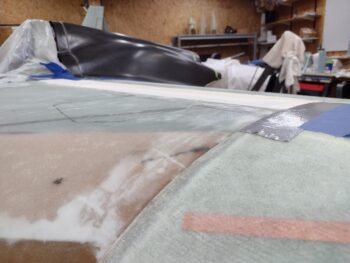
And a higher angle shot as well.
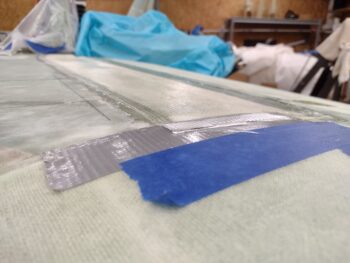
I wanted to minimize as much weight as possible, so I went with a ply of UNI first and then a single ply of BID… both overlapping a hair over an inch onto the front edge of the wing on the aft side and about a 1/2″ past the foam on the front side.
I made sure to keep the front side edge of the layup on the aft sloping side of the slight flox “peak” that was created from when the top strake was closed out and top strake skin added. This will create a very slight valley that will need to be filled with micro during the finishing process, but it keeps the layup glass off the peak top that would only add height to the already highest point in the area.
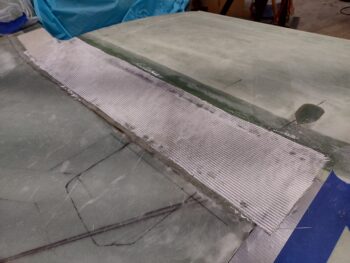
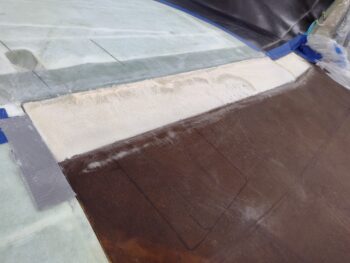
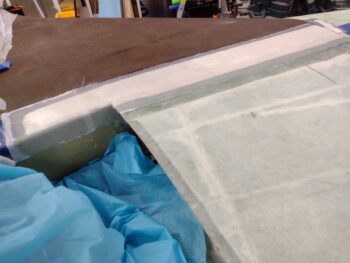
Here we have the 2 plies of glass laid up and wetted out.
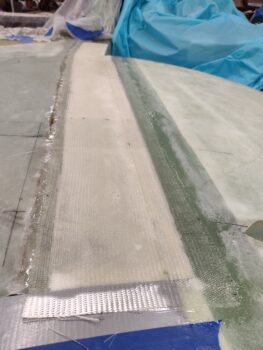
Again, I’m knocking out 2 tasks in one layup here in that I’m 1) covering the added foam that fills the very slight trough on the CS spar while also 2) covering the considerable gap between the wing and strake intersection.
I’ve got my cut line marked (each side) and after the layup cures I’ll simply cut down the line to create the hair-wide intersection between strake and wing. After each wing is removed I’ll dig out all the foam underneath (I added a 1″ wide strip of peel ply over the length of gap before glassing) on both the wing and strake sides, fill the slight gap with a thin bead of flox and then layup a couple of supporting plies of BID from the underside to reinforce these intersection lips.
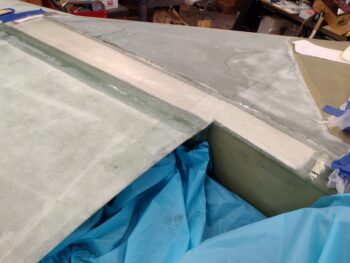
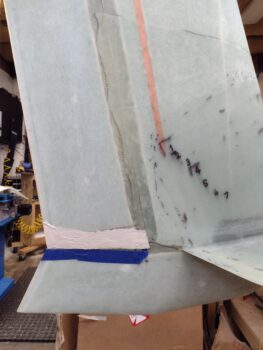
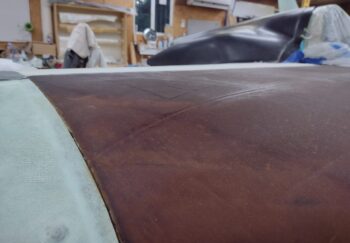
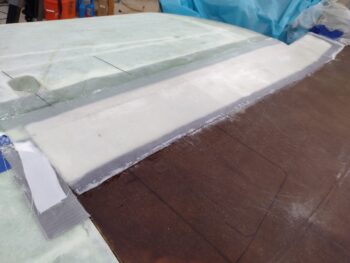
One longer shot of the shaped left strake pour foam fill glassed.
I then peel plied the left strake/CS spar layup.
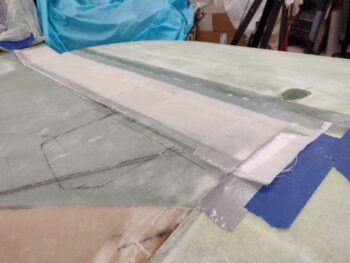
And grabbed a couple lower angle shots… this is a huge improvement on this intersection. I like how the transition flows nicely and isn’t an unsightly blight when looking at the bird now.
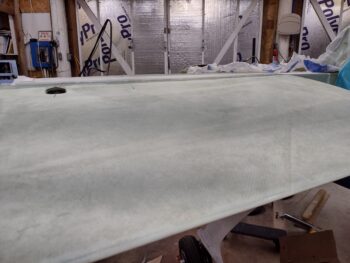
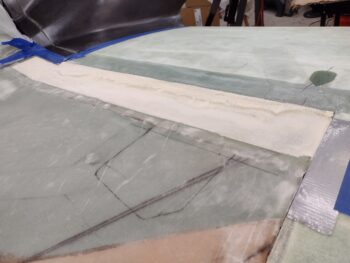
While the left side strake glass cured, I then repeated the process on the right side. First I sanded down the added foam to shape it.
Another low angle shot pre-glass.
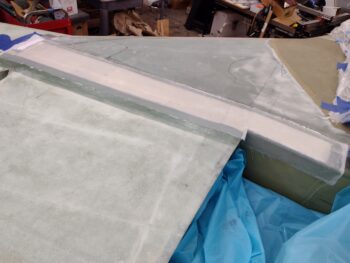
And here we have the right side wing-to-strake intersection & CS spar trough foam fill glassed with a ply of UNI and a ply of BID, with the layup peel plied.
Of course the layup on the right side went considerably faster than the first one so it wasn’t too gawdawful late when I made it back into the house.
With this prerequisite task out of the way, I can now start the installation of the top cowling!
Moving forward.