
Thankfully I don’t have a lot of one-off arts and crafts projects left where I have to both design and create a part specific to this bird. However, the main gear fairings at the intersection of the gear bow with the fuselage falls squarely into this category.
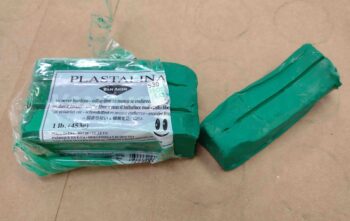
After taping up the intersection of the main gear and the fuselage last night, today I pulled out the clay I bought a month or two back just for this purpose.
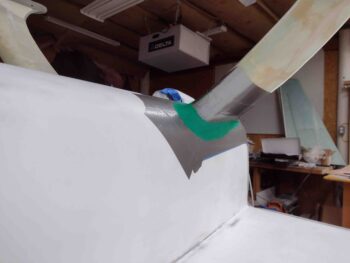
I then spent a good 45 minutes working the clay into the intersection between gear and fuselage to create a fairing “with a pleasing shape.” That shape to me consisted of about a 1.5″ radius as exampled by the socket I used to create it. I got the idea from Mike Beasley when he created his fairings, which I should note I’m doing the same style: where the fairing is attached to the gear leg and then “floats” above the fuselage surface with a 1/32″ gap. I’ll note further that Mike appeared to have used a socket smaller than an inch for his radius, but since my gaps around the gear leg are significantly greater than he has on his bird, I clearly need a larger radius to create a slightly wider fairing.
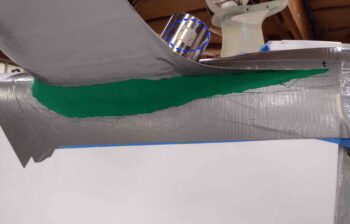
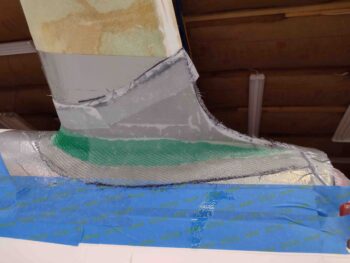
Here’s my artwork on the left side gear to fuselage intersection.
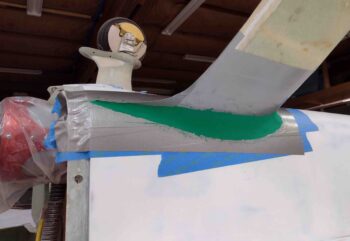
A front angled shot of the same,
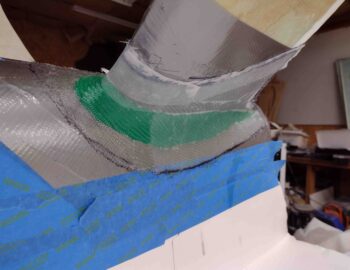
And as close to a head on shot as I could get to show the top and bottom radius of the added clay that creates the fairing’s shape.

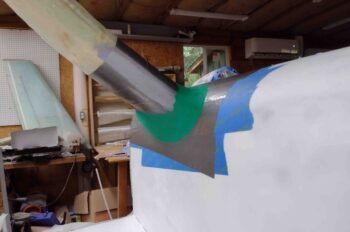
And a couple last shots of the front and aft side of the right gear fairing.
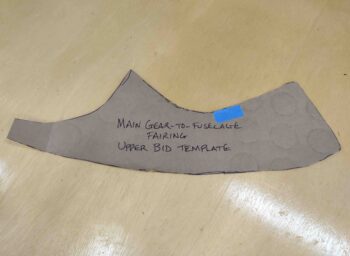
I then created a newspaper template for the top side (bottom side as presently situated inverted) BID and then transferred that to cardboard.
I then cut out 2 plies of BID per side, 4 plies total.

And then cut some plastic to allow me to prepreg the BID plies.

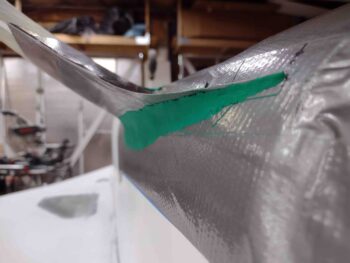
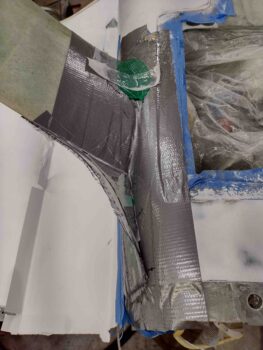
I also used the glass template to cut a sizable piece of peel ply which I wetted out in place on the aft 2/3rds of the fairing. On the front I added a straight piece of peel ply around the gear strut (gray tape) where I’ll be floxing the fairing to the gear strut.
I did this peel ply on both sides but only grabbed a shot of the right side.
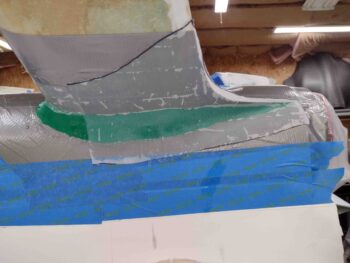
I then laid up the prepregged 2 plies of BID, and then added more peel ply along the top (as situated here) where I’ll lay up a 1-ply BID tape to secure the fairing to the gear strut.
A shot of the initial 2-ply BID layup for the gear fairing, with peel ply. Again, I did the same thing on the other side as well.
Since I want a good glass-to-glass edge on the aft swoosh part of the fairing coming off the main gear trailing edge, I decided to lay up the fairing in 2 parts. Thus you can see where the glass ends a few inches aft of the gear strut leading edge (top of pic) and covers the entire swoosh were it terminates/converges into the aft fuselage.
Note that I also peel plied the aft edge on the front side of the layup, where layup #2 will overlap onto. Moreover, pretty much the entire interior surface of the swoosh is peel plied as well to allow me to get good glass-to-glass bonding there.
Tomorrow I plan on laying up the second part of the fairings to get these things installed and off the to-do list.