
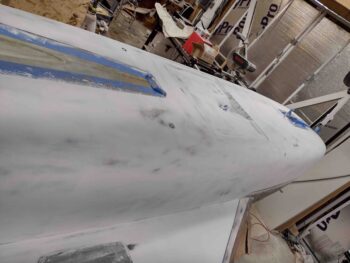
Today I spent about 4 hours wet sanding the white primer on the bottom airplane surfaces: fuselage, nose, strakes and wings.
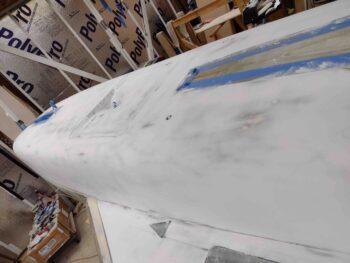
I used 220 grit wet sandpaper for this round, but still have a few areas to finish up like the landing brake depression and the very front of the nose.
In addition, after I finish wet sanding with the 220 grit, I’ll hit at least the wings and strakes with 400 grit. Most likely the fuselage and nose as well.
Lastly, I’m strongly leaning towards not reapplying primer before pressing forward with paint… for a few reasons: 1) Cost: this primer is not cheap, 2) Time: in applying it, cure time and resanding, 3) Weight: Why add more weight if it’s not truly required?
Moreover, keep in mind that this is all primarily the bottom surfaces of the airplane, and although I highly doubt that there would be any color bleed through from non-white surfaces showing through, any very minor color variances (if it were to occur) would be on the least visible part of the plane: the bottom. That being said, I will do spot applications of primer and/or filler for any pinhole, divot or depression.
As par usual, the corner junction between the strake and fuselage was the trickiest to sand. Why? Well, since these surfaces are 90° to each other, it’s a bit tricky to sand one side fully with out nicking or digging into the other surface. Yes, doable… but it takes some time and patience
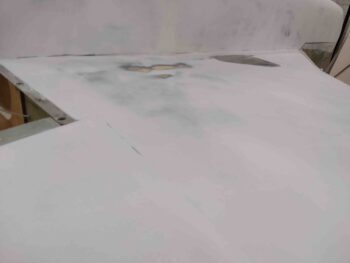
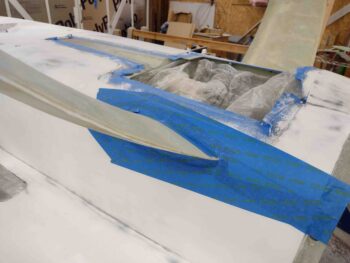
With over 90% of the bottom surfaces wet sanded, especially the areas on the lower aft fuselage around the gear legs, I then proceeded with filling the gaps in the fuselage at the main gear legs with plastic shopping bags.
I then taped the filled gaps with blue painters tape.
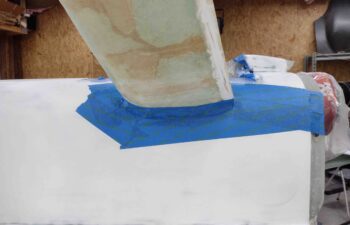
Again, I filled the gaps with plastic shopping bags and then covered the gaps with blue painters tape… here’s another view.
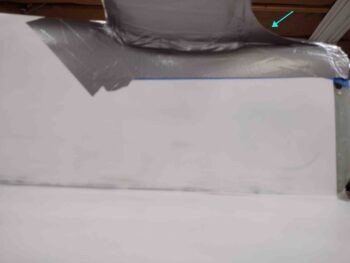
I then spent well over an hour creating and dialing in the shape of the aft fairing swoosh on the main gear legs (light blue arrow). This isn’t the best pic, but my other pic was blurred and I didn’t catch it until it was too late.
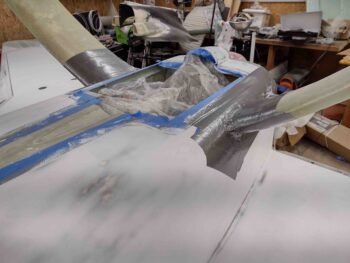
After my taped cardboard fairing swooshes were taped in place and very close to symmetrical, I then taped up the area around the gear legs’ exit on the lower aft fuselage, and also the first top 6″ or so on the main gear itself.
It was getting fairly late and I knew the initial 2-ply BID layups were not going to be simple ones, so I called it a night. Moreover, I’ll need to create the actual fairing transition with model clay —prior to any layups— and I’m sure that’s going to take a bit of time as well!