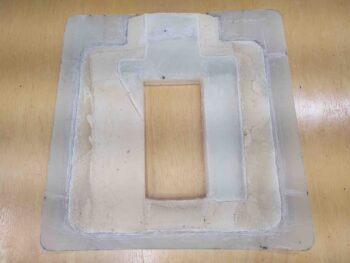
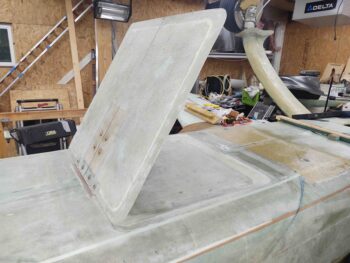
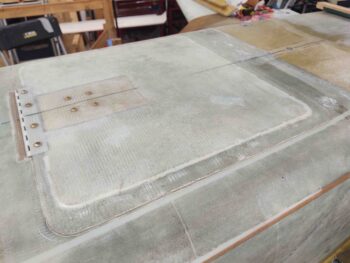
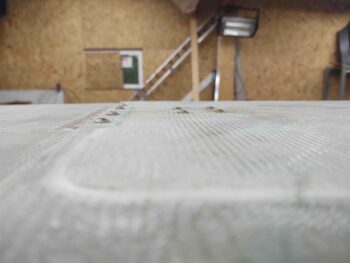
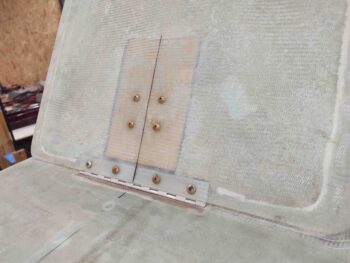
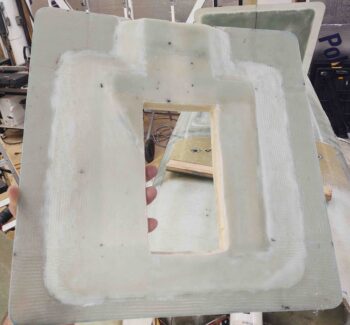
I started out today re-trimming and reshaping the inside surface of the hell hole hatch cover since I just wasn’t happy with the excessive (comparatively) thickness on the left side. Here is the inside of the re-tweaked hell hole hatch cover ready for glass.
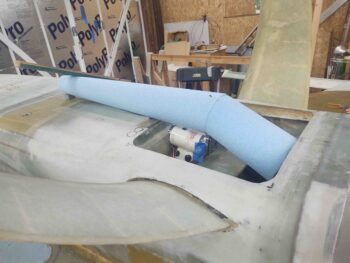
Since I needed to secure the hell hole hatch cover back in place as it cured to ensure the flanges match the fuselage/hell hole side flanges, before glassing the inside surface of the hell hole hatch cover I spent a bit of time dialing in the initial configuration of the RAM air scoop… again, employing some great advice by fellow builder, Ary Glantz.
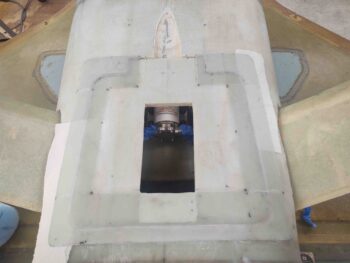
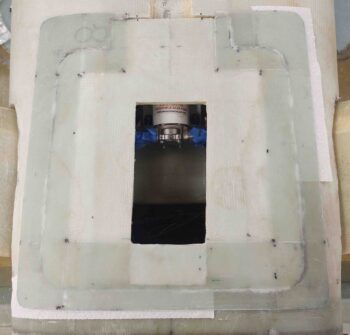
I then set the hell hole hatch cover back in place for one last check before glassing the inside surface with 2 plies of BID: 1 ply to cover flange and foam, overlapping about an inch onto existing glass, and 1 ply primarily on the flanges overlapping a good inch + onto the first ply of BID [Note: paper towels at the corners are merely for contrast between cover and bottom fuselage].
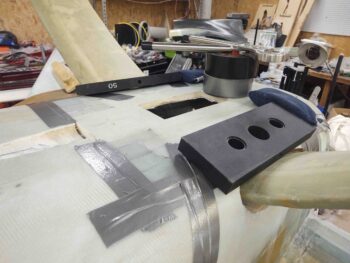
I ran out to grab lunch to let the layup cure a bit and failed to get a shot of the layup before I set the glassed interior hell hole hatch cover in place on the hell hole hatch opening. I then taped and weighed the sides down to ensure they remained flat against the perimeter surface of the hatch opening.
I’ll make 2 points of note: First, I taped the perimeter of the opening first just to ensure I had no issues of the partially cured glass sticking or bonding to the hatch perimeter. Second, the tape and weights to pin down the flange edges on the hell hole hatch cover was as a result of my test fit above, where I observed that there were some minor gaps between cover flange and fuselage glass. Clearly I wanted the flanges to cure as close to final position with the interfacing perimeter flange/glass to get the best seal and fit possible.
While the inside hell hole hatch cover layup cured I got to work on another task that I wanted to knock out while the bird was inverted: swapping out the landing brake’s ugly (and might I add, partially rusted) button head screws for stainless steel countersunk screws.
I first hooked up the battery and the throttle handle (where my landing brake switch resides) and opened the landing brake. That was a “whew!” moment given it’s been years since I opened this thing.
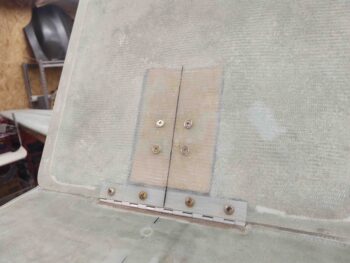
Here are some shots of the ugly (IMO), protruding, button head screws.
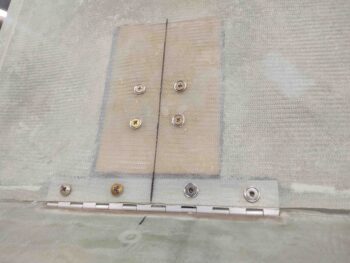
And one more shot before I started swapping them out. My preference for the stainless steel countersunk screws are the same hex-drive ones as Mike Melvill swapped over to on his bird for the majority of his external screws. However, at only 5/8″ long they don’t get quite deep enough at some spots on the landing brake cover. Good to know and I’ll order some longer ones if I can find them.
Here’s all but 2 of the button head screws swapped out for countersunk stainless steel screws on the landing brake. I’ll note that I’m using temporary nuts here to secure the landing brake since I plan on removing it to sand down the interior for micro and paint.
A while later I pulled the hell hole hatch cover off the hell hole hatch. I pulled the peel ply, razor trimmed the glass, and hit the edges with a sanding block.
The layup looked good, although I will note that the cover does feel a bit chunky… as in heavy. Interestingly that earlier in the evening I was talking with my Long-EZ builder buddy, Brian Ashton, who happened to be extolling the virtues of carbon fiber, in his reiteration of how lightweight it is compared to E-glass. I’m guessing my external 3-ply BID flange around the perimeter of the cover cost me a good 3-4 ounces. Hmmmmm . . . .
After cleaning it up, I then again set the hell hole hatch cover back in place on the hell hole hatch… the flanges fit a treat [Note again: paper towels at the corners are merely for contrast between cover and bottom fuselage].
Tomorrow I’ll press forward with my hell hole hatch and RAM air scoop shenanigans!

