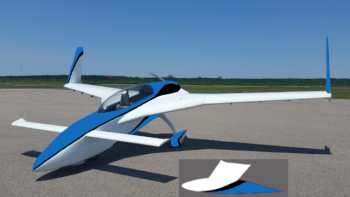
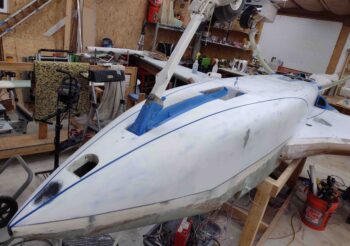
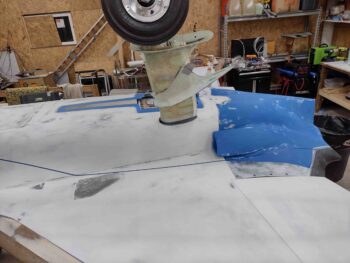
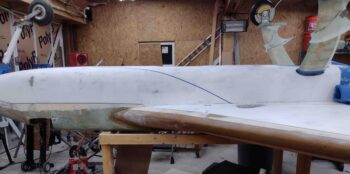
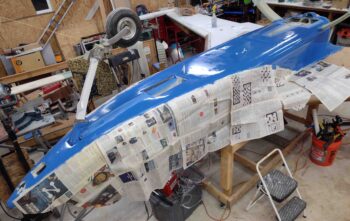
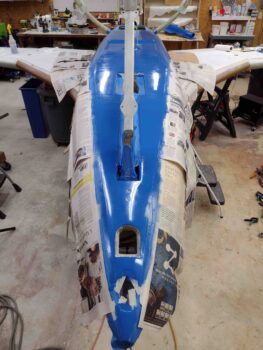
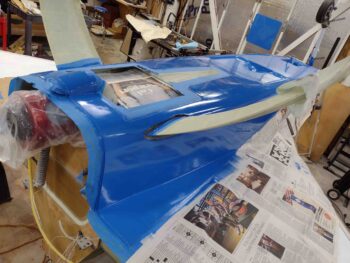
Today, after a bunch of prep, I was finally able to apply 1/4″ fine line tape to the fuselage and strakes to get fairly close to my designed paint scheme.
The long pole in the tent decision-wise and design-wise for the bottom of the bird paint scheme was the transition off the fuselage and to/around the armpit scoops, then continuing on to the bottom cowling.
I wanted to carry the “flow” of the armpit scoops forward (partly in tribute to the original fuel sump blisters) so that drove the intersection of the fuselage-to-strake line about a foot forward than I had planned with the somewhat flatter-curved swoosh on the fuselage side in my paint scheme depiction above.
Since the blue will be bordered by a black accent stripe, I also want to keep the black color down low and out of the sun as much as possible. To do this, I made the curve a bit more pronounced as you see here, rather than flatter as in the top pic.
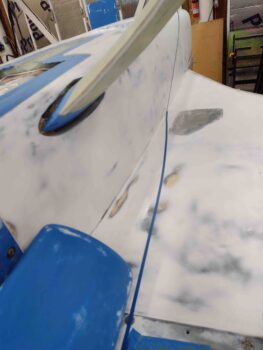
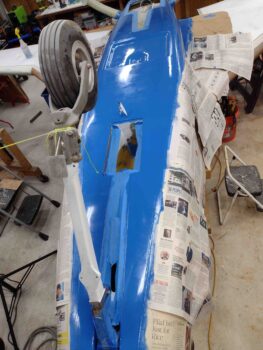
Here’s the transition at the fuselage and the strake.
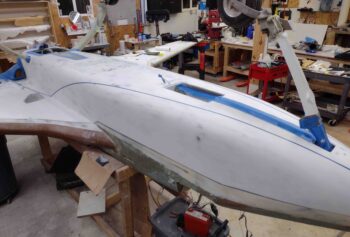
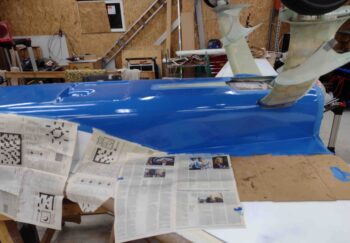
And a side view of the “swoosh” . . .
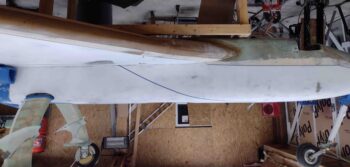
To ensure it would look ok in the real world, I grabbed a shot and flipped the pic to show it with the fuselage “upright.”
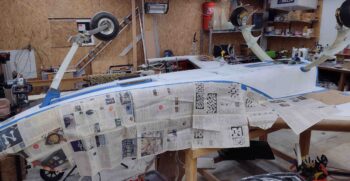
With everything looking good to me, I proceeded to tape off the fuselage and covered it with newspaper and cardboard to ensure the paint stayed where it was supposed to.
I then got busy painting.
I have to say I’m very happy with this bottom nose/fuselage/strake blue accent.
There was a fair amount of trim paint work to ensure that when the nose gear is up and the RAM air scoop/hell hole hatch cover is installed that no white or light colored surfaces show through the seams.
There is definitely a good bit of blue on the fuselage, but I really think it won’t look nearly as prominent when the bird is upright.
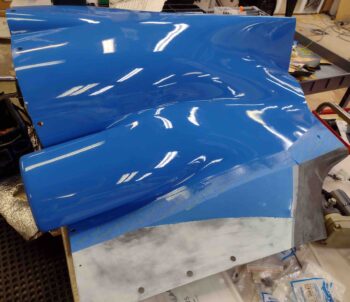
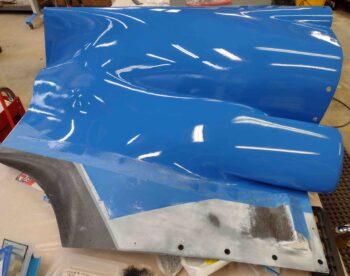
Here is shot from the aft side.
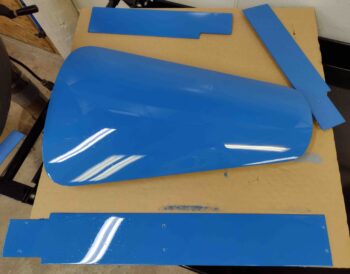
I also recoated the parts I painted a few days ago (and spent a good bit of time sanding since then!). Here is the bottom cowling with its second coat of blue paint.
I’ll note that although my painting technique was a lot better than before, it took most of this round of painting to really start to understand and get comfortable with this paint system.
The bottom line is that with the foam rollers used to apply this paint, which holds a good bit of paint, I’m dialing in the pressure required to lay down the proper amount of paint (read: LESS).
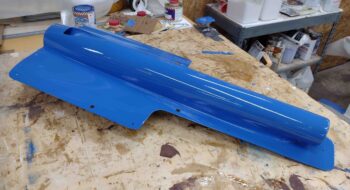
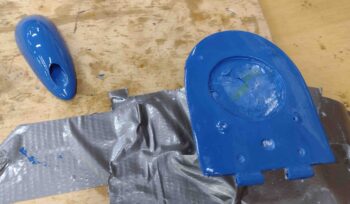
Here we have the RAM air scoop/hell hole hatch cover with its second coat of blue paint. I had to employ the brush a lot more on the vertical sides down low (as situated here) of the scoop’s tube close to and along the corner junction with the mounting flange/cover to keep the build up of paint from causing runs.
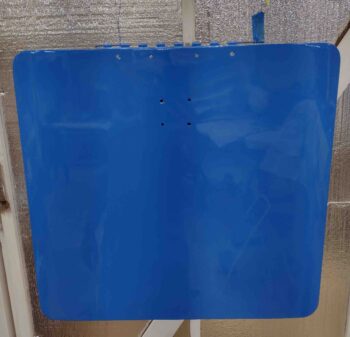
And here we have the external side of the landing brake. I did notice 2 small runs when I finished here.
Again, I was trying to “lightly apply” the paint with a decent amount of paint on the roller but using a very light touch. The better method I discovered is to use a less loaded roller and add just a hair more pressure so the paint “lightly” goes on… at least that is the best way so far for avoiding runs and drips.
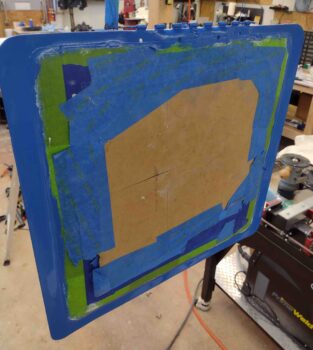
Here is the inside of the landing brake border, which I applied one more coat using a brush. I plan on this being the last coat here.
The nose gear fairing and doors came out much better this time around, although I still think there may be some buffing and polishing in my future. The nose hatch door came out pretty good as well, but it will be getting another final coat as well.
Finally, the fairly small accessories… the belly video camera mount and the latest addition to the paint lineup: the swing down taxi light assembly.
I’ll let these cure for 24 hours and then, as per Epifanes instructions, I’ll paint on another coat without having to do any sanding. As a point of note, final cure time for this paint is 7 days.

