
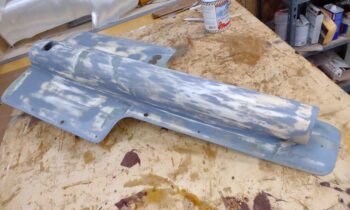
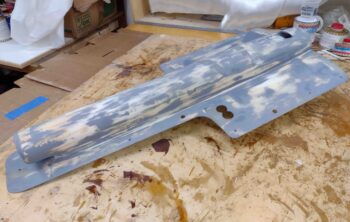
I started off today by spending a couple of hours wet sanding the bottom cowling’s gray primer surface with 220 grit sandpaper.
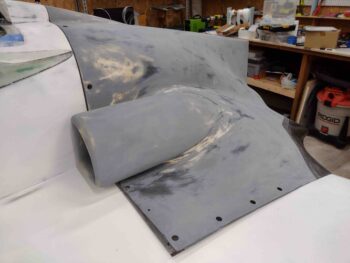
It takes a bit of extra time sanding this bottom cowling since you have to get in and around the armpit air intake scoops.
As I’ve mentioned before, I use the gray primer first because it pretty much acts as a de facto guide coat for sanding. I do sand it fairly vigorously since I consider the white primer as the “real” primer surface. The gray primer is an intermediate step to help dial in and finalize surface contour smoothness to eliminate any irregularities before the paint goes on.
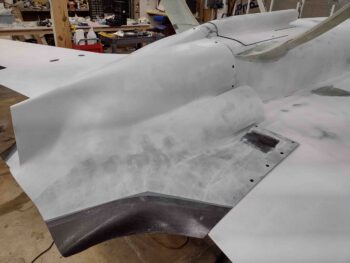
I then did the same thing on the RAM air scoop/hell hole hatch cover. Clearly this took way less time. Not surprisingly, you can tell when lightly running your hands across the surface how much more smooth and dialed in the surface contour feels than prior to the primer being applied.
Finally, I wet sanded the gray primer on the nose hatch cover as well. I know I’ve stated it many times, but I’m not looking for a perfect finish… just a really nice one!

After a good half hour prep, and then mixing up a batch of white thickened (with micro) primer, I then spent well over the next hour applying it to the bottom cowling, RAM air scoop/hell hole hatch cover and nose hatch door.
I left the freshly white primered components alone for a good hour, at which point they were dry to the touch. I then placed them gently back onto the airplane.
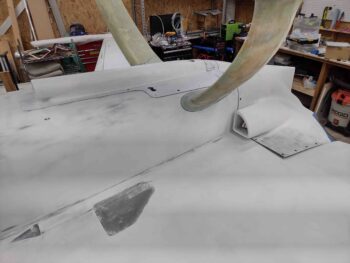
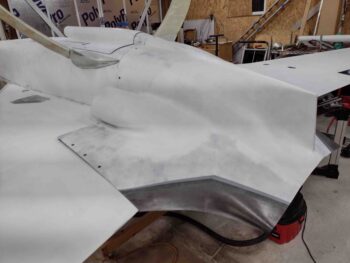
Here we have the RAM air scoop and armpit air intake showing now in white primer.
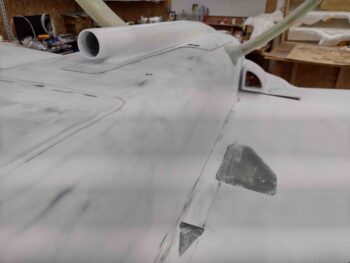
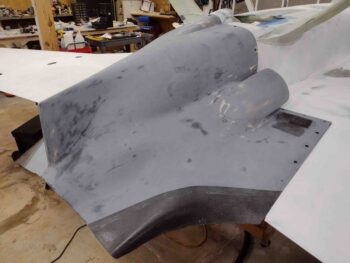
The white primer doesn’t mask dark surfaces completely in only one coat, and I didn’t mix up enough to cover everything with 2 coats. This is not a problem though since the lower area of the cowling (upper in these pics) from the armpit scoops “up” are what will be getting painted this go around.
I can always apply another coat of straight white primer if need be before the white paint goes on the outboard horizontal surfaces of the cowling. Moreover, I clearly will be doing a bunch more finish work in these areas when I integrate the mounting of the top cowling with the bottom cowling.
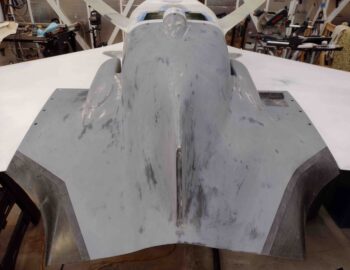
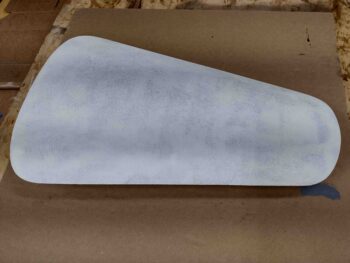
Here we have the nose hatch door in white primer. I’m very satisfied with how the white primer laid down and cured on these parts.
Now to start prepping for some paint!