
This post actually covers the last few days. Later in the evening Monday night after I finished up sanding down the gray primer and applying the white primer my back was really out of whack. I believe it was from the sanding on a table outside that was just a bit low for me, and so the constant slightly bent over position got me.
I took it easy Tuesday and worked on important admin stuff by adding the new J12 Molex connector to the list of connectors document I have for the plane. I also updated the associated info on the P1 connector and header page that identifies every connector in the plane. In addition, I updated the Nose Gear wiring diagram to include the new J12 Molex connector. Finally, I did do some organizing on a bunch of my loose documents that I still haven’t completely recompiled after the tornado hit my hangar and drenched my binders full of notes and pertinent build docs.
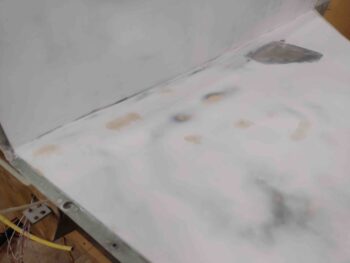
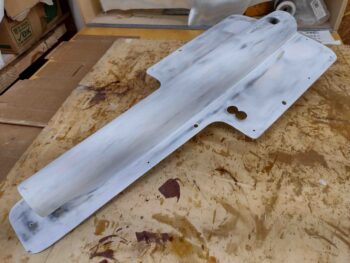
Yesterday I finely sanded the aft inboard area of the bottom left strake. This has been a problem area for me for some reason in how the finish came out. After another application of thickened white primer, and this latest sanding, I finally got the surface fairly contoured (aka flat) with only a few rough areas and divots. I decided to go with West 410 to refill these problem areas and then hit it again with white primer to hopefully, finally knock out these surface blemishes.
In addition, I knocked out some required ancillary tasks like flipping the engine back upright and reloading all the larger orifices (exhaust ports, cold air induction plenum) with fresh desiccant packets before installing fresh desiccant cylinder plugs and firing back up the engine dehydrator system. I also added another quart of oil as well.
Finally, besides a good bit of research on Matco wheels and brakes, as well as my Epifanes paint system, I pulled all the blue tape strips off the plastic protecting my canopy and moved them to different spots to ensure I don’t get any egregious “old tape” spots on my canopy.
Today I finally got back to work! I did make a couple calls to confirm some info with both Matco on my brakes and with Epifanes to dial in my paint application process. I will also note that I dialed in and determined my FINAL paint scheme for the bottom of the plane.
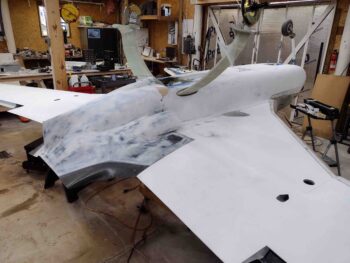
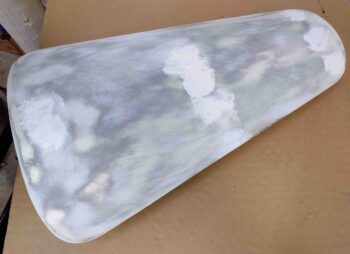
In the shop I started by sanding down the white primer on the bottom cowling, removing a good bit of it in the process. I then installed the bottom cowling onto the plane.
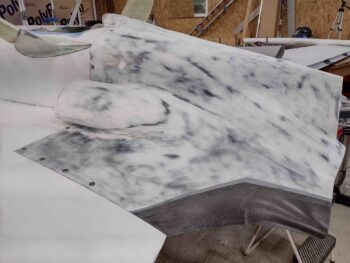
In addition to thickened white primer touchups I did on all these parts I just sanded (see below), that pesky front edge of the cowling at the lower left “corner” of the fuselage reared its ugly head again. The bottom line is that the front edge of the cowling sits around 0.080″ above the mating surface of the left aft bottom corner of the fuselage. I simply couldn’t ignore this any longer and had to fill in that corner with West 410 (just aft of the gear leg). And yes, I have worked this exact area before… so I’m trying to keep my frustration at bay and simply work the issue.
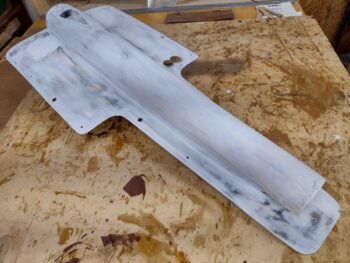
I also sanded down the white primer on the RAM air scoop/hell hole hatch cover. I then applied more thickened white primer to areas towards the aft end of the hell hole hatch cover.
I then did the same thing on the nose hatch cover, sanding down the white primer and then reapplying thickened white primer in the slightly depressed areas.
I then finished the main gear axle bolt swap outs by pulling all the AN4-21A bolts and replacing them with slightly longer AN4-22As. Again, years ago when I installed the wheel pants’ inboard brackets it resulted in the axle bolts being too short since the flanges on the wheel pant mounting brackets are about 1/8″ thick. At the time the fuselage was upright and on the main gears/wheels so I didn’t mess with pulling the wheels/tires to gain access to the axle bolts.
In this pic you can see the difference between the length of an AN4-22A bolt (at top, circled) and the shorter AN4-21A bolts.
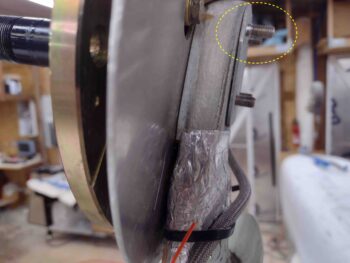
Clearly with the bird inverted it is an opportune time to knock out this axle bolt swap out.
Unfortunately, as I was tapping in one of the new bolts it knocked off the inboard axle bolt securing plate. Not a huge issue of course, it just added another 15 minutes of work. I first cleaned up the interface between the plate and the gear leg.
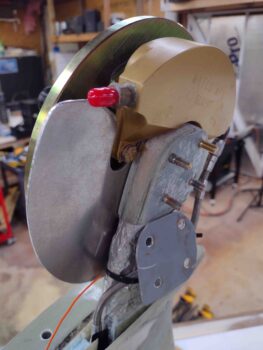
And then mixed up some flox and reattached the plate when I re-installed the cleaned up inboard wheel pant mount. Note that on both gear legs the axles are now permanently installed with no-kidding aircraft grade washers and nuts. Also note that I cleaned up all the wheel and brake parts during this bolt swap/install.
By the time I finished the bolt swap out it was getting late, so I called it a night. I do plan on double-checking all the torque specs for the Matco brake hardware before remounting the wheels for the final time. And of course continuing on in my quest to get the bottom of this bird painted!