
After about a week of final tweaks, again mainly to the aft fuselage and intersection area with the bottom cowling front lip, I was ready to apply some primer to the bottom of the plane.
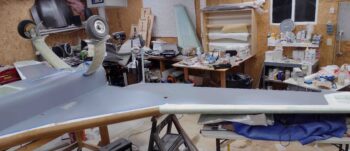
I started off by thoroughly vacuuming, blowing off and cleaning the bottom surfaces. I then taped up the front edge of the strakes.
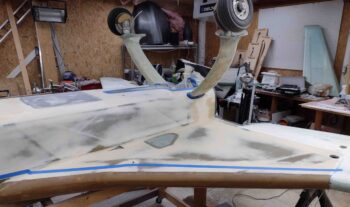
And taped the inside the nose wheel well and strut channel, as well as along the nose’s bottom edge (here inverted… actually top edge).

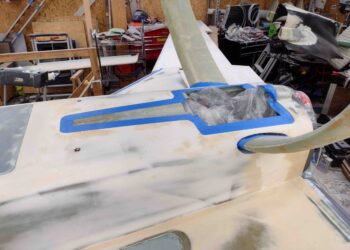
I taped up around the inboard edge of the main gear legs and the inside flange of the RAM air scoop/hell hole hatch cover. And the cowling mounting flanges around the firewall and strakes.
Note that I did not tape off the wings since my thought was that one “quart” (750 ml) of gray primer wound not cover the wings as well…. which I would later discover was a false assumption.
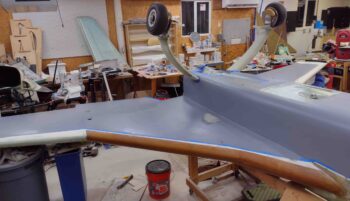
With my helper Jess, I then got to work applying gray 2-part polyurethane primer to the bottom surfaces of the airplane, including the wings.
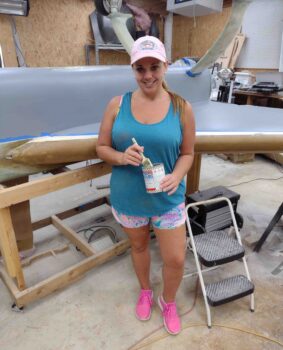
As a point of note, I thickened the primer a good bit with micro to make even higher build, which really worked a treat.
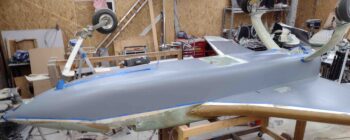
Again, as you can see, I had enough primer to cover the bottom of the wings as well.
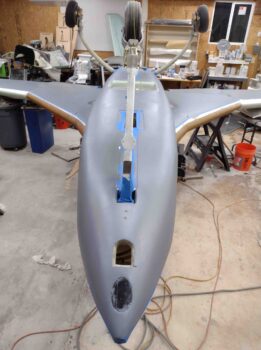
I didn’t cover the inside of the landing brake depression since this area will simply get one coat of the subsequent white primer that will come next.
And of course a nose shot. I’m really happy with how this primer went on: the coverage and what looks to be very good adhesion and durability.
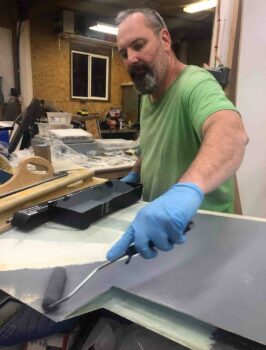
And a shot of me applying just the last very bit of primer in the tray to the outboard end of the bottom right wing.
I let the primer cure a good 24 hours before sanding it down for the next and near-final coat of white primer (of course spot touch ups and minor depression fills may be needed).