
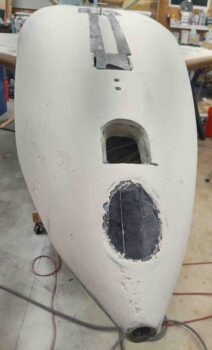
I started today by cleaning up the edge channels along each hinge on the nose gear doors.
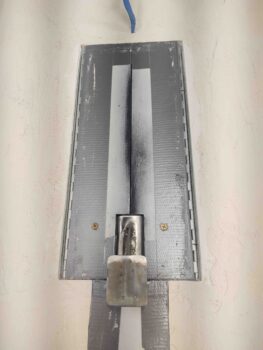
You can get an idea what these edge channels will look like from an angle with the nose gear doors closed. Keep in mind that they’re a bit higher than they will be after the micro gets sanded down to its appropriate surface level.
After razor trimming the aft and front edges fo the landing gear doors, as well as along the nose gear strut fairing, I then “dropped” the nose gear a little at a time to break the edge seals of the micro finish on these components.
Here we have the nose gear doors back in the open position, with the edge channels providing just the clearance required to allow that to happen.
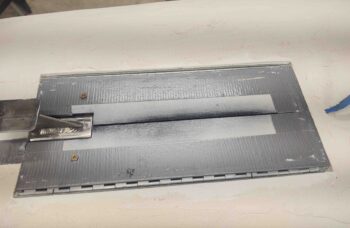
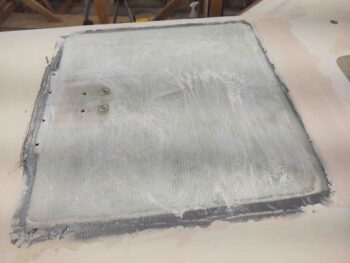
I then got to work on the landing brake. With the landing brake secured in the closed position, I took the opportunity to sand the majority of the external surface for micro finish application in the near future.
I then razor trimmed around the perimeter edge to free up the landing brake from the micro finish.

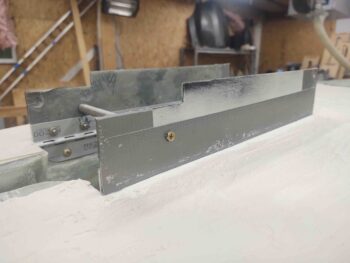
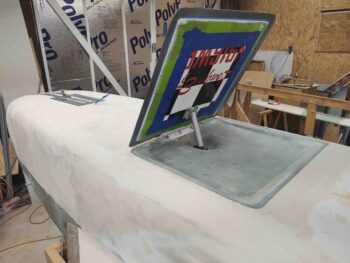
And slowly “lowered” the landing brake. I had to work this aft corner a bit to get it clear so the brake could open, but after a few rounds it opened right up.

I then focused my attention on the forward hinge area of the landing brake and the clearance there with the micro finish. I had to do a little bit of extra cleanup, but it all looked pretty good.

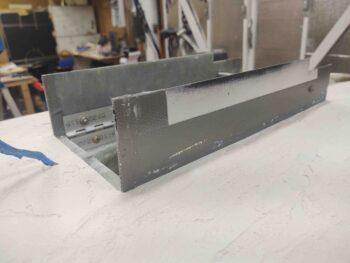
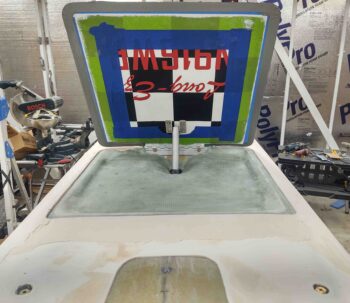
Here’s another couple of shots with the landing brake open, and the new pocket or depression created by the micro finish around the landing brake when it’s in the closed position.
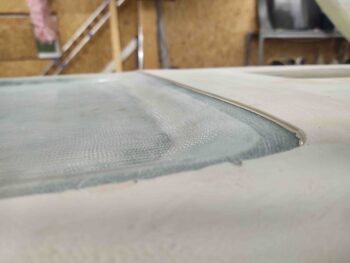
And a closeup shot of the landing brake perimeter edge created by the newly applied micro finish.
I then spent over a couple hours sanding down the forward/bottom fuselage and nose micro finish.
I’ll note that where I applied the micro a bit too thick on the bottom right strake skin, here on the bottom/forward fuselage and nose I actually applied it a bit too thin in a number of spots. By using the West 410 this is not nearly as dire of a situation as if I were using straight micro since the refills blend and fair in much more easily than re-applying straight micro.
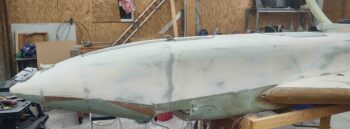
Here’s another shot from the other side. Forgive my messy shop… you see, I’m building an airplane and trying to keep that the true priority!
I’ll also note that the main areas needing refills on the “micro” finish are just forward and aft of the F22 junction on the side of the fuselage/nose junction; also the fuselage “corners” for a bit more meat for that bottom corner curve; and finally, the area forward of the landing brake and aft of the nose gear doors [since the raised nose gear doors and landing brake leave a slight depression on the bottom fuselage that needs to be addressed].
My schedule didn’t allow for me to get to the reapplication of micro this evening, so I’ll knock it out first thing tomorrow.