After all these years I finally made a decision to use 0.090″ 6061T6 aluminum to cut my instrument panel out of. Using this specific aluminum offers 2 benefits over the 0.063″ 2024 aluminum that I had been planning on using for quite some time.
First off, plasma cutting 6061 is cleaner than 2024 since 6061 is better at rejecting heat (6061 can be welded, whereas 2024 cannot). Also, a thicker panel has less tendency to warp during heat-producing operations such as plasma cutting.
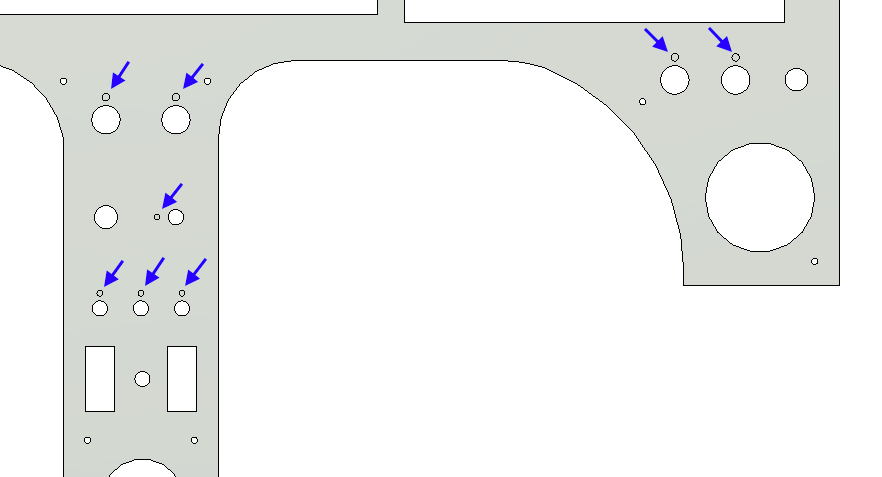
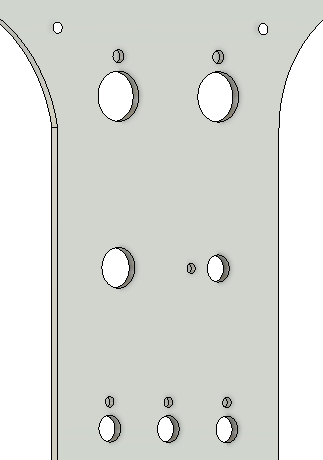
Next, the 0.090″ thickness will allow hiding the panel switches’ anti-rotation keyway holes, which coincidentally need to be 0.063″ deep. Below, the blue arrows denote 8 of the 10 anti-rotation keyways (on the panel backside) –which were once all through-panel holes– that were removed from the front face of the instrument panel once I thickened the panel from 0.063″ to 0.090″.
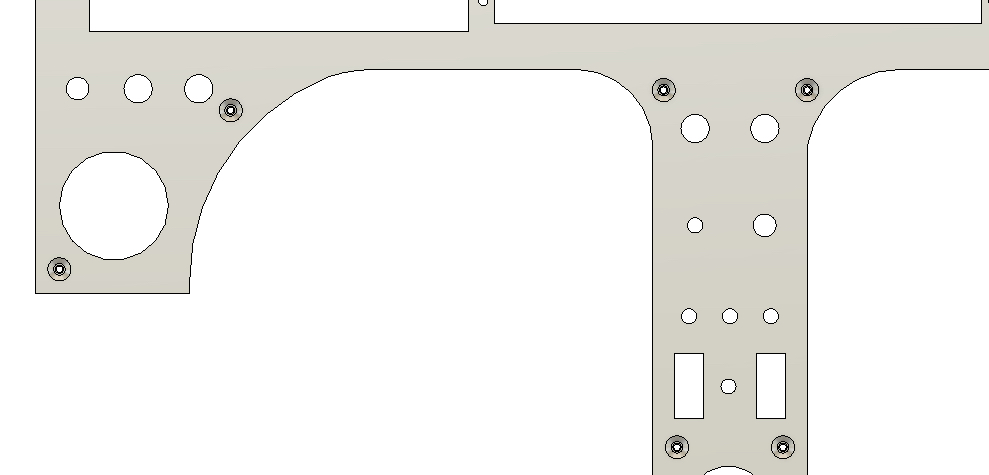
Below is a more “3D view” to better see the switch anti-rotation keyway holes at an angle, again, on the backside of the panel.
Meanwhile, over on the front side of the panel: no visible switch anti-rotation keyway holes!
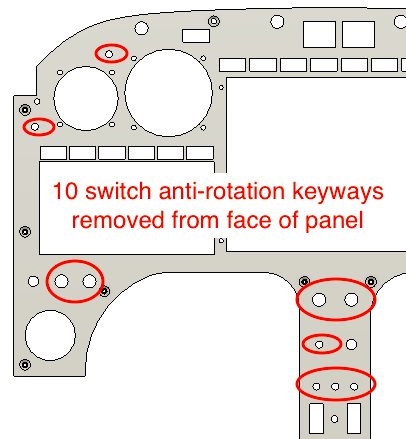
Here is just a quick annotation of all the anti-rotation keyway holes that I was able to remove (hide) off the panel front by going with the thicker 0.090″ 6061 aluminum panel.
Once again, back to some CNC Tooling Up: Today I was able to install all the major Centroid Acorn CNC hardware components into the Lathe CNC Controller Box.
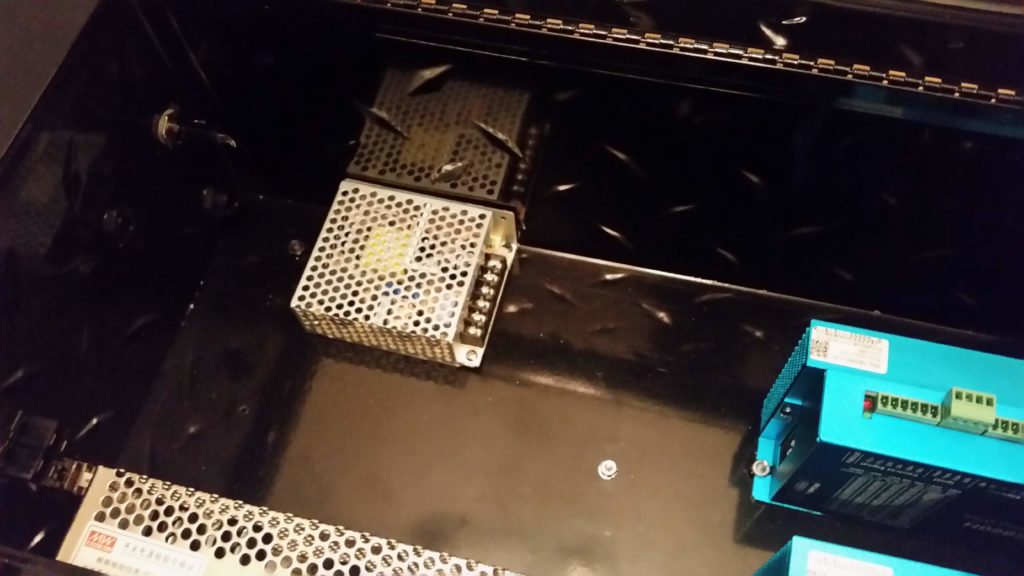
I started off by installing the 24V/5V power supply into the back left corner of the box. With it situated as it is in the pic below, it will provide decent access to install/add/manipulate wires as needed.
[NOTE: The screw in the middle area on the floor of the controller box is for the X-axis’ 36V power supply that will get mounted on edge just like the current one installed].
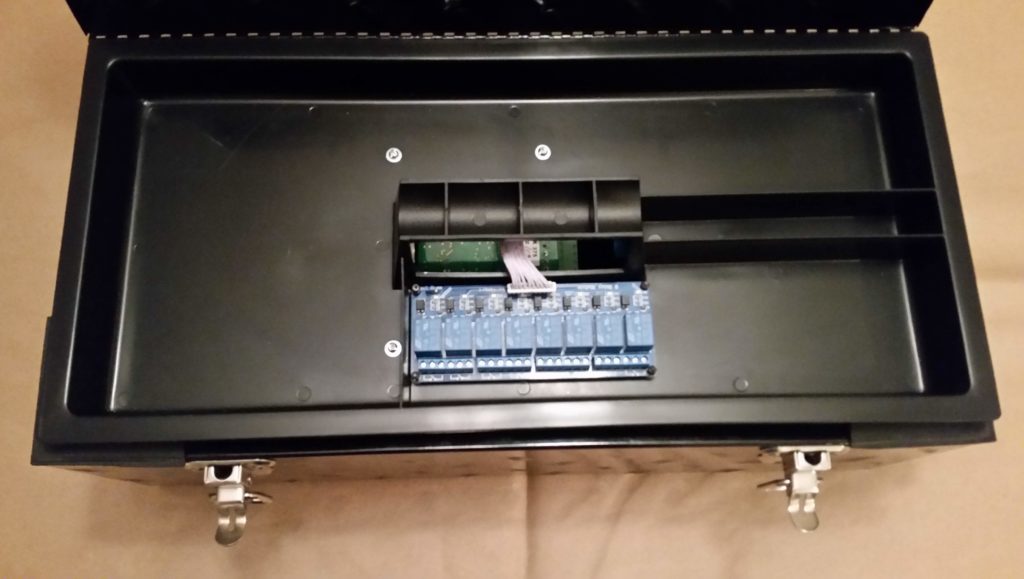
I then focused on the component installs on the removable plastic tray. First up was determining the location of the Acorn relay breakout board. Critical in choosing a location for the relay breakout board is that the flat wire bundle that connects it to the Acorn main board must not be twisted in any way, but remain flat… as per a warning in the Acorn CNC manual.
To achieve the non-twisted routing of the Acorn relay breakout board’s wire bundle to the Acorn main board, I utilized the opening in the plastic tray to run the wire bundle through and then above the Acorn main board by the gap created with the standoffs used in securing the main board to the underside of the plastic tray.
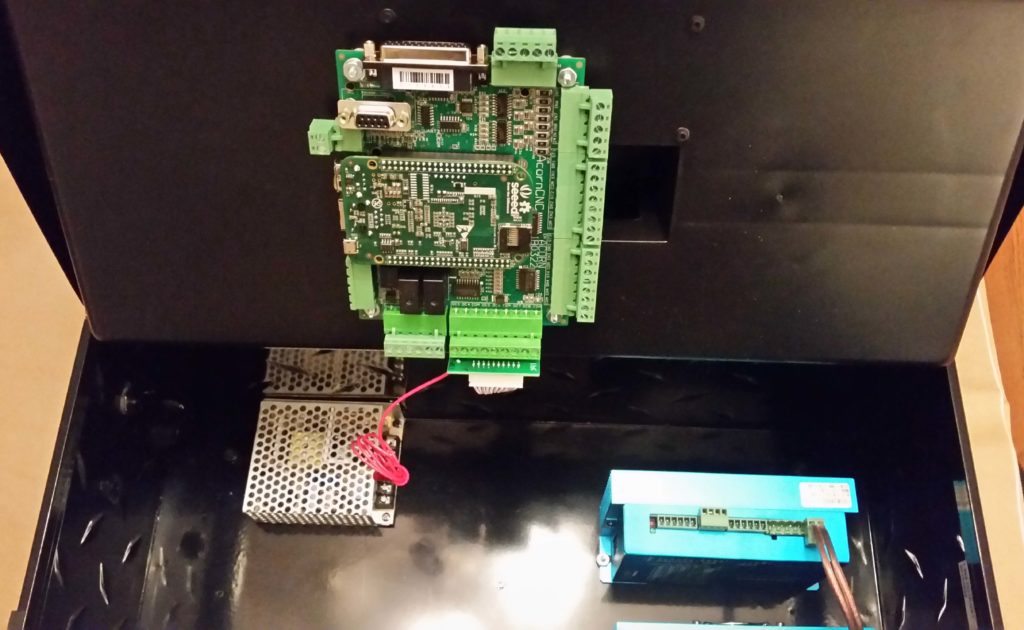
Here we have the Acorn main board installed on the underside of the CNC controller box’s plastic tray.
If you look closely, you can see the wire bundle from the Relay Breakout Board attached to the main board at the very bottom of the main board– where the red wire is hanging off.
I have a 92mm x 92mm 5V cooling fan on order that I will install once it arrives. Besides the fan (and associated vent), I have one more hole to drill that will use a grommet to protect the wires for the E-Stop switch and both Home/Limit switch wires. Finally, I have one more board to install that will allow me to control the spindle speed and direction (primarily to facilitate tapping operations) and then I’ll be pretty much done with the planning, design and component install for the Lathe CNC Controller Box.

