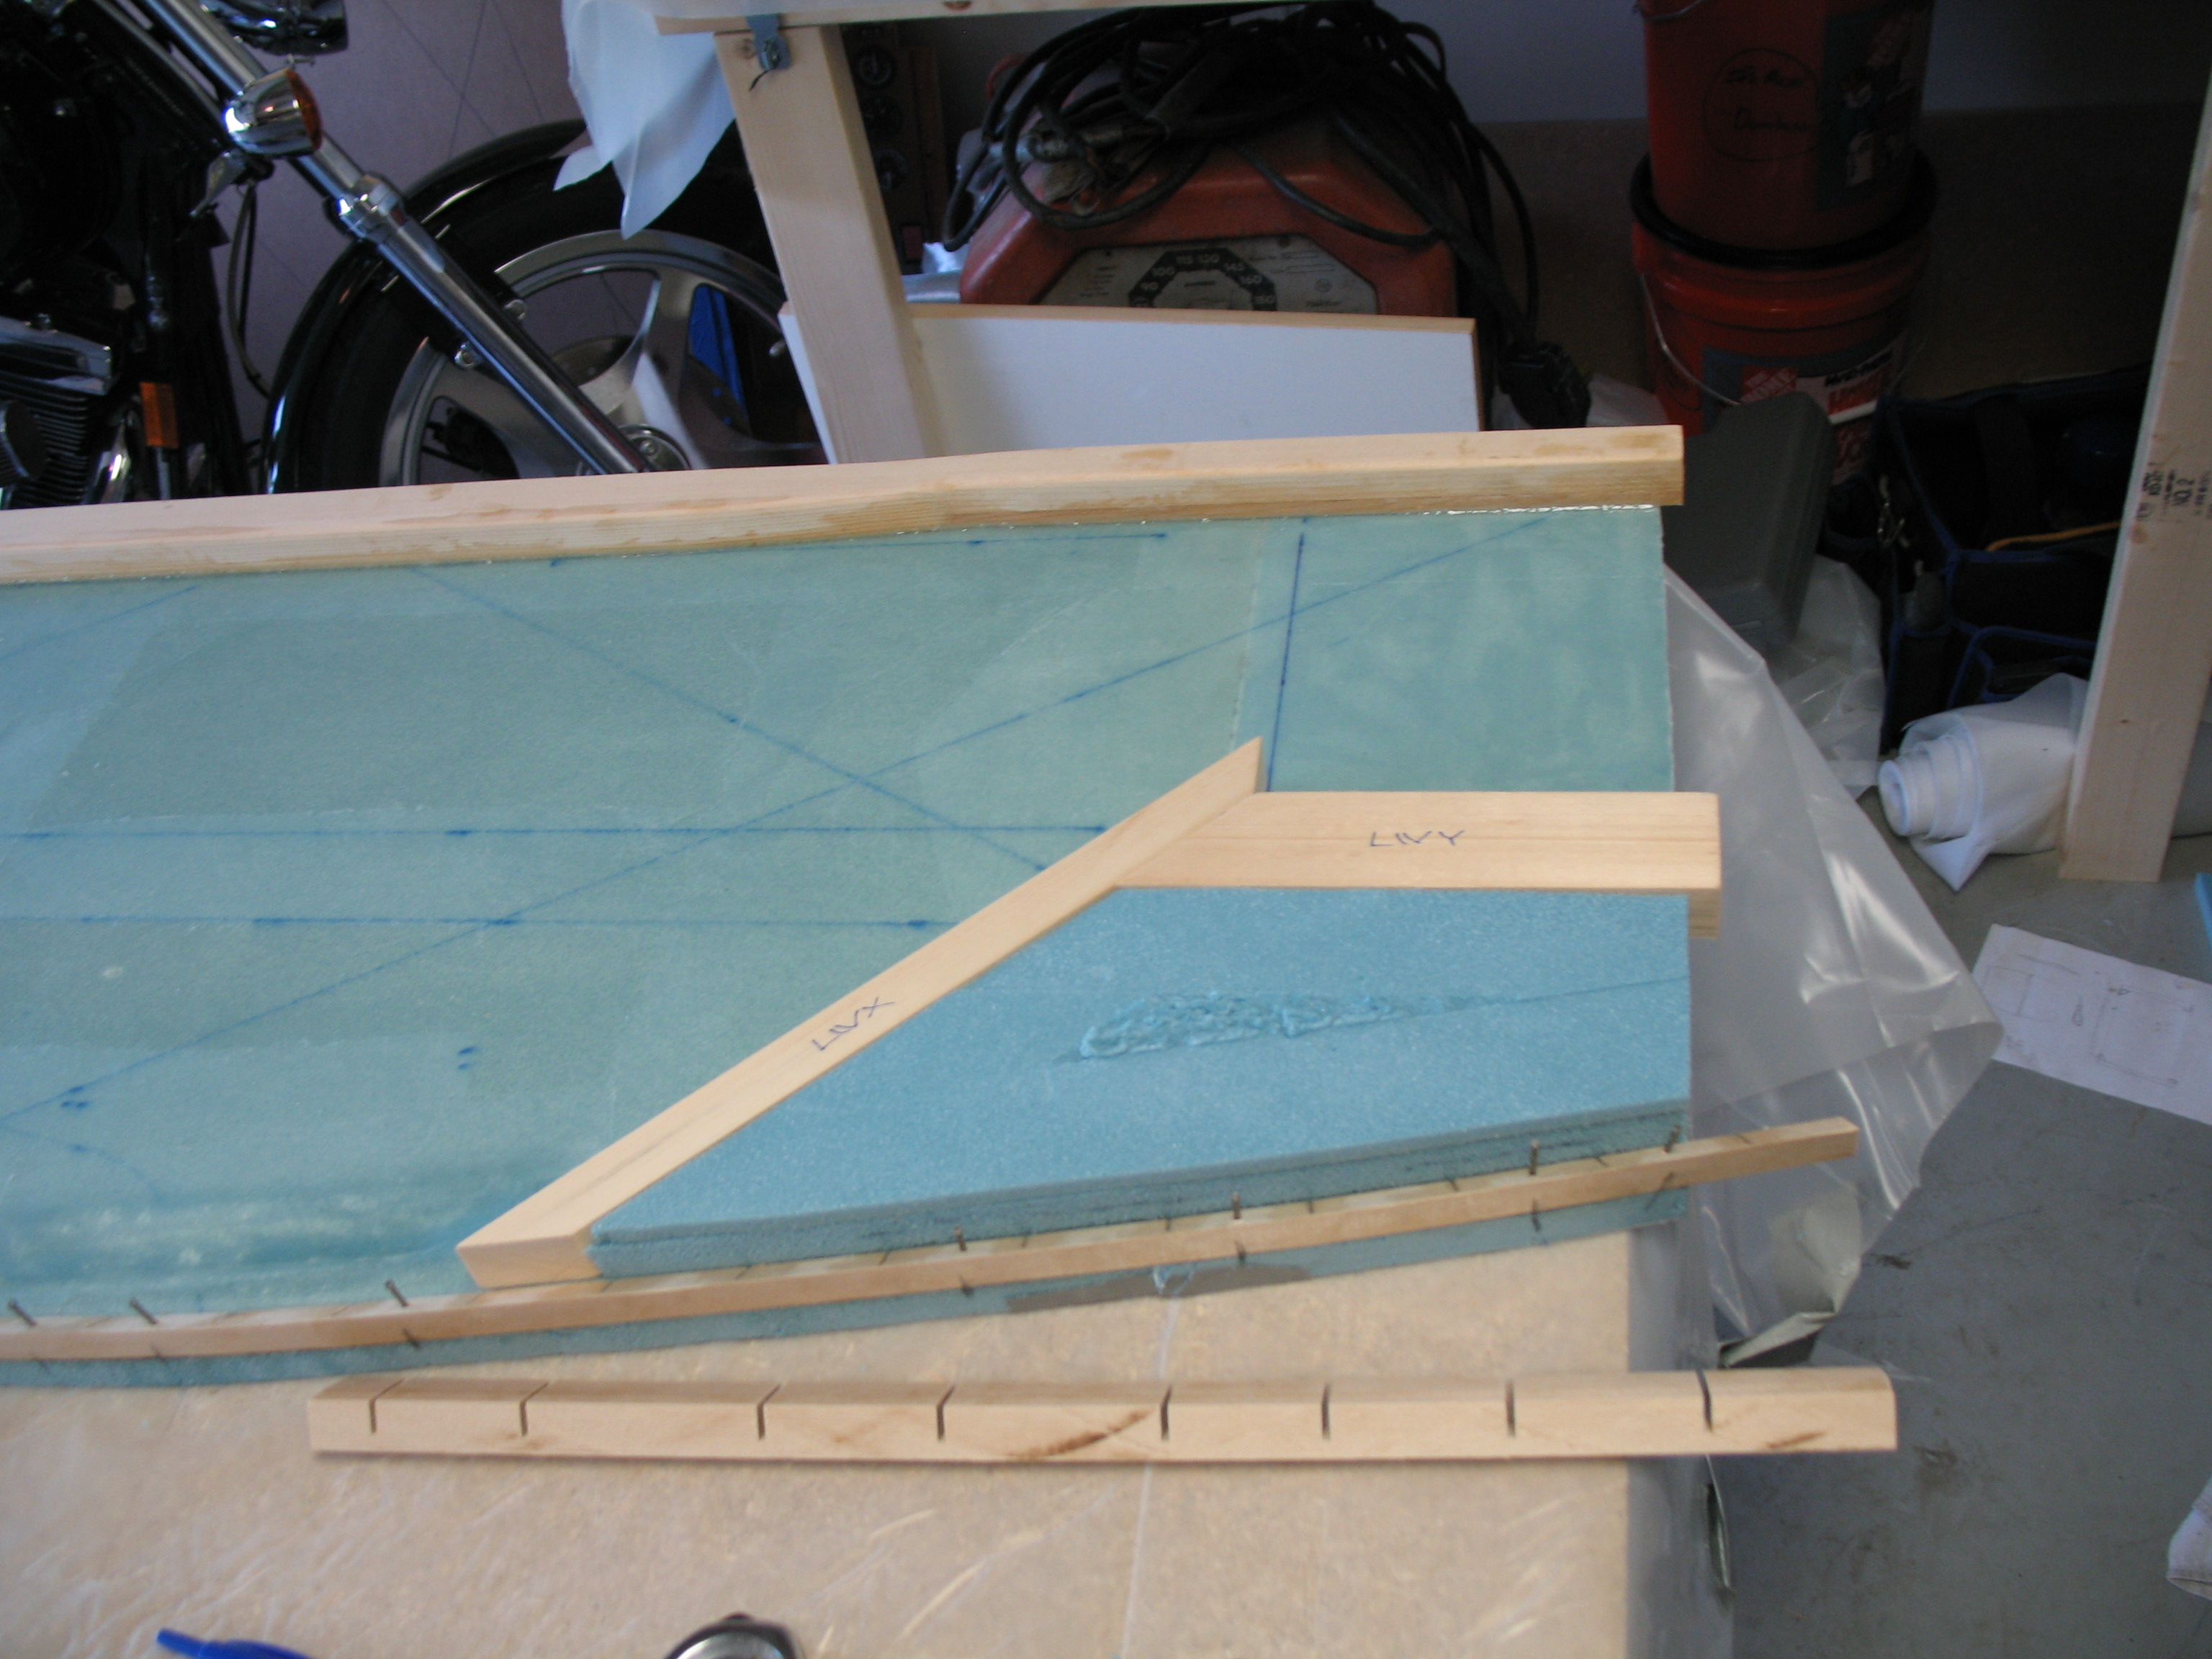
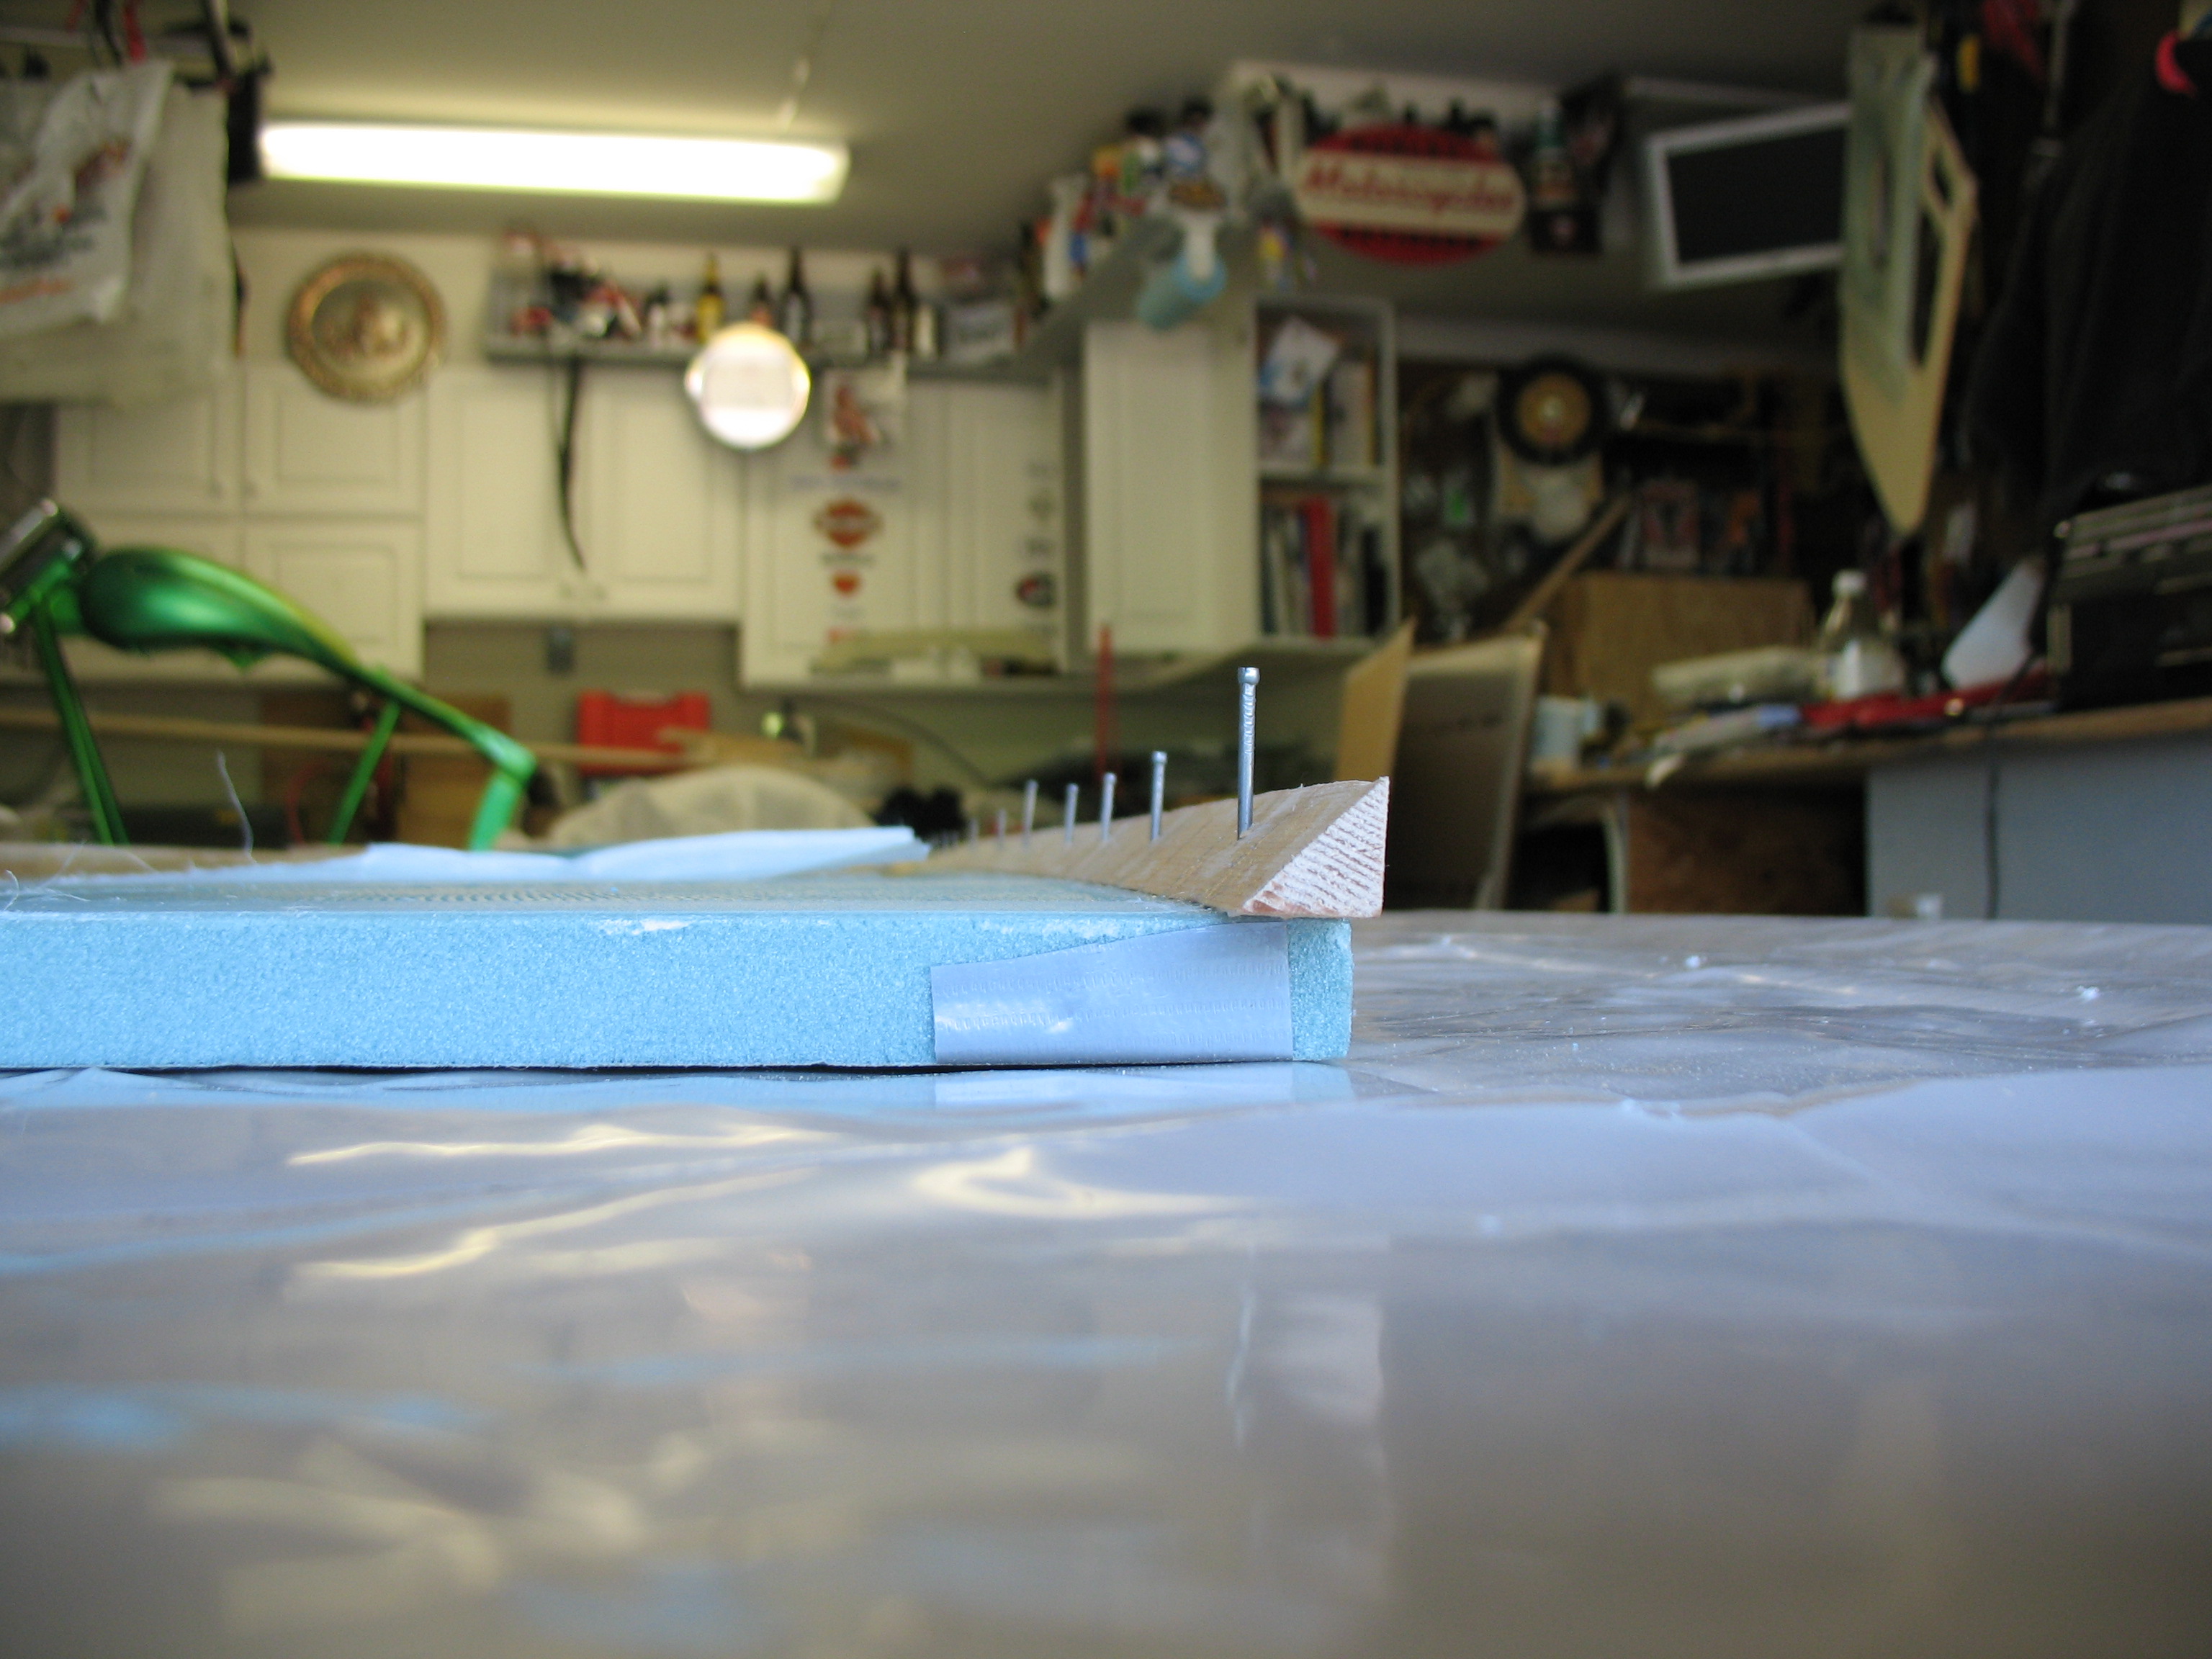
Today I attached the bottom triangular stringer (or longeron) to the bottom edge of the right fuselage side. Since the bottom of the fuselage is curved, then of course the stringer must be curved as well. To do this, as per plans, I made a series of cuts approximately half-way through the Spruce stringer. I then drilled holes through the stringer, the fiberglass and the foam to enable holding the stringer in place with medium-sized finishing nails. Once I knew the stringer was lined up correctly and matched the fuselage side’s bottom contour, I floxed the stringer to the fuselage side wall and held it in place with the nails. To ensure the most effective bond with the least amount of excess flox (excess=weight=bad), I weighed the stringer down with weights to squeeze out excess flox, as you see in the pics below.
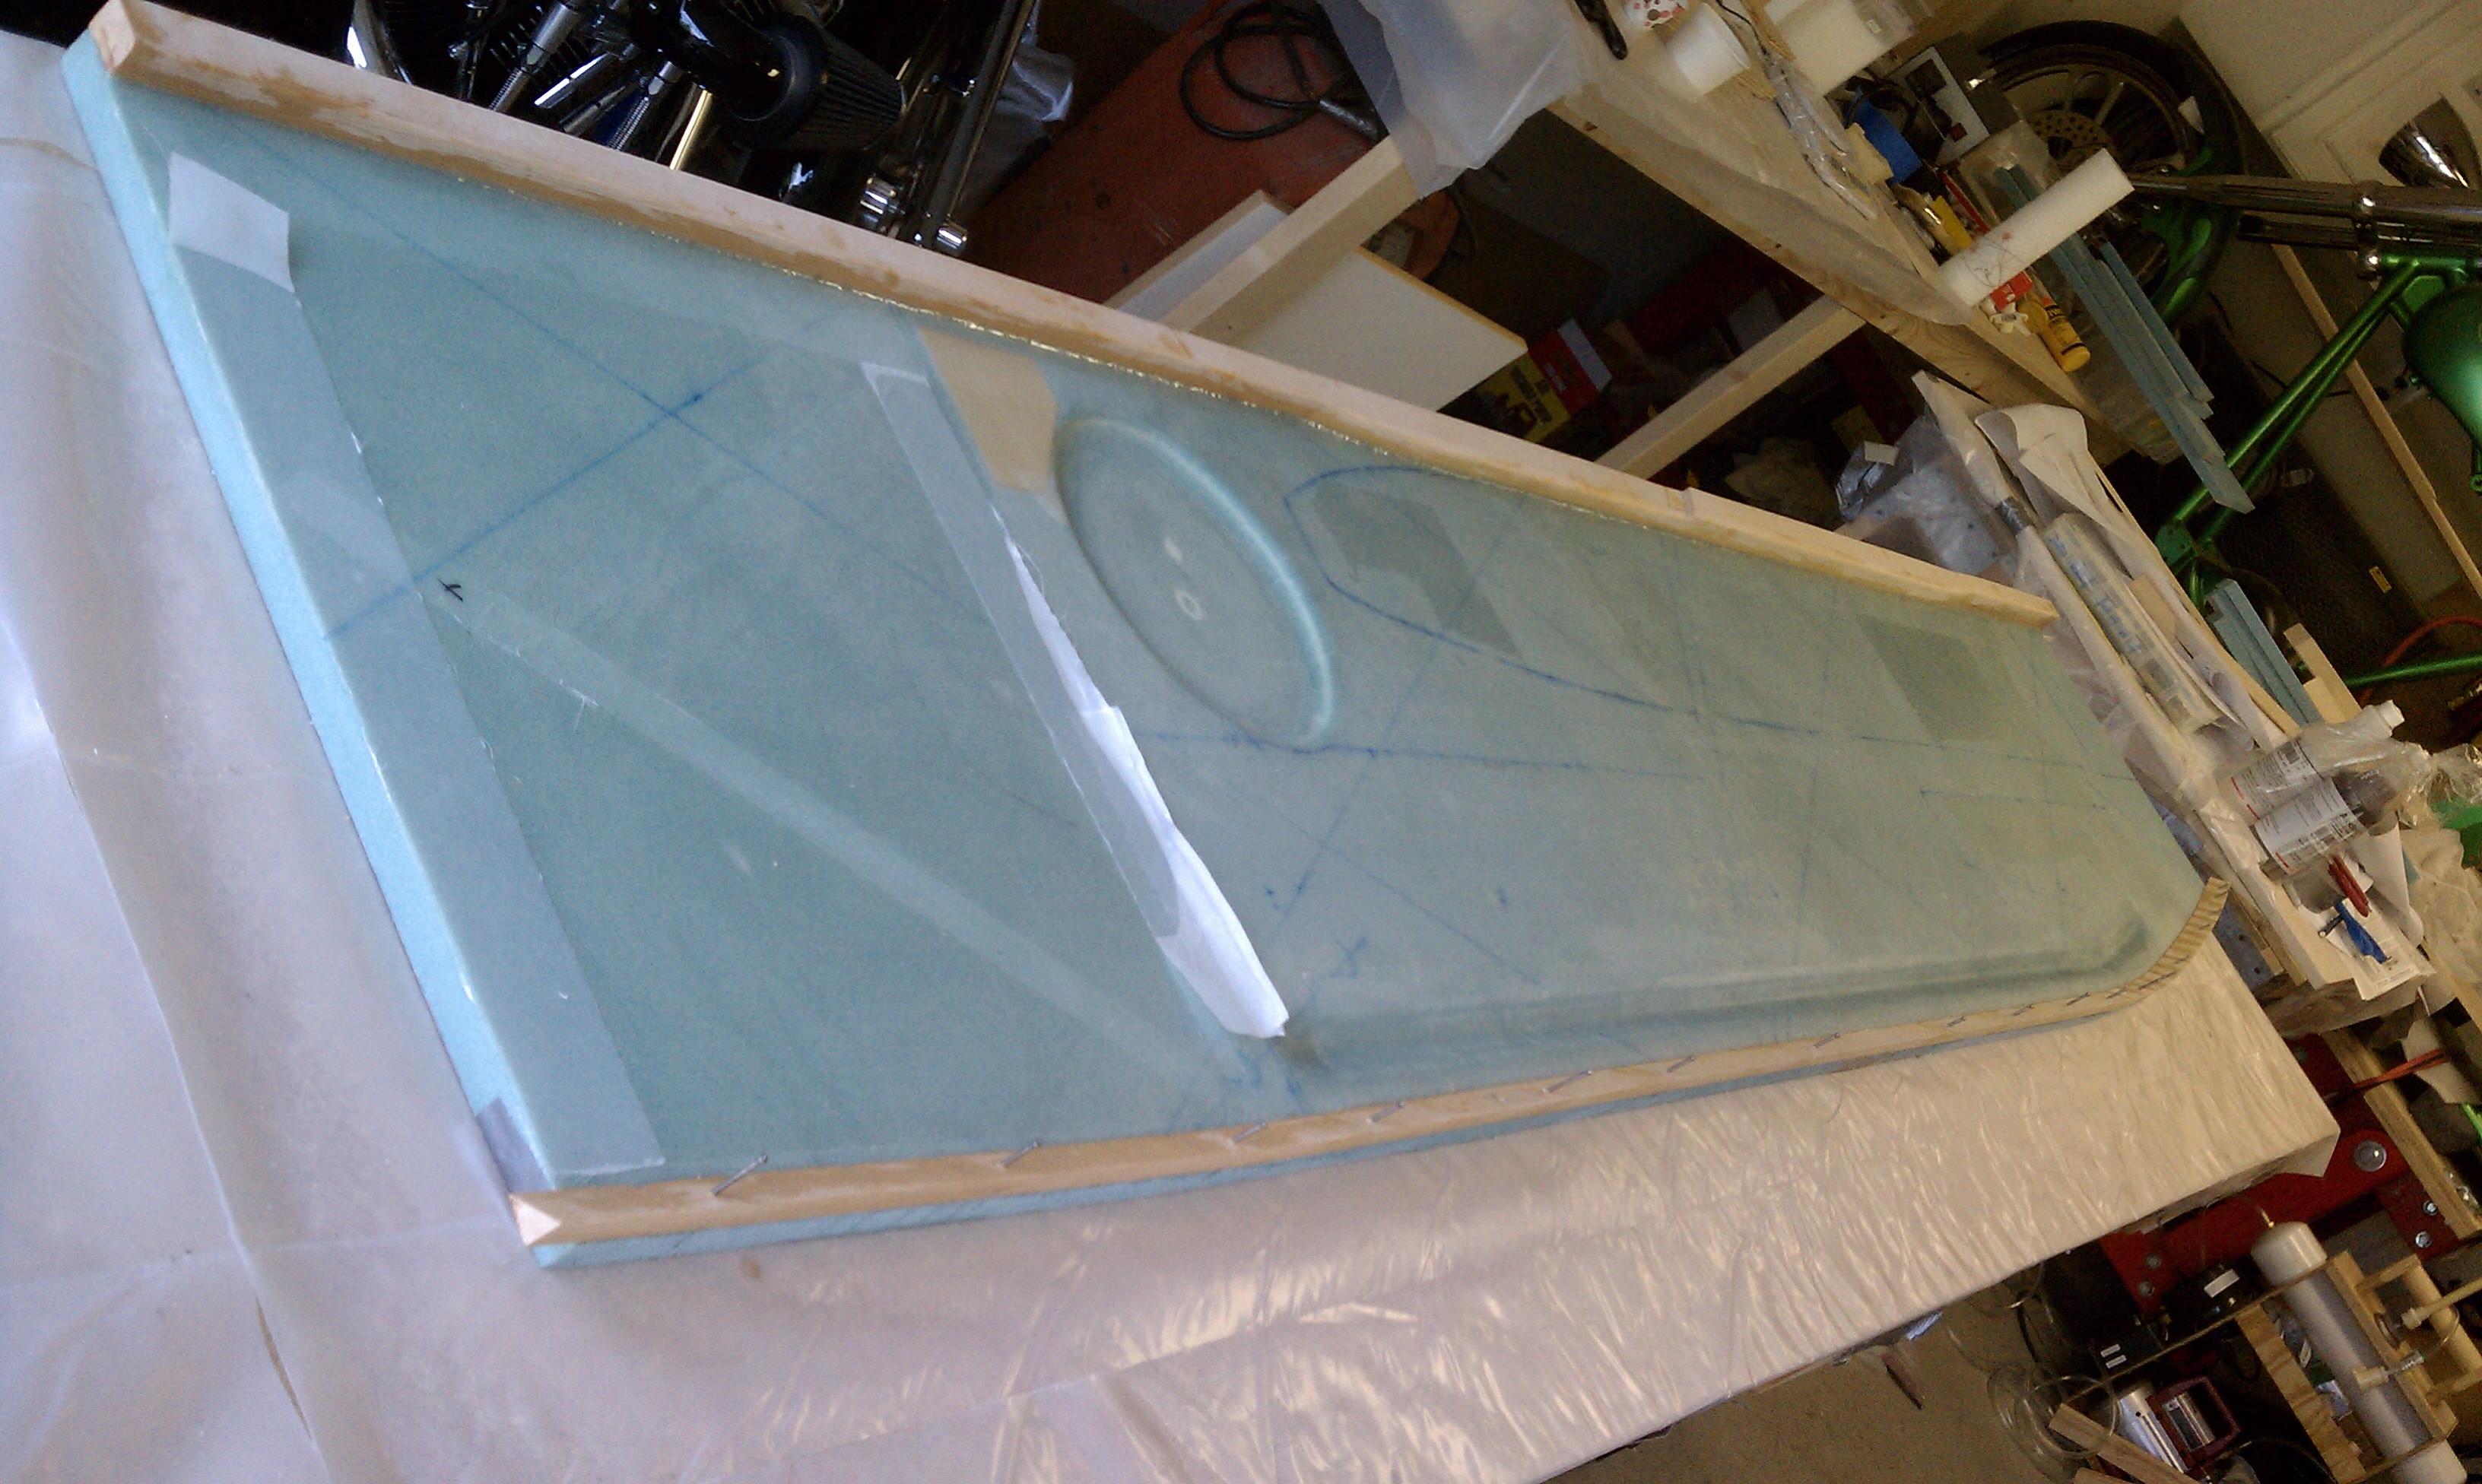
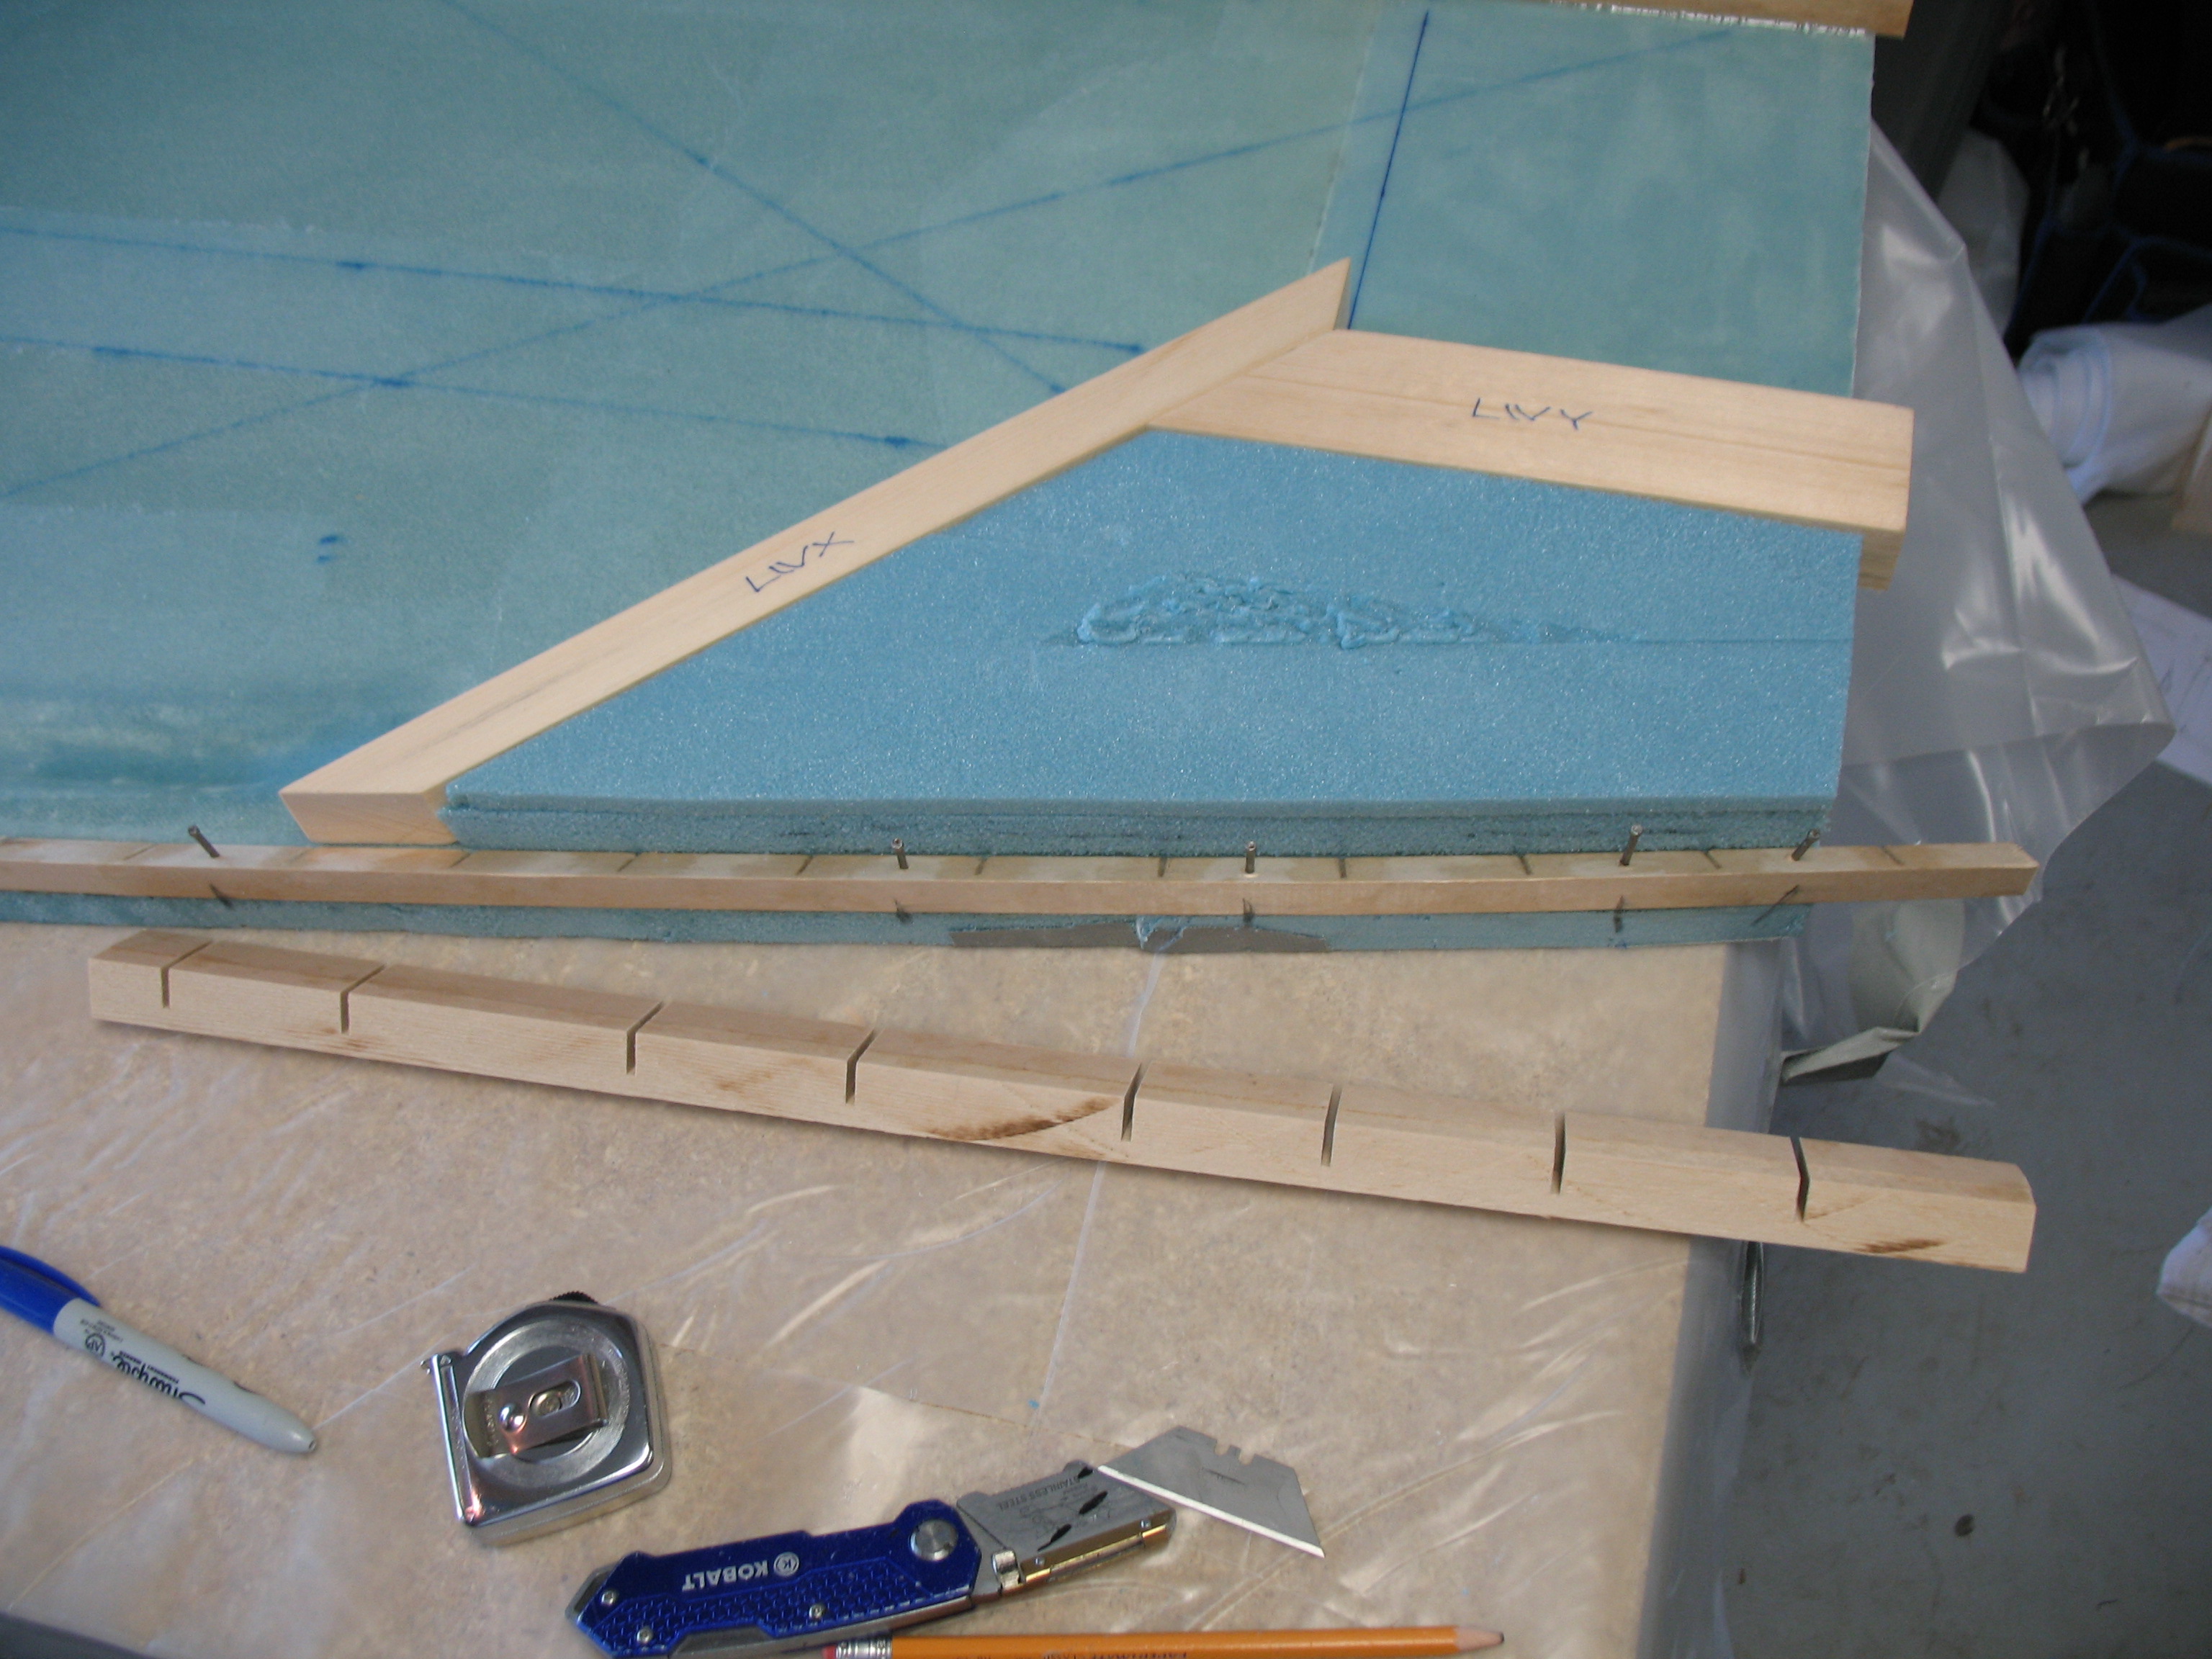
Below is another close-up end shot of the stringer—more of the nail placement actually—and a couple close up shots of the trial fitting of the LWX & LWY hard points.