
Only 7 years to get it done . . . not too bad! Haha!
I started off finalizing the install of the remaining Hell Hole components before installing the firewall.
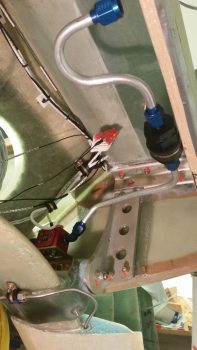
The first order of business was shaping the last bit of 3/8″ aluminum tubing for this airplane to finish up the fuel lines from tanks to firewall. I had to shape and terminate 2 lengths of tubing with AN -6 fittings on each end.
I started on the backwards question mark looking piece that is the final run of tubing before getting attached to the firewall pass-thru fitting. I try to avoid right angles on my fuel lines (not that it would matter that much here, honestly… I just didn’t have any fittings on hand) so I made this swooping loop with shallow right angle curves. With this done, it would determine the length of tubing required for my cross connect between the FT-60 Red Cube fuel flow meter and the 30 micron filter (required by Silver Hawk fuel injection system).
The tube cutting, bending and flaring process went without event, and I must be getting decent at this stuff because these two lines are the only ones I made: as in no extra pieces of mangled tubing scattered on the floor . . . not that I haven’t done that before!
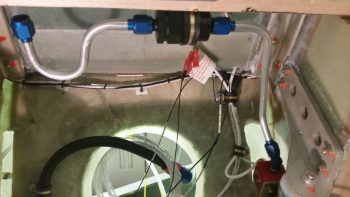
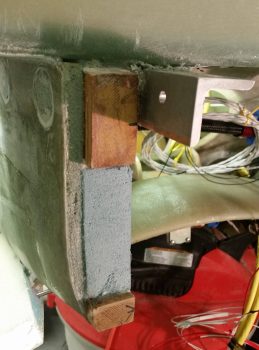
In the first piece below, you can see a black dot on the wood cross piece I clamped in place to simulate the inside surface of the firewall. This dot was my target end point for the tubing and for placing the fuel line firewall pass-thru fitting. I was fairly close on my final configuration. BTW, as you probably surmised, the wood cross piece is to simulate the firewall not only for guesstimating the fuel line exit point, but also to ascertain the depth required to give me the proper tube length between FT-60 and filter so that the fuel filter Adel clamp would be positioned up against the forward side of the firewall for mounting.
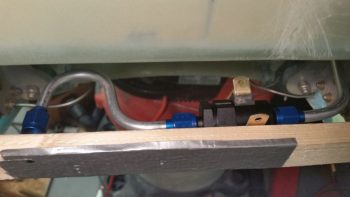
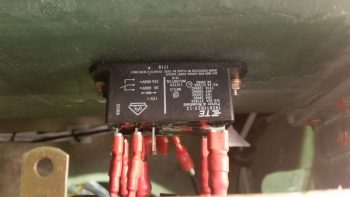
With the fuel line and filter in place, I then verified that the SD-8 relay and fuel filter could coexist in the same area . . . which they can quite comfortably.
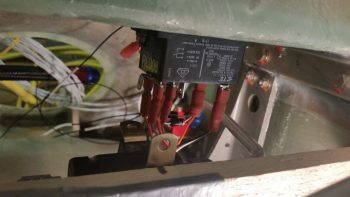
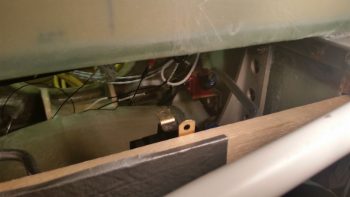
Speaking of the SD-8 B/U Alternator relay, as you can see I permanently mounted it in place under the CS Spar. After I took this pic (and video) I then taped it up to protect it from any errant epoxy when I mounted the firewall in place with BID tapes just aft of the relay.
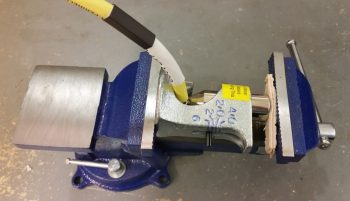
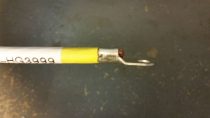
Since it was a quick kill, I terminated the big yellow ground cable with a ring terminal for eventual connection to the big brass bolt that goes through the firewall…. with the engine ground strap attached on the hot side of the firewall and the forest of tabs on the cold side. [I can’t do this with the starter power lead since it will need to get run through the small stainless steel firewall fitting first before it gets terminated].
I slipped on an appropriate label and hit it with the heat gun, then a short length of black heat shrink to cover the crimp. Then I clamped this baby up tight in the vice!
I then finished off the crimp with some heat shrink.
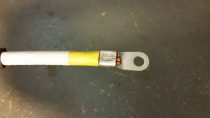
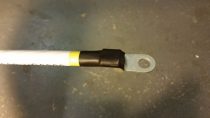
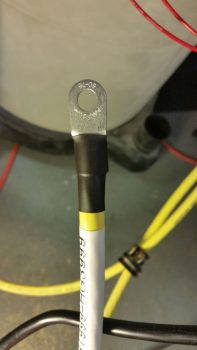
And Voila! The final terminated big yellow ground cable that gets bolted to the forest of tabs post inside the Hell Hole.
Then, to cover all my recent lower engine mount extrusions, engine mount, Hell Hole wiring and components installs, I made up a short (kinda) video to provide an overview of what I’ve been up to.
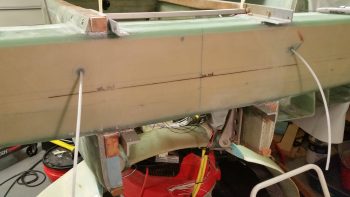
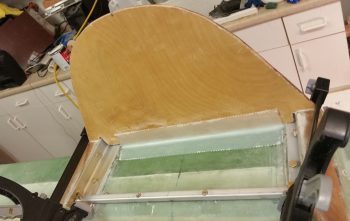
I then snapped a couple final official shots of my bird sans permanently mounted firewall….

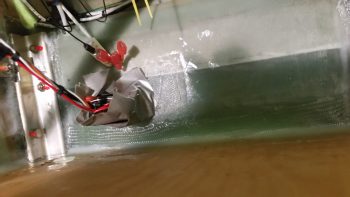
The pics above were actually taken after my initial task of cutting and micro’ing into place a small piece of foam filler on the lower aft end of the left fuselage sidewall. Again, since my fuselage is much more football shaped than a stock Long-EZ, it really places each end sidewall mating surface –that would normally mount near-perpendicular to the front face of the firewall– at a more significantly oblique angle to the firewall face. To account for these odd mounting angles, it requires some more judicious filling with foam, flox, and micro.
It took me yet still another hour+ to get the prep finished before I started mixing my first batch of epoxy. I then set about mixing a boatload of flox to get all the interfacing surfaces covered before clamping the firewall into place.
It took a bit, but once I got the firewall set in position I then laid up my prepregged 2-ply 2″ wide BID tapes (boy, it’s been a while since I dealt with BID tapes!), starting on the top CS Spar to firewall junction across the spar in-between the top engine extrusions. I peel plied this layup since I would be in the D-Deck/GIB headrest compartment a fair bit and decided to forgo having my hands ripped to shreds with wonderful invisible glass spikes.
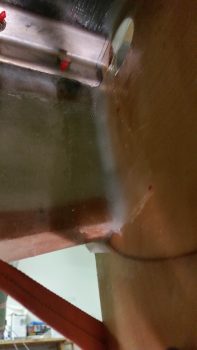
I then laid up the 2-ply 2″ prepregged BID tapes on the bottom side CS Spar to firewall corner, and both the left and right corners. As you can see, before I did any of the BID tape layups I added a flox fillet to each corner.
A bit wider angle shot of the lower CS Spar edge 2-ply BID tape to the front side firewall.
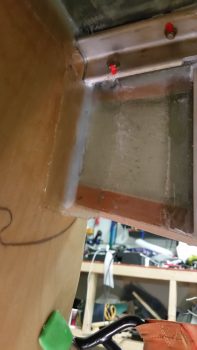
Here are the corner BID tapes. After I reviewed these pics I went back in and cleared out a couple of those air bubbles.
I then spent well over an hour tweaking and cleaning up the flox gunk from all over the firewall. All in all, a step that I thought would take 2-3 hours at most [I mean, com’n, we’re talking 4 BID tapes here… ] ended up taking about 6 hours!
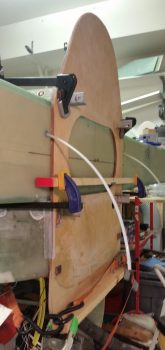
As you can see, I used a cargo strap to pull the lower firewall in towards the fuselage to align the firewall top to bottom. In actuality, the bottom is pulled closer to the fuselage by about 0.050″ to 0.060″ (<1/16″) to compress it tighter with the lower aft fuselage sides. This action squeezed out a decent amount more of flox so helped minimize weight just a tad more. Plus, once all the lower cowling attach joggles are glassed in, it will be near impossible to tell that the lower firewall is set/angled forward less than 1/16″ of an inch more than the upper firewall.
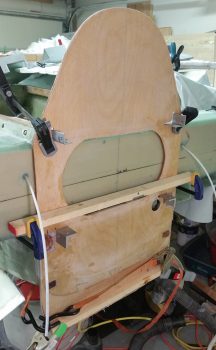
And here she is: the attached firewall! Woo-hoo!
Tomorrow I’ll sand, flocro and glass the edges of the oval with 1.5″ 1 ply BID tapes to both secure the firewall more to the face of the spar and to help seal it up.