
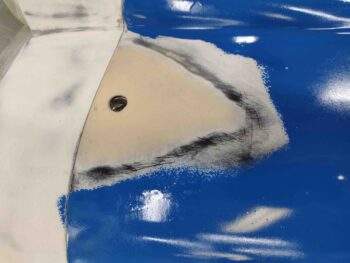
I started out today by sanding down and blending the West 410 mixture fill on the bottom right side of the bottom cowling’s front edge.
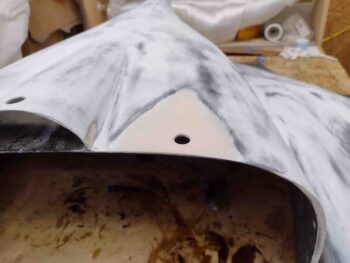
To ensure the level was correct —which is the whole purpose of this effort— I remounted the cowling onto the taped aft fuselage to then sand down the filler level with its mated fuselage.
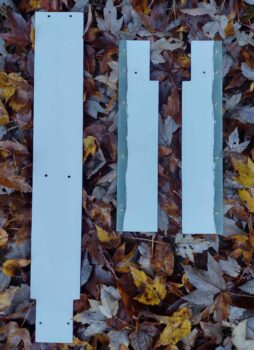
Although not the greatest pic, this shot gives you an idea of how blended this patch job is.
I then grabbed the nose gear fairing and gear doors and took them outside to sand them down. I first hit the exterior surfaces to clean those up and prep them for paint.
Since I still have some dust specs throughout my white paint, I wet sanded the inside white surfaces down in prep for buffing and polishing.
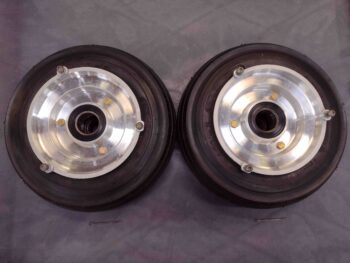
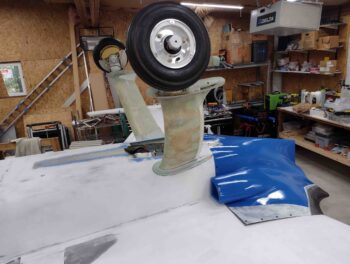
Back inside the shop, I then took a bit of time to clean up the wheel and tire assemblies. First cleaning the inboard side of the wheels, then the outboard.
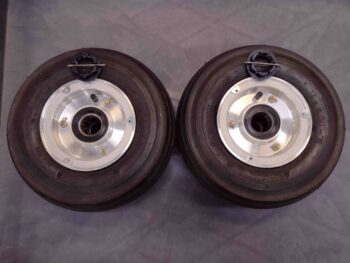
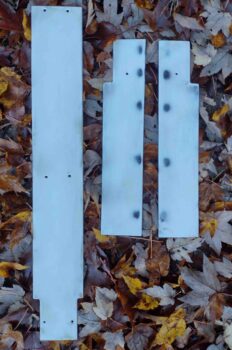
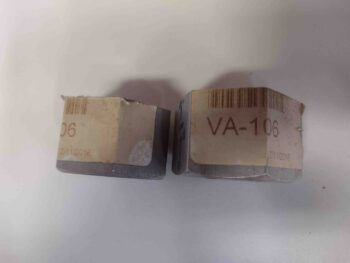
I also finally removed the labels from the outboard wheel pant mounting adapters and cleaned them up (see 2 pics below).
Then, per the Matco manual, I rechecked all the torque specs on the brake bolts. Out of 12 bolts I had only one that needed just a minor tweak.
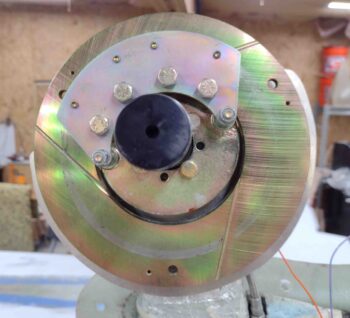
I then remounted the wheels/tires onto the axels, for good this time. Cotter pins went in into the axle nut and were bent back to ensure they stay secure.
I then spent well over the next hour mixing 2 cans of light blue paint with 2 cans of darker blue paint, and then all together, to give me the medium blue paint I was looking for.

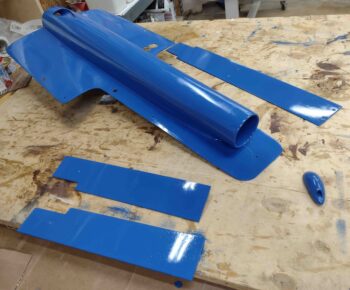
I then went to work painting the various components of the bottom of the airplane. First up was the landing brake, which I suspended in mid-air to allow painting both the exterior side and the interior edges around my checkerboard artwork.
I then painted the nose gear accessories, the belly video camera mount, and the RAM air scoop/hell hole hatch cover.
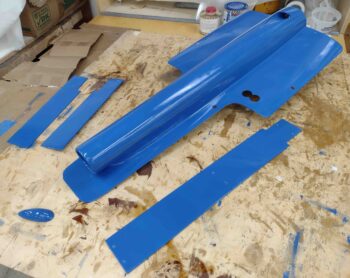
Here’s another shot of all those from a different angle.
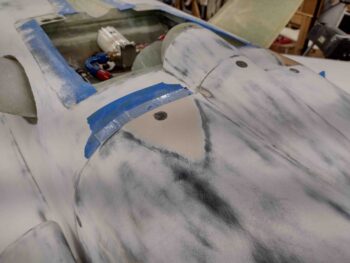
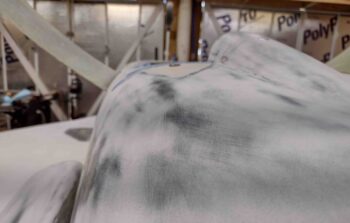
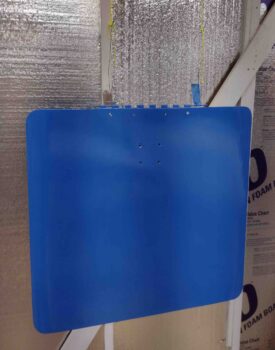
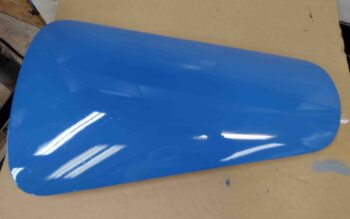
Included with the bottom-of-plane components was the top nose hatch door. It came out fairly nice. Note that all these items will get sanded in between coats, and will most likely have to be color sanded, buffed and polished to achieve the final shine. Not what I wanted to have to do, but that does give me a highly durable/maintainable and great looking paint job for well under a grand.
I’ll also note that I discovered that the 220 grit scratches are showing through on at least the first coat of the paint. We’ll see how it looks once sanded and recoated, but this is once again why I wanted to do all the bottom components (this hatch door being the exception) before tackling the much more visible top side of the plane.
And to be clear: from here on out my final pre-paint sanding will be with 320 grit.
Another issue that I ran into… specifically during this paint session, was that the first batch I made was woefully not enough and I only got the landing brake completed. However, I way overestimated how much I needed for the second batch of blue paint that I whipped up and was left with a real good bit after painting everything I had prepped (all previous pics)…. now, this paint job is a whole lot cheaper than paying someone to do it, but it is NOT cheap paint. Thus, I don’t want to waste a drop if I can finagle it.
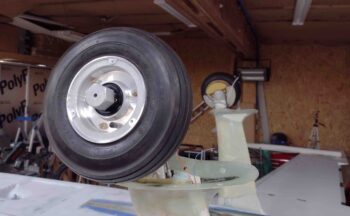
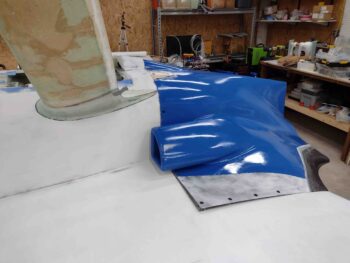
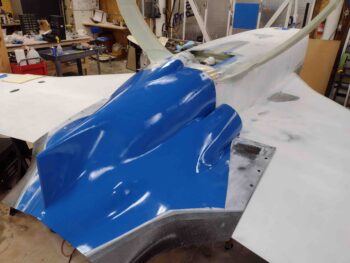
Well, the only other viable candidate to be painted was the bottom cowling… which was NOT on the list to be painted tonight. So I quickly taped off roughly what I estimated the borders to be, then cleaned it quickly before slathering on a good bit of blue paint [Note the re-installed tires/wheels].
Normally I use the word “slather” half in jest, but unfortunately I did lay it on a bit thick here to create a nice thick base coat. Clearly the vast majority of the bottom cowl is like a steep ski slope and I had a fair number of runs.
Still, I’ll reiterate that this type of experience is what I’m trying to dial in to get a good feel for this paint system. Yes, the bottom cowling is a fairly visible component, but this being the first coat gives me a good idea of how thick I should be laying down the paint.
I’ll also note the West 410 mixture fill, that I sanded down earlier, was epoxy wiped with 3 coats of West epoxy and is ready to be sanded and primed.
And with that, I called it a night on this very long build day!