I started off today doing a couple hours of updates, maintenance and page additions to this website.
I then created a to-do/task sheet for mounting the wings to the CS spar, free-associating any task I could think of related to the process, and then printed out the sheet. From there, I ran out to grab a bite to eat with sheet in hand and added a bunch more to it while I sat there pondering the wing attach steps. I also drew out a basic diagram of the multi-legged (or “spidered”) water level that I will need to incorporate to ensure the wings are level at all the right spots before drilling the wing attach bolt holes. I then went home and inventoried all my clear plastic tubing and associated fittings. I should also mention that when I got home there was a delivery from Amazon which contained my Wheel Bearing Packer.
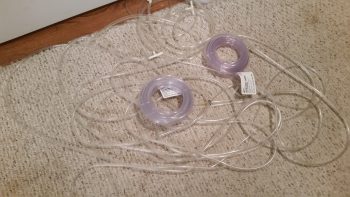
I also drew out the dimensions for the saw horses and was about ready to go outside to cut up the 2x4s I bought the other day when it started pouring down rain. Oh well. So instead I jumped in the truck and headed to the Woodbridge Lowe’s to secure 40′ more of plastic tubing and a few more “T” fittings. I know a lot of builders use PVC pipe in their water level setups due to the low cost, but I don’t like NOT being able to see any air bubbles in the line since it can/could really throw off a level reading.
I already had 50′ on hand from a water level that I had bought for another project, added to another 12′ from the shop, which gave me over 60 feet of tubing. I calculated at lunch that I would need around 100′ for the water level setup I’ll employ… which is pretty much identical to Bernie Siu’s as far as the wing points that I’ll be measuring.
After I returned home from my foraging for parts at the Aviation Department at Lowe’s, I figured it was time to put the main gear wheels back together. It was still raining a fair amount so I didn’t want to move the bike outside, which meant no space to really work on the wheel pants. Besides, if I can get my plan into motion I’ll need to be able roll the fuselage around on all 3 gear, which of course means the main wheels need to be remounted… properly!
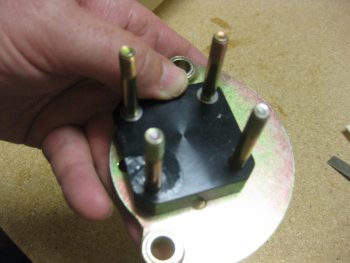
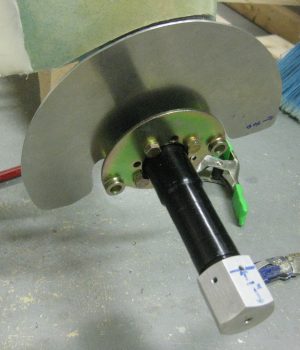
I grabbed the packet of 0.007″ stainless steel washer shims that I got from McMaster-Carr and pulled out a couple. I then removed the axle & brake caliper mount assembly and swapped out the longer bolts with shorter AN4-21 bolts. I then put a thin 0.007″ shim on each of the forward axle bolts. Although these washers are very thin, the affect at 24″ inches forward of the wheel is that they should kick the toe-in out enough to match the left side toe-in and distance from centerline.
I remounted the axle, brake caliper mount and heat shield. Since I wanted to get to packing the wheel bearings with grease, I left the torquing of the brake assembly bolts until tomorrow.
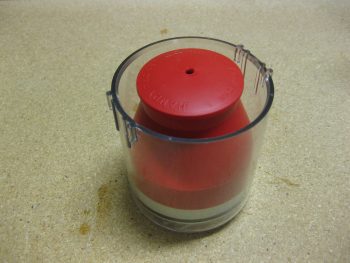
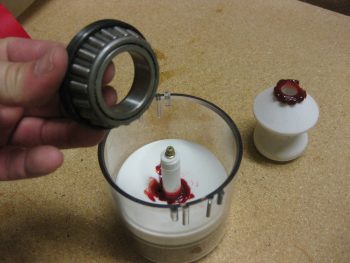
Here’s my freshly delivered wheel bearing grease packer:
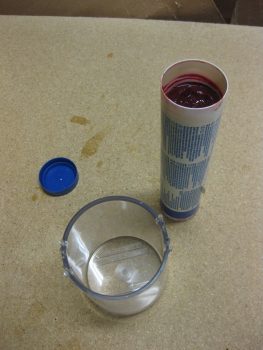
I grabbed my tube of aviation grade grease . . .
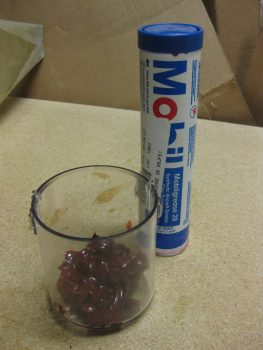
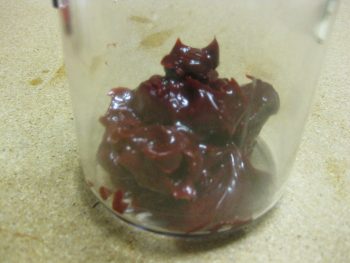
and put a good amount of it in the bearing packer cup.
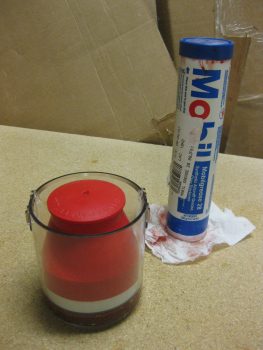
Here’s a close-up shot of the Mobilegrease 28.
I then reset the inner base with its integral o-ring back into the cup.
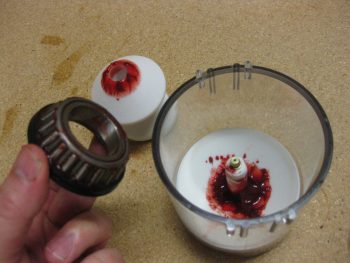
And grabbed the first wheel bearing off the right wheel to test out my new toy.
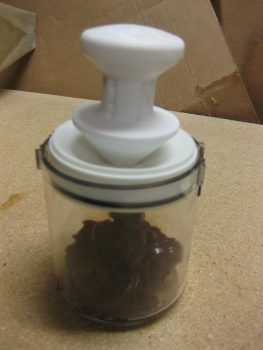
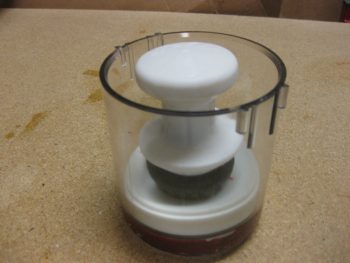
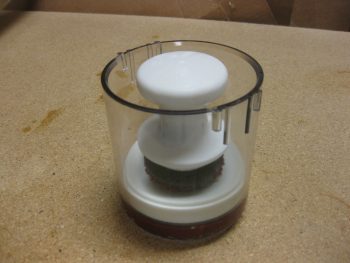
Here it is, all set to go. Just need a good bit of pressure to get the grease to squeeze into the bearing cups.
Like this.
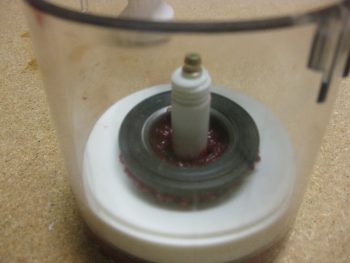
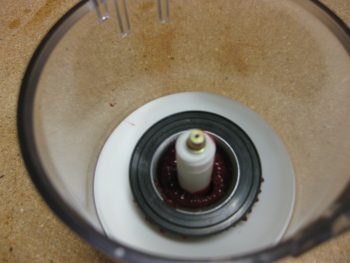
Here’s a couple shots after with the upper plunger body removed.
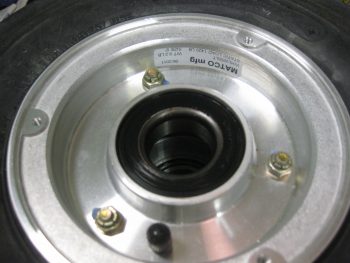
I then removed the bearings from the cup, cleaned off the excess grease, and reset them back into the wheel. Before actually seating the bearings, I cleaned the race with a very light coat of grease.
Here’s bearing #2 after getting packed with grease. I have to say, this wheel bearing packer works pretty darn good!
After I finished packing all 4 bearings (2 per wheel) I set the red cover into place to keep the grease fresh & clean, and cleaned up the grease on the tube & recapped it.
My goal for tomorrow is to get a fair amount done on the wheel pants (lots of sanding!) and as much done as possible on the preparations for mounting the wings to the CS spar.

