
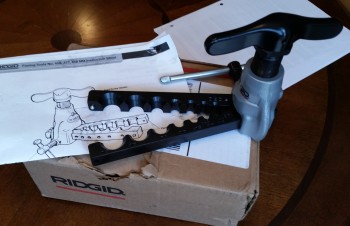
First off, UPS delivered my Ridgid 37° flaring tool yesterday morning. This tool will enable me to flare my 3/16″ stainless steel brake tubing, thus allowing the final pieces to placed into the brake line system. Now, this tool’s specs does not specifically state that it’s rated for stainless steel, but many of the reviewers on Amazon did clearly state that they used it with very good results on stainless steel. So I figured I would give it a try. I will tell you that it is much bigger than it looks in the pics, and this thing is a heavy, robust beast.
Secondly, I’ve been doing a fair amount of research on my toe-in dilemma and I’ve decided to pull the wheels, configure the fuselage upright without the fuselage dolly in the way and do one final toe-in setting to get them to specs. After reviewing both the plans, what other canardians have done, and even the standard on other types of aircraft, I’m concerned my toe-in is too much, even for a heavier than plans bird. I would probably not mess around with it if it were, say, 0.5″ total vs. the 0.45″ total called out for in the plans, but I’m significantly over at 0.6+”.
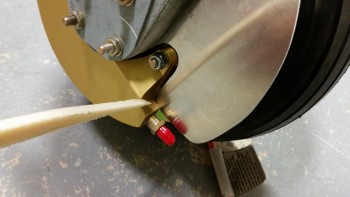
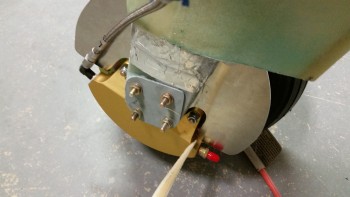
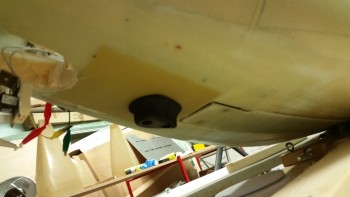
Finally, I’ve been updating my to-do task list and one thing I forgot to add came up today when I took a couple of pics to send to Marco earlier. I was pointing out how the aft tab of my right heat shield was just barely kissing the brake caliper… as I’m pointing to in the pics below. I’ll trim about 0.1″ off that area when I remove the wheels (AGAIN!) to set the final toe-in.
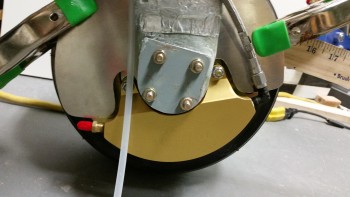
As you can see, the left side heat shield clearance is fine.
This morning I got an order from McMaster-Carr with my 1-1/2″ stainless steel cap head screws to replace the 1″ screws Marco had included with the nose bumper. Since I had to install the nose “Exoskeleton” over the 1/4″ thick 2024 aluminum skid plate that has K1000-4 nutplates riveted to the back side of it . . . well, clearly I needed longer bolts. This makes today the first time that my nose bumper has been officially mounted on the lower nose!
As for the build, I’ve clearly not been in the shop much lately. This is due primarily to my Commercial Pilot Rating ground school which, to be honest, is kicking my butt as far as the amount of time required to complete the course work. I’m trying to get ahead of the power curve, but then I fear once I start flying, the pace will only worsen. We shall see. I do honestly believe that once I can stop playing catch up and get into a good battle rhythm, that more work will get done on the plane build.