
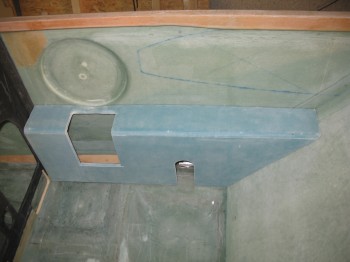
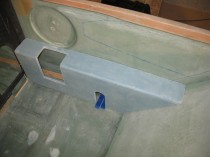
I knife trimmed the Right front & Left rear consoles. I marked up the dimensions on the Right front control console, and then cut out the panel for the control stick & seatbelt access (yes, in my haste I cut the seatbelt cutout too narrow, and simply left it to cut wider later on) . . . I also removed the peel ply.
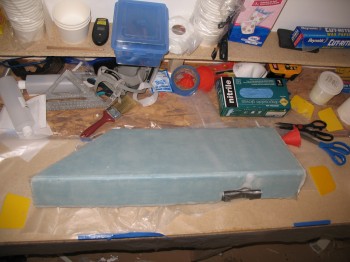
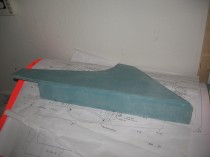
 I then removed the peel ply from the Left rear console & cleaned up the edges a bit more.
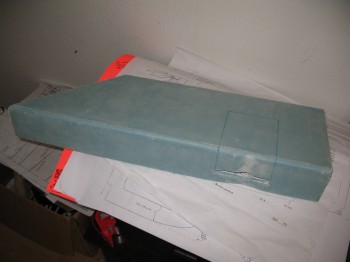
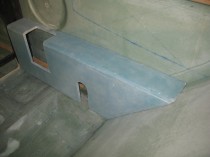
 I then took the Right front console out to the fuselage to mock it up & check out how it fit.
After I finished for the day with the consoles, I removed the clamped wood blocks and removed the main landing gear out of its mount.
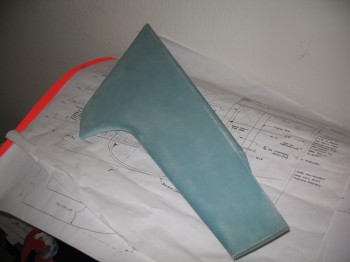
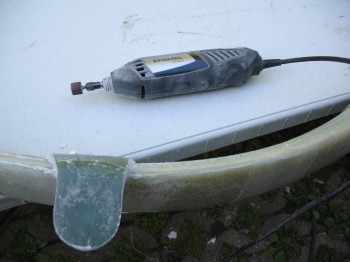
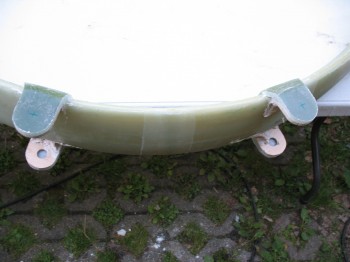
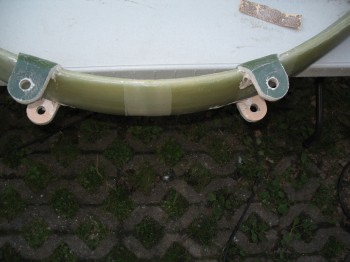
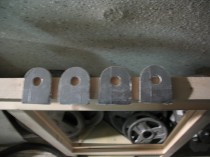
I then took the main gear outside & put in on the folding table (my portable workbench). At first, I started to trim the excess cured glass by using a coping saw, but that didn’t last very long. I quickly switched to something a bit more electro-mechanical, pulling out the Bosch saber saw! It worked great (read: “fast”) and I trimmed the excess glass on the tabs down to within a respectable 0.1″ of the wood templates.
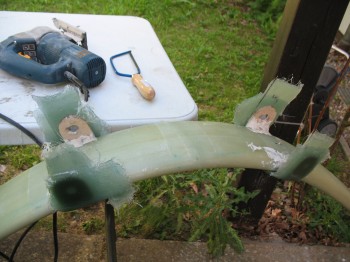
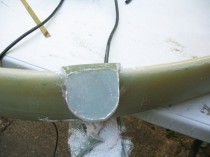
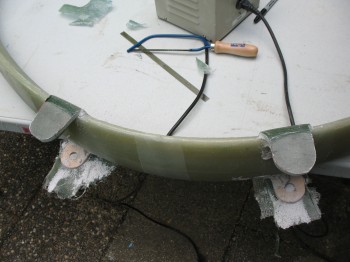
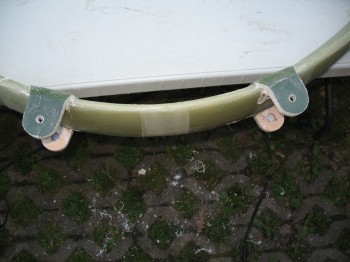
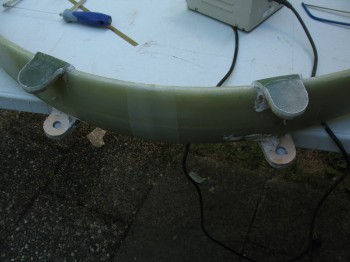 I Dremelled the gear-tab to gear-leg junctions to get a smooth, round, flowing edge for all the tabs. With the Dremel I was also able to clean up & smooth out the saber saw marks around the outer edge of the tabs.
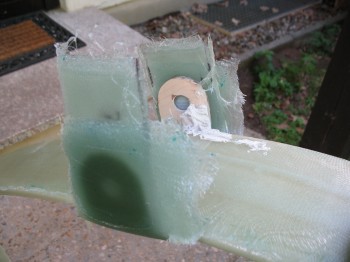
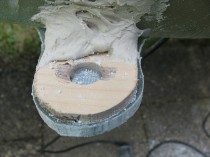
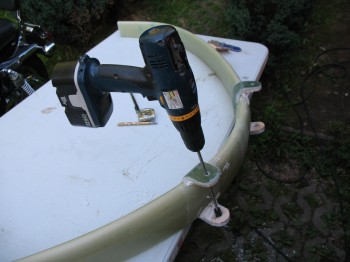
 I marked the center of the holes & drilled a 1/8″ pilot hole to check that I was centered in the hole (the 5/8″ hole of the wood jig).
 Once I was centered, I drilled 3/8″ pilot holes & then used the 5/8″ arbor bit to drill the main landing gear holes… it worked very well!
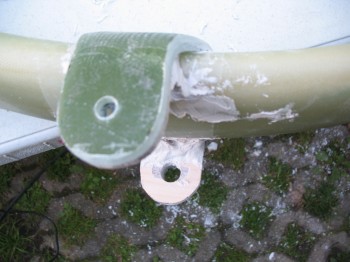
 I tried to insert the steel LMGA tubes into the holes, but they wouldn’t go in. I used my round Perma-Grit tools to bore out the holes a little wider, going very slowly and removing just a very little bit at a time. It was a fair amount of work & took about an hour to do, but I definitely wanted to ensure the fit was tight and the holes weren’t bored out too wide. Also, while boring out the holes I realized that the final fit should be without the wood jigs attached. So I popped the wood jigs off, finished boring the holes and then spent about another hour digging, sanding, grinding, clawing and scratching out the dried (or should I say cemented!) bondo.
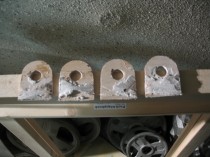
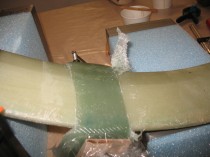
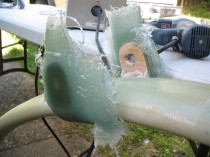
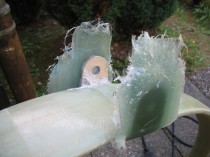
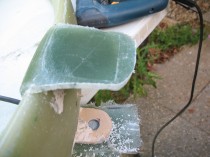
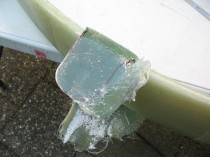
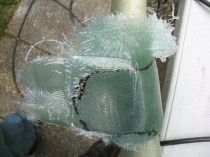
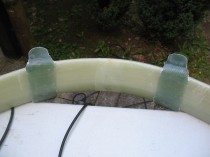
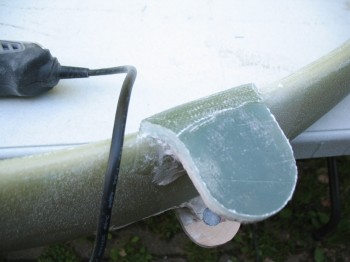
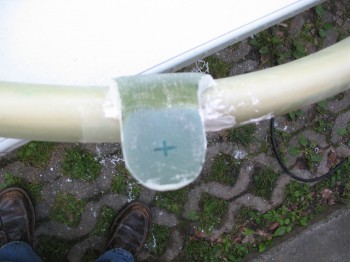
Well, I think I’ve shared my personal philosophy on building an airplane. I’ve said over & over again that building any airplane is simply having the perseverance during the build to repeatedly fix the things you royally screw up. And this my friends, was one of those times. As I was sanding the tabs, I noticed a dark line near the inside of the tab. I sanded it down a little and messed around with it, but it was still there. I then realized it was probably plastic from the peel ply layers. I confirmed this by sticking in a razor blade and digging out some plastic! That’s when I deftly thought: if it was on this side . . . ?! Yep, there it was on the tab opposite the one I was working on. I realized that with it being on both sides it wasn’t simply an anomaly, it was something serious & bad . . . I took the gear out to the garage and marked the edges of the tab glass and put a couple of X’s on each side for alignment purposes. I then put some towels down on the floor, grabbed a rubber mallet and hit it a few times. At first it didn’t seemed to do anything and all appeared solid, but I wasn’t overly convinced so I gave it a couple more good whacks and off it popped. Smooth and shiny on the inside.
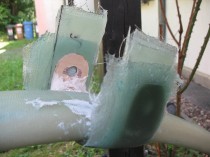
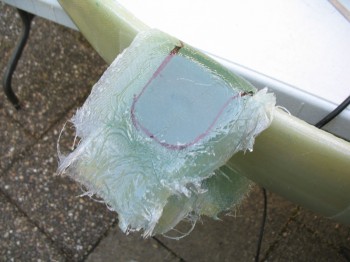
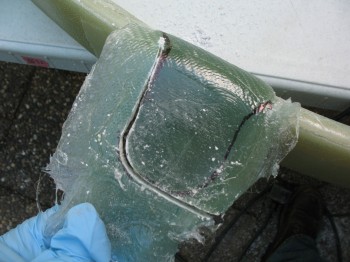
Well, I made a few phone calls & talked it through. After a bit of discussion, I finally decided to sand each side down and flox it back on. Besides bouncing it off some other bubbas, a few key things helped me in that decision. First, flox is some tough stuff & it’s structural. Second, the effort that it took me to knock the tab glass off with only a layer of plastic between the plies was significant, serving as a testament to just how much grip strength epoxy has in general–that a layer of plastic would hold so well. And third, the configuration of the landing gear tabs has the steel LMGA tube floxed across and through each side of the tab holes, then into all of the plies on the piece that was knocked off–with the remaining plies still left on the gear–and the soon-to-be inner plies that I would glass in. Thus, I decided I would proceed with the flox repair.
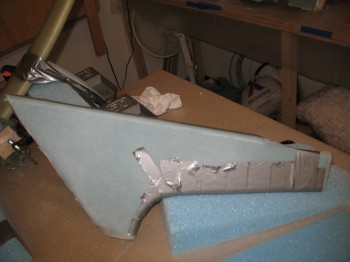
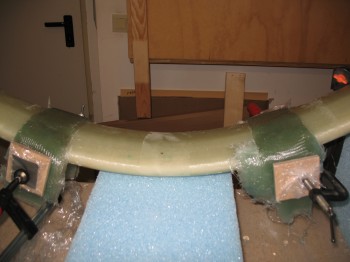
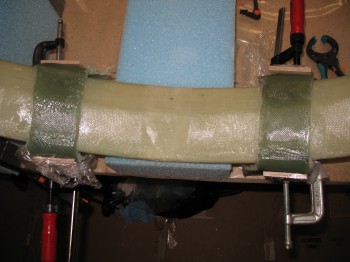
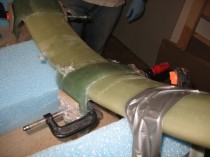
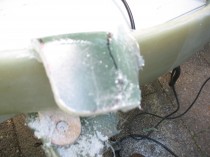
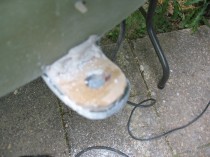
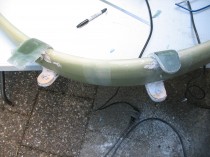
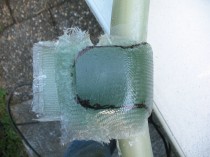
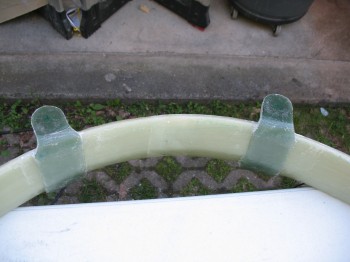
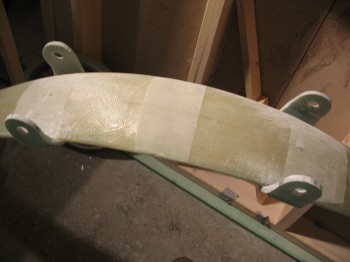
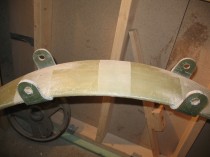
Unfortunately, the only pictures I have were after all that took place, since I was in emergency response mode and not concerned about documenting anything until afterwards. You can see in the pics below that the flox has just been applied and the gear is back in the workbench mount with a myriad of clamps holding it tightly back into place.
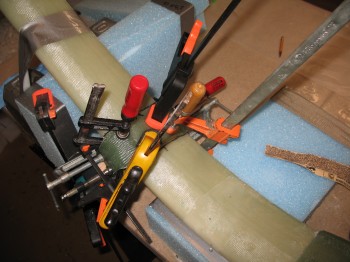
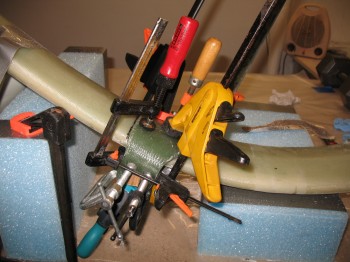
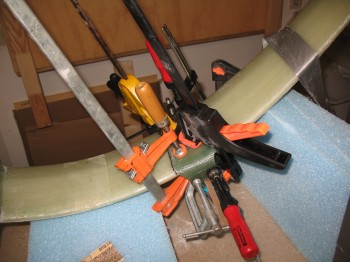 I checked it out before I went to bed. . . the clamps had held it in exactly the same spot, with no slipping or movement, so I called it a night.