
Today I started off by logging in the recent Mouser order that I just received. Specifically, I figured out where a couple switches that were in that order actually went. So I labeled a few switches and updated my panel & switch diagram.
I’ll note for the record that yesterday I went to Lowe’s and bought 8 each 10′ 2x4s specifically for building sawhorses to mount the wings to the CS spar.
Today I also went to Lowe’s & Home Depot to research PVC tubing and fittings availability for the water level that will be used in mounting the wings to the CS spar. I also did a fair amount of research online of other builders and incorporated their lessons-learned into my plan.
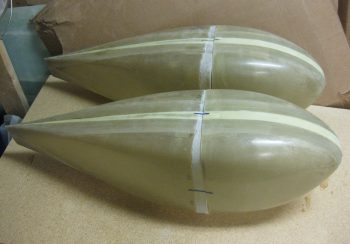
As far as wheel pants, below is a shot of the pre-widened wheel pants along with a shot of the widened wheel pants.
Before:
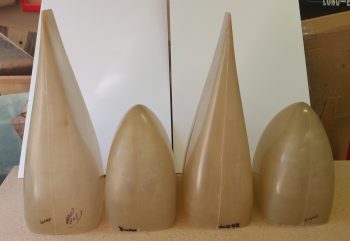
After:

Back to following Wayne Hick’s steps for mounting the wheel pants, I squared up the receivers on the front wheel pant assemblies and the flanges on the aft side wheel pant assemblies. After I squared up the wheel pant mating areas, I sanded down the internal edges of the front wheel pant sides and the flanges on the aft wheel pant sides to prep them for mounting.
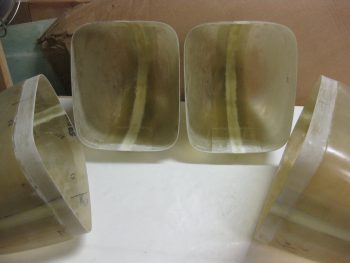
Now, Sam James –who makes these wheel pants– will tell you that you have to cut the wheel slots before the aft flanges will fully fit into the front wheel pant sides’ receivers. In fact, both before & after I widened the wheel pants, the best I could get in assembling the wheel pants was 3 corners in with one corner prominently hanging out. Well, I guess these are still exactly the same after I widened the wheel pants!!
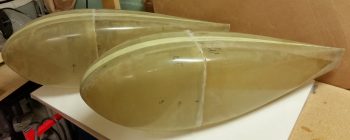
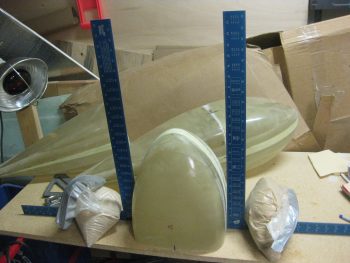
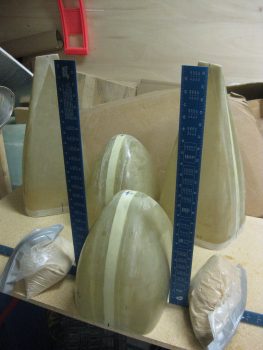
Nonetheless, I set the wheel pants up as closely as possible to being a mated pair and shot a couple of pics below:

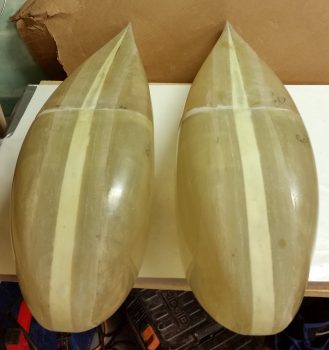
And here’s a head on shot with the wheel pants almost mated together….
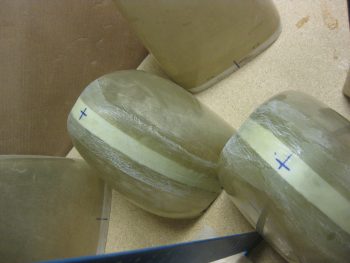
I then rechecked the centerlines and waterlines as compared to the ones I had measured “pre-widening.” I have to tell you that although I was double-checking center mass/center lines, it was nice that everything looked spot on after the wheel pant widening.
Here’s another shot after all the CL’s and Water Lines were marked.
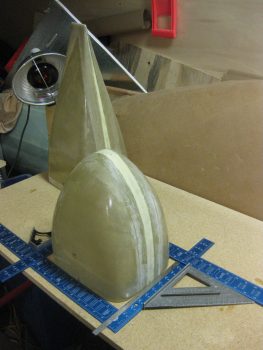
I then checked the front wheel pant parts to find both the Centers & the Waterline.
Here’s another shot of the forward side wheel pant getting measured for actual width and actual centerline.
Here’s the final result of finding the wheel pants’ nose CL.
 Tomorrow I am going to finish up as much as I can on the wheel pants so I can move on to working the plan to mount the wings to the CS spar, and then the CS spar to the fuselage.