
Today was all about getting the shop reorganized for the main gear install.
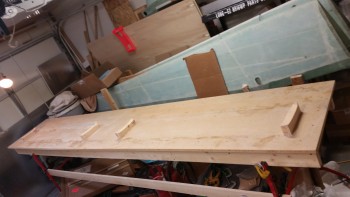
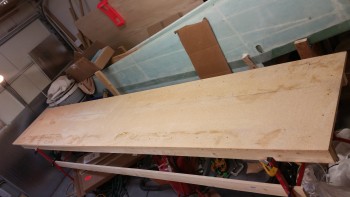
I started by clearing off the top of the canard building table.
And then removed the canard supports. I also thoroughly cleaned the work bench top by removing all the epoxy puddles, flox & micro residue, etc.
I then dismantled the canard work bench.
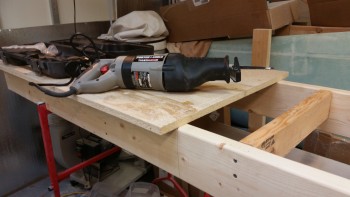
But not before cutting off the last third to make a smaller work bench top. This should help my back when I’m working with my portable workbench tables that are just a tad too low to be working over them for hours & hours on end.
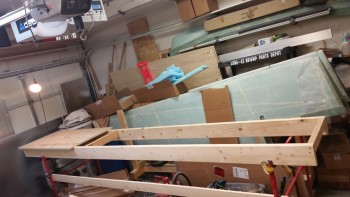
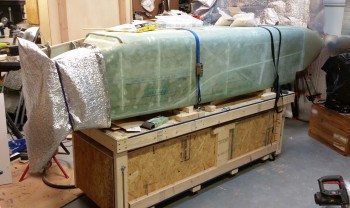
I then spent a few hours cleaning and organizing the shop to get to my final result: getting the fuselage flipped around in order to work on the aft end. I have to say that I was really pleased with my fuselage dolly here in that it made it really EZ to get the fuselage flipped around. Even though the 4 wheels aren’t the highest grade and are probably just a little overtaxed, they do ok on making the fuselage dolly a really useful mobile work platform.
Today I also made the decision to move forward with swapping out the small AN960-416 washers on the landing gear extrusion mounts with the much larger AN970-4 washers as recommended in the CSA newsletter to help spread compression loads better. So I spent over an hour researching details on the washer swap as well as other gear install subjects. I also updated my main gear installation task list, as well as spent some time on resequencing my build steps on the master project plan.
As for the gear mount washers, I do remember that I was frustrated while installing the landing gear mounts with the amount of torque required to get the bolts tight, but the amount of wood & glass crushing to get to a decently tight bolt installation. I also remember using the recommended torque value for 1/4″ bolts on the first bolt or two before realizing it was simply way too much and that I was really crushing the glass & wood, so I started using less torque to keep the bolts in place, which I wasn’t happy with. So I’m hoping that these larger washers will resolve this issue and correct any adverse damage that I may have caused in the original process of simply installing the landing gear mount extrusions.
Unfortunately, unlike some of my other building buddies, I learned about this too late to accomplish the washer swap before I had glassed the outside of the fuselage (I guess it’s the price one pays for just building “too” fast . . . ha!) I’ll have to cut into the fuselage side glass to get these suckers swapped, which was my biggest hesitation in doing this swap. Well, that and the fact that clearly there are a lot of older birds out there that never did this large washer swap/install that are still working fine. Still, I’d rather be safe & proactive now than have to upgrade these washers once the plane is finished & flying.