
I started off today by heading to breakfast and building my plan for mounting the wings to the CS spar, the CS spar to the fuselage and then the canard to the fuselage. Still many moving parts to work out, but I hope to have it all done before I head out to Rough River.
I also wrote out today’s task list on a 3×5 card for the initial steps on the Wheel Pants. To reiterate, I’ll be prepping the wheel pants just up to the point of installing them, which I will then do after the plane has been flying for a while. Not my idea of an optimized install, but as I said before, there’s just too high a chance of having to rework some of the wheel & axle geometry. Thus, Wheel Pants install will wait!
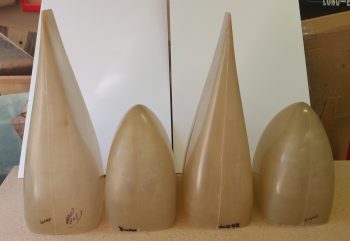
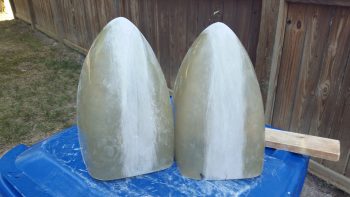
My goal today was to get the gear pants sanded, split, widened with spare foam and then glassed. As you’ll see, I met that goal on the front halves of the wheel pants, but alas, I will have to finish the aft side pants tomorrow. If you missed why I’m making all this effort to widen what appears to be a perfectly good set of wheel pants, check out Wayne Hick’s explanation on his Cozy build site . . . none better.
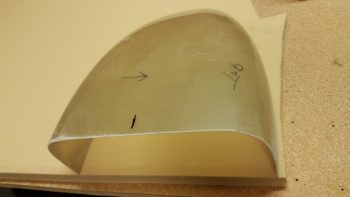
I started out by getting a good idea of the center lines for both the vertical and horizontal planes. After trimming the outside of the opening for any offending glass or epoxy goobers, I then set one side of the pant in between 2 squares. I then pushed the squares in as far as they would go, ensuring that they too were in fact square to each other. I then measured and marked the center on all 4 sides. I then flipped the wheel pant half 180° around and did it again.
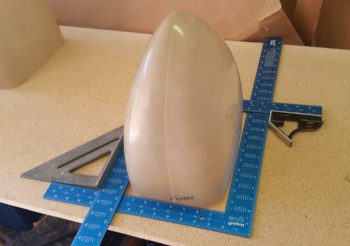
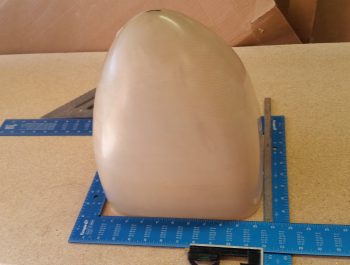
On the next forward wheel pant half I turned the center line finder assembly 90° so that I could more easily check the top and bottom center lines vs the sides. Since I’ll be splitting this sucker down the middle, at this point probably better that I am more zeroed in on the top and bottom marks.
I proceeded to check the center lines on all 4 wheel pant halves, doing each one twice as described above to ensure that I had the correct marks.
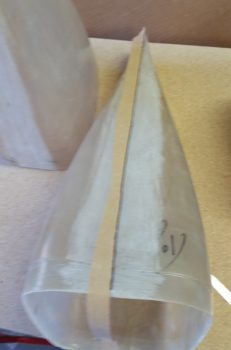
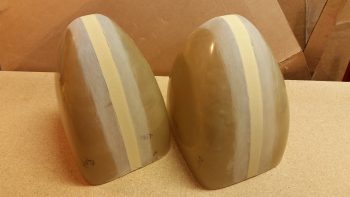
Here are the bottom of the wheel pants. The centerline mark is pretty much aligned with the mold seam of each wheel pant half.
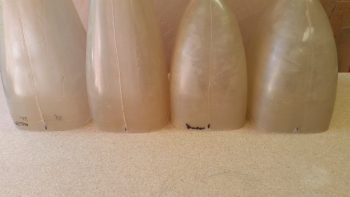
However, the top sides tell a different story. These are all off by about 0.15-0.2″ from mold seam, which intuitively one might call the center line. Hmmmmm . . . .
In prepping the wheel pant halves for sanding, I didn’t want to lose my centerline mark on the nose, so I took my German saw and made a nick-mark into the nose of each wheel pant.
I then measured just a hair over an inch from the centerline all the way around the forward wheel pants to give me a 2″ wide swath to sand.
I then took the wheel pants outside and sanded the 2″ band around the centerline.
And then did the same for the aft wheel pant pieces.

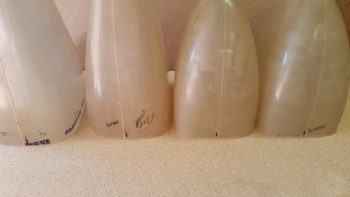
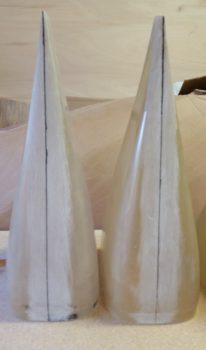
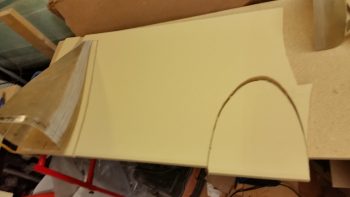
I then brought all the wheel pants back into the shop, cleaned them up & wiped them down quickly to get all the sanding dust off of them. I then ran some tape down the centerlines and marked the center cut line with a Sharpie.
Here are both aft wheel pant assemblies marked for cutting.
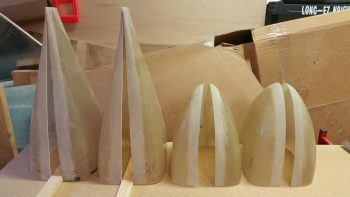
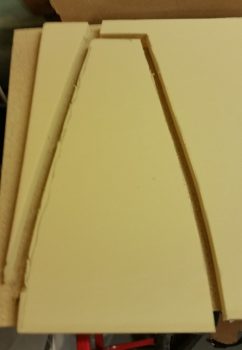
This is the “after” pic with the aft wheel pants cut down the centerline. I left just the aft vertical spline in place just to make it easier (hopefully!) to glass in the widening wedge.

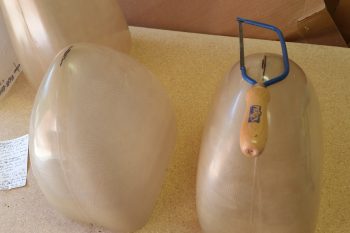
After a decent amount of sanding and using my Fein saw, I finally got these guys all split in two.
I then dug out some 1″ thick crap urethane foam I have and used that for the widening blocks.
And simply aligned the straight edge of the wheel pant along a straight side of the foam, then marked the foam about 1/4″ bigger than the wheel pant piece.
I then cut out the urethane foam widening pieces.
Here’s the first widening piece I cut for one of the aft wheel pants.
I then used a hot glue gun to attach the 1″ thick urethane foam widening piece into place onto the inboard side of the forward wheel pant.
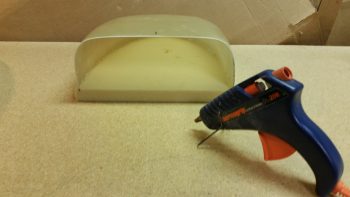
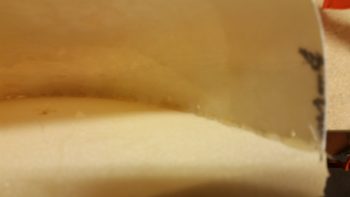
Here’s the best close up shot I could get of the hot glue between the foam and wheel pant.
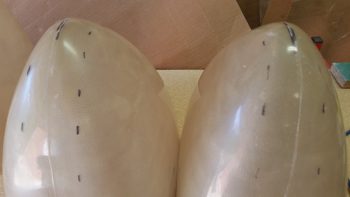
Here’s both forward wheel pants with their new 1″ thick widening piece mounted using hot glue. I have to say that although the glues seemed slow in setting up, it worked like a champ!
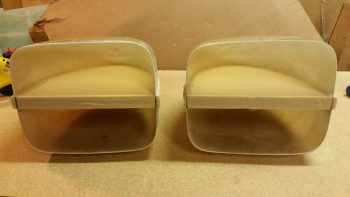
Here’s another shot of the forward wheel pants with the 1″ thick widening piece in place.
I then took the halves outside and used a sanding block to shape the 1″ middle foam and contour it in.
I then cut out two pieces of BID off the cutting table measuring 32.5″ x 6.5″ for the 2-ply 3″ BID tapes that will go all the way around the front of these forward wheel pants.
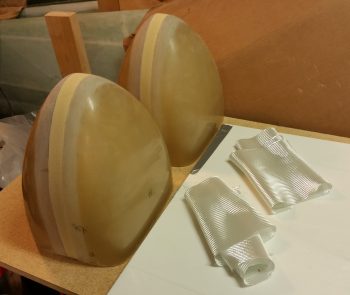
In the pic below, I’ve already micro’d the urethane foam, but more importantly I was after the minor gaps between the foam and the wheel pants’ interior edge. You can also see that I pre-pregged the BID and cut it to width & length. I took this pic immediately before laying up the first BID tape.
Before I pulled off one side of the plastic on the 3″ wide BID tape, I marked the top plastic at 1-inch intervals across it so that I could line it up correctly over the 1″ wide widening foam.
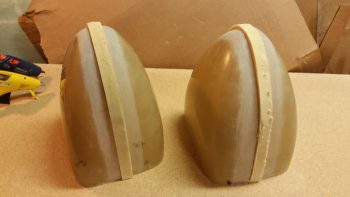
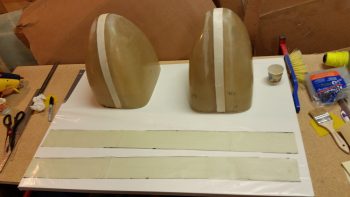
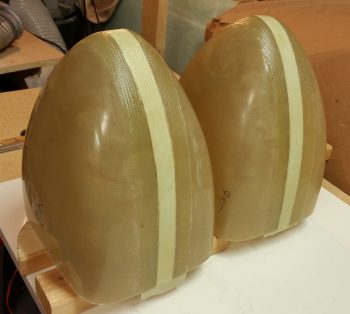
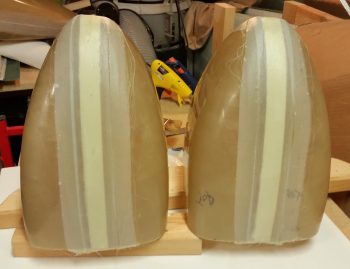
Here are both front wheel pant parts with the 3″ wide 2-ply BID layup in place.
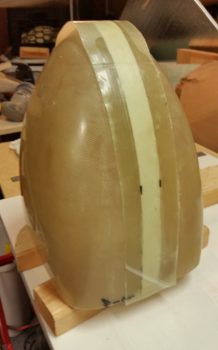
I had planned on peel plying all of it, but it really was a pain, and late, so I just did the tops sides and a little bit of the outer edges on the bottom side of one of the pants.
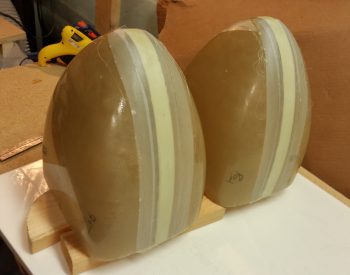
And here’s another shot of the front wheel pants with the 2-ply exterior widening layup in place!
Tomorrow I’ll work on the aft side wheel pants to get those exterior widening layups completed as well.