My buddy LG taught me some trivia last night when he kept using the term “wheel spats” for my wheel pants. We looked it up online and sure enough, wheel spats is another term used for wheel pants . . . apparently a bit more in Britain. I actually like the term better so I will begin using it as a part of my lexicon! ha!
Last night was a late night with quite a bit of socializing going on, so let’s just say I was moving a bit more slowly this morning. I took a couple hours to do some research and finalize my last couple of orders to acquire all the hoses, fittings and fire sleeve I will need to roll my own engine fuel, oil, MAP and sensor hoses. I also pulled the trigger on some more MGS epoxy and some CAMLOCs for the wheel pants.
I then spent a couple of hours reconfiguring and cleaning out the shop. My wings have been outside in my driveway (covered) on the wing dolly for a good number of days since I started working on installing the wheel pants. I want to get them back in the shop, but more against the sidewall and out of the way. I will say it’s great to have the wings built, but they do really get in the way when you don’t need them.
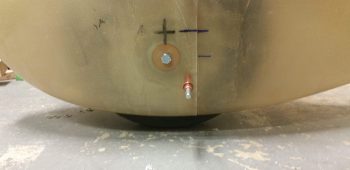
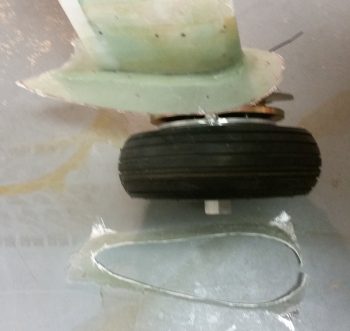
I then started in on the wheel pants. First off I’d like to note that on the profile shot that there is clearly no smile. To be fair, I widened these wheel pants 1″ at the widest point, and with the benefit of hindsight –again– I think that 3/4″ would have most likely been plenty enough to do the trick.
I’d also like to apologize ahead of time for the crappy quality of a number of these pics… I was in a rush and unless I blow up each pic on my phone, I don’t realize often how bad they are until later. I guess it’s because they essentially make camera phones for Millenials to take selfies rather than actual pics…. at least for my phone because it just does not have a camera that likes to focus very well…
Moving on.
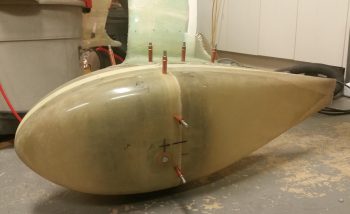
Now, of course it’s my biased opinion, but since the 400×5 wheels/tires –thus the subsequent wheel pants (or wheel spats)– are significantly smaller than the 500×5 wheels, then my widening the wheel pants hasn’t seemed to make them overtly fat in appearance. Again, IMHO.
I started out my short work evening by marking the wheel pants’ bonnets for trimming. I originally had planned on making the flange of the bonnet 1.6″ wide, but that was a bit too narrow so I settled on 1.8″.
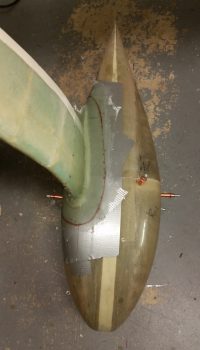
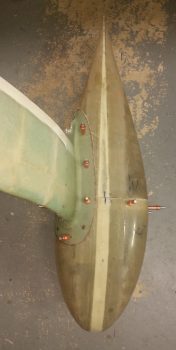
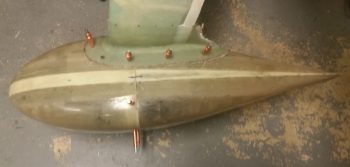
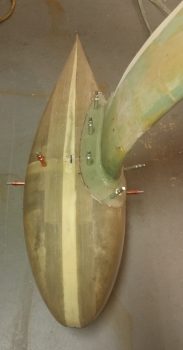
I also switched around the screw locations on the front side from 2 each side forward of the wheel pant split to only 1 each side with a lone screw at the front center position (the bold dot on the front flange “corner” <pic below> is a screw position that I had originally planned for, but that I eliminated from the lineup). Going with 3 screws up front vs. 4 provided me with more equidistant spacing for the next 2 fasteners (CAMLOCs) aft of the split.
Now, the fact that I have 2 CAMLOCs aft of the split on each side is change #2. Sitting upstairs on my couch as I planned out all these fasteners, I just didn’t really realize how long the side of the bonnet flange was until I was actually downstairs in the shop looking at it…. this means I’ll be short 2 CAMLOC receptacles in the order I submitted today. Oh well, that’s why I like to build stuff like the wheel pants as early as possible to flush out all these minor hardware issues, etc.
As a point of note, the total hardware for each wheel pant is 5 screws and 9 CAMLOCs…. of which 4 screws and all 9 CAMLOCs will need to be unfastened to remove the aft side pant for checking/filling tire pressure, maintenance, etc.
After I got my screw/CAMLOC locations dialed in, I carefully drilled a hole at each location… adding Clecos as I went.
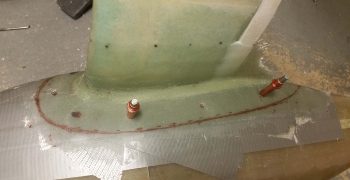
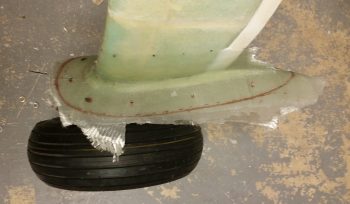
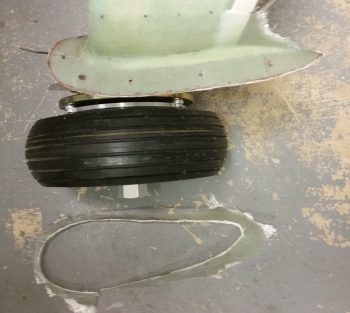
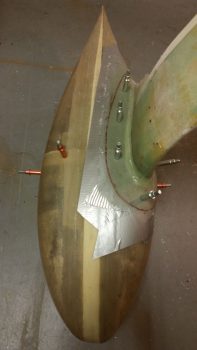
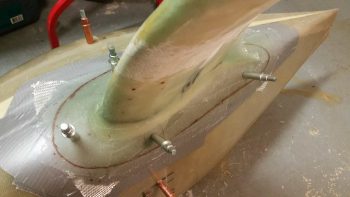
Here’s the inboard side of the left wheel pant bonnet, marked for trimming and holes drilled at the fastener locations.
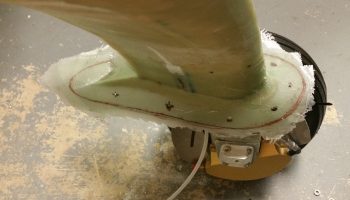
I then spent a good 10 minutes extracting the wheel pant halves from the iron grip of the bonnet.
Here we have the inboard view of the untrimmed bonnet.
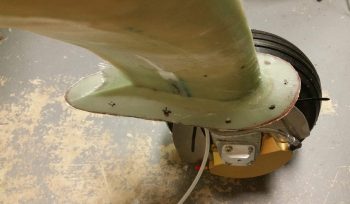
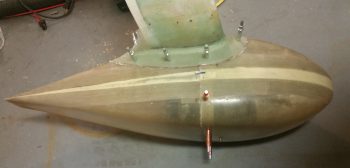
And the same view, only with the bonnet trimmed with the Fein saw.
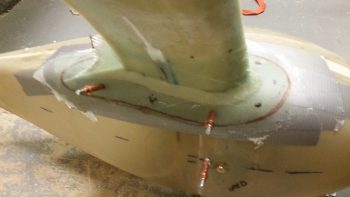
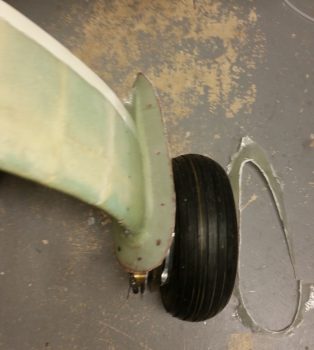
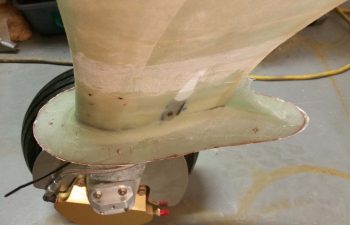
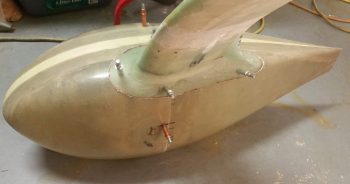
And a couple more shots of the trimmed wheel pant bonnet on the left gear.
Since it was later in the evening, I wanted to get my loud Fein saw cutting shenanigans out of the way as early as possible, so I immediately headed over to finish up the right wheel pant bonnet. I started off by measuring and marking it in the best emulation of the left wheel pant bonnet as possible.
Then I drilled the screw/CAMLOC holes and Clecoed those.
Here’s an inboard view of the marked, drilled and Clecoed right wheel pant bonnet.
I then trimmed the right side wheel pant bonnet with the Fein saw.
Here’s the outboard view of the trimmed right wheel pant bonnet (again, sorry for the pic).
After I had made my loud noise for the evening, I excitedly got to work reassembling the wheel pants onto the trimmed bonnets. Hoo-ah! I’ve been waiting for this point for a LONG time!
I first reassembled the left wheel pant, installing both side mounting screws and all the Clecos.
And then did the same thing for the right side wheel pant.
I would like to point out that these bonnets are in their rough cut state and there are obvious minor differences between the right and left sides. And while I’m realistic in accepting that both sides won’t match perfectly, I will shape them as close as possible to minimize any differences between the two…. and I honestly think the resulting differences in shape will be so minimal that it will be hardly noticeably out on a flight line.
The bottom line is that I LOVE these wheel spats (hehe), and man do they make this bird look sexy! As I mentioned before, I still have a few more minor tasks before I can claim that they’re totally complete, but we’re pretty darn close.
Woo-hoo!

