
Today I completed the majority of the heavy lifting on the widening of these wheel pants! I started by pulling the peel ply and cleaning up the 2-ply layups on the outside of the wheel pant aft pieces. I then used the Fein saw to trim the overhanging glass.
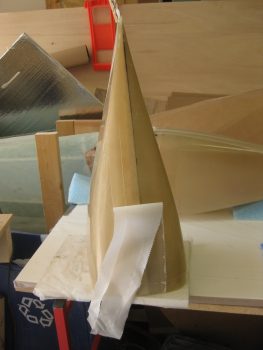
Again, the hardest part of widening these wheel pants is in the rear view mirror and now all that’s left to do is to remove the 1″ urethane foam spacer & the hot glue, and then layup a 3″ wide single ply of BID on the inside of each pant.
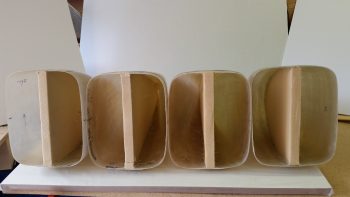
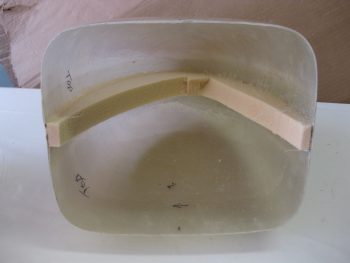
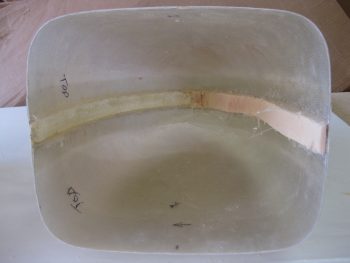
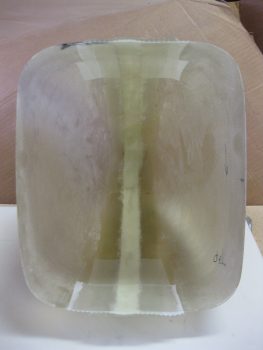
Here’s a shot of all the sides of the wheel pants with the 1″ urethane foam spacers in place.
I grabbed the forward wheel pant assemblies and began removing the foam spacers by first simply removing the majority of foam.
I then used a hack saw blade to cut as near as possible to the inboard surface of the pant.
Using the same hack saw blade, I then ran it down the channel created by the edge of the 1″ foam spacer. Besides popping out chunks of foam, the cutting edge on the hack saw blade came in real handy to remove the stubborn foam along the hot glue joints.
Yep, the hack saw blade made quick work of removing the remaining urethane foam!
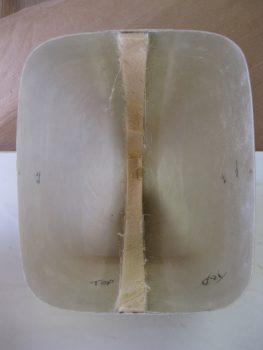
Technically this pic is out of order since this is the second wheel pant, but I threw it here to show the foam spacer removal.
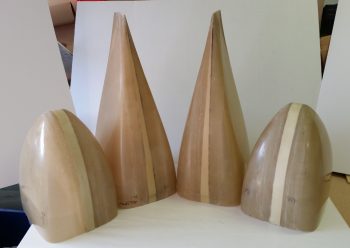
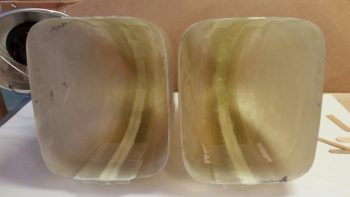
When I took the pic of one of the pants sans spacer vs. the other one, I noticed that it looks as if the one without the spacer is MUCH bigger than the other pant piece.
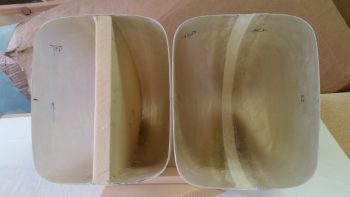
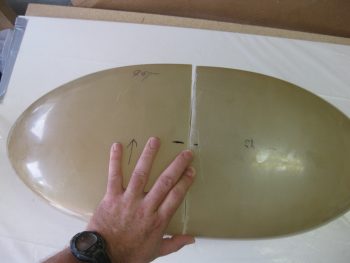
So I put the pant ‘halves’ together to check and they are very close in size & shape. In fact, since the camera is at a slight angle, it shows the “corner” but doesn’t capture that the height of these pants are very close to identical.
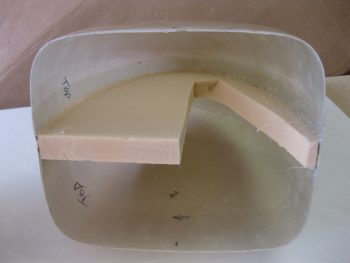
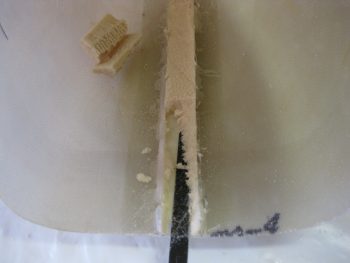
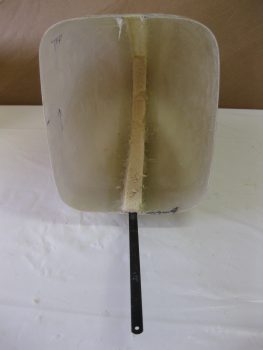
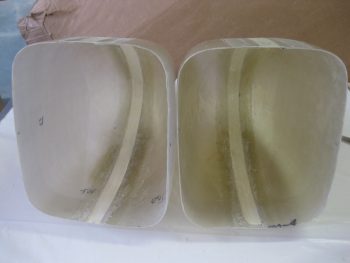
Here are the front halves of the wheel pants with the 1″ urethane foam spacers removed and ready to be prepped for glass. After I took this shot, I took these outside and Dremelled the edges of the channels to give the ply of BID a better transition between the old & new surfaces. I also lightly Dremelled out 1″ along the edge of the spacer strip to ensure all the hot glue was removed and that the glass was textured for new glass. The final step was to work over all the areas to be glassed with some 32 grit sandpaper.
I then pre-pregged 1-ply of BID, 3″ wide x 29″ long. Since I wasn’t overly concerned about any irregular surface on the interior of the wheel pant, I used 3 pieces of BID in each pre-preg setup and simply overlapped them by an inch. As I did on the exterior sides, I marked the top plastic of pre-preg with 1″ hash marks in a few spots to give me good reference points for laying in the glass.
For strength I used flox as a transition within about the first 3/4″ of each pant opening edge in the channel that was created by the 1″ foam spacer. For the rest of the interior channel I used micro as a transition.
When the BID was in place inside the wheel pant I had about a 3″ overhang on one side, which I merely cut off and used as an extra ply at the very front of the wheel pant in the nose. With the layup complete, I then peel plied the aft edges (closest to the pant opening) of the layups to keep the prickly’s at bay. Plus, there will need to be some reinforcement glass laid up around the edges, so I want the glass as ready to go as possible.
I can say that I’m officially finished widening the wheel pant nose pieces! I’ll let these cure as I head into DC for a well deserved dinner!
Of course there’s always more work to be done! Tomorrow I will remove the foam spacers from the tails of the wheel pants and lay up an internal ply of BID in those as well. I will make a final note that in seeing how much time it is taking to get these wheel pants prepped, I really am glad I am doing it now rather than later, after the plane is flying and I’ll be in the fly (vs. build) mode!
Nice pants Bro!
Thanks!