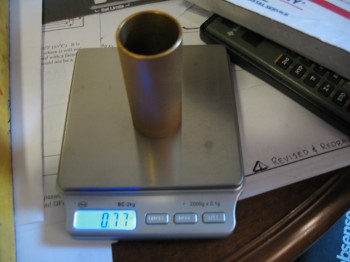
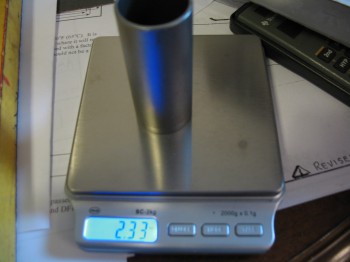
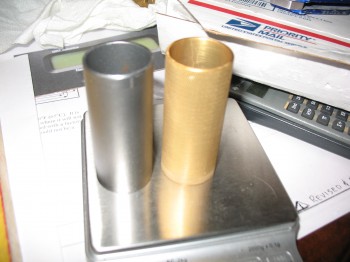
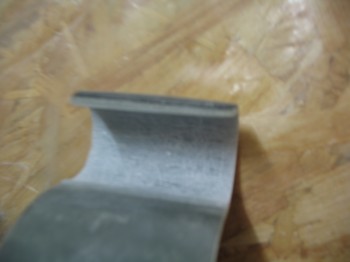
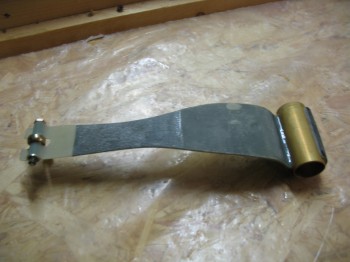
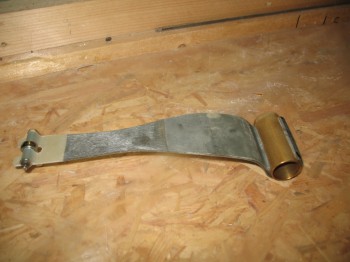
Below is the 2.7″ long x 1″ diameter tube that I just received from my buddy Marco. Again, he was nice enough to cut & cross hatch this piece of 6061 aluminum for me as a replacement for a slightly corroded 4130 tube piece that had been attached to my Davenport leaf spring.
To recap, this short tube slides over and is attached to the elevator torque tube, so when the pitch trim actuator arm extends or retracts it moves the narrow end of the leaf spring either fore or aft, thus rotating the elevator torque tube & in turn adjusting the elevators slightly up or down to trim out the airplane.
I used 6061 aluminum as a replacement to the original steel piece for 3 reasons: 1) It was available in the correct Inside & Outside diameters vs 2024 aluminum. 2) Weight. Obviously 6061 is much lighter than 4130 steel (see 2.33 vs 0.77 oz weight comparison below). 3) Although this piece won’t be mounted in the elements, 6061 has better inherent anti-corrosive properties than 2024 and especially compared to 4130 steel.
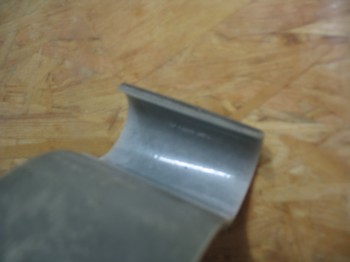
Next I prepared the surface of the Davenport leaf spring where I had previously removed the steel attach tube in order to flox in the 6061 aluminum attach tube. I used some sand paper and my ever trusty PermaGrit tools.
I then floxed in my newly machined (thanks Marco!) and Alodined 6061 attach tube into the glass attach “hook” of the Davenport leaf spring.
I have no idea where my brain was when I initially worked out my dimensions for my Right rear armrest console configuration, but somehow I even managed to come up short on my rear control system mounting bracket (CS118). The CS118 attaches to the front of the rear Right armrest & has a hole in it (like the front attach point) that allows the aileron control tube bearing assembly to be mounted to the bracket with the actual control tube traversing through the mounting bracket, behind/under the Right rear armrest as it travels on its way back to the firewall. Thus, due to my apparent inability to measure anything correctly that day I had to add to its height. I had some Birch plywood that would have worked, but since it was just about 1/4″ that needed adding I used H250 foam to make it lighter.
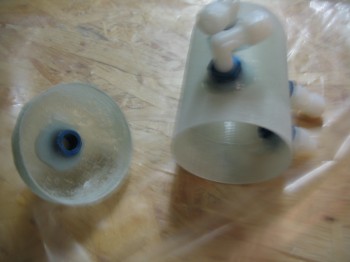
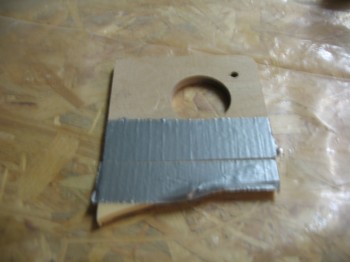
When I mixed up the flox for the install of the Davenport leaf spring attach tube shown above, I made up enough to attach this H250 foam extension to CS118 (below) and also to flox one of the Fuel Vent Manifold end caps into place.
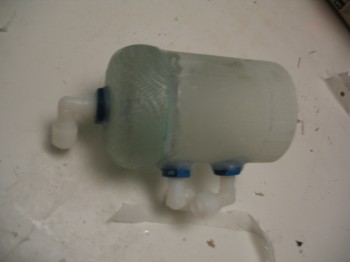
 And here’s the Fuel Vent Manifold end cap being floxed permanently to the cylindrical manifold body (I’ll blame the blurry pics on my camera being tempermental).

