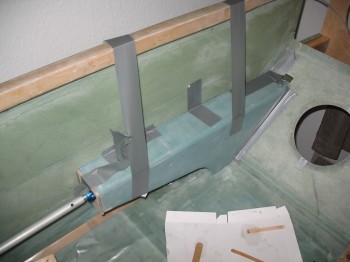
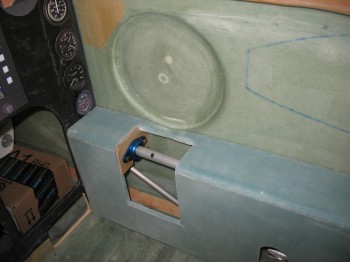
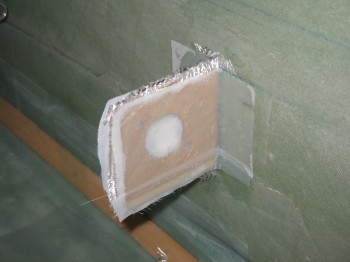
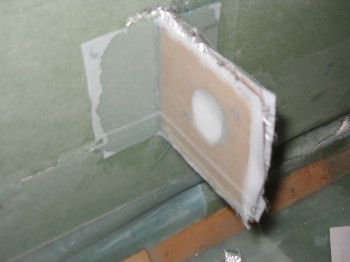
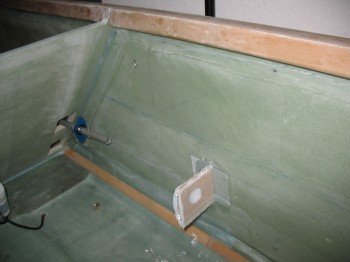
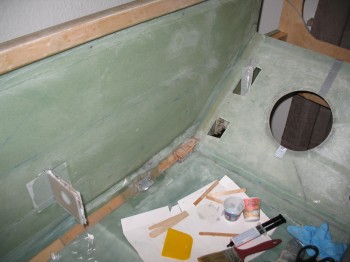
I started today by temporarily mounting the Right rear armrest console with tape. In addition, I mocked up the rear control tube mounting bracket (CS118) to both the rear armrest & the right Rear fuselage sidewall.
Also, the control tube was mounted into place at the forward control system mounting bracket (CS109).
I had to recut the front of the Right rear armrest console in the tried & true mount-cut-remount-repeat process that is commonplace in building a Long-EZ. I also had to slightly reshape the side of the rear armrest with the sanding block to get the fit locked in as close to perfect as possible, as well as getting the CS118 as close to 90° to the fuselage sidewall as possible. Once it was all looking good & the fit was locked in, I 5-min glued the edge of CS118 bracket to the fuselage like I did previously in mounting the front CS109 bracket.
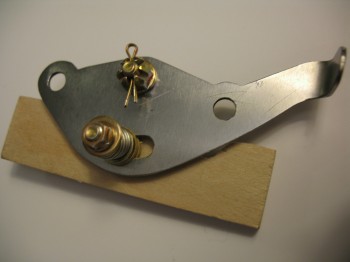
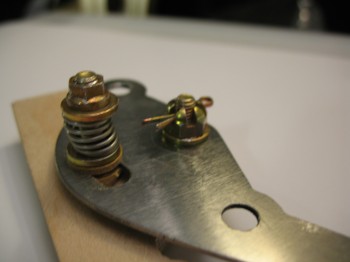
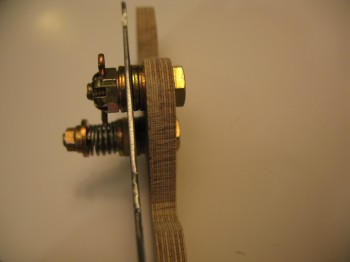
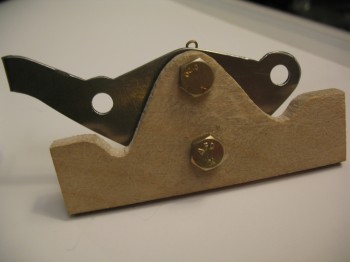
While the 5-min glue was doing its magic in bonding the CS118 mounting bracket to the fuselage sidewall, I took some time to assemble yet another new toy my buddy Marco had machined for me: the 4130 Steel RT1 Roll Trim Handle (he sent it with the Davenport mounting tube that I just covered in my previous posts). Once again, he did an awesome job in making this out of a blank steel sheet. You can see his post on the RT1 machining process here. As for the Birch plywood mounting tab, I had cut that out last year while at the wood shop on base.
After playing around with my RT1 Roll Trim Handle it was time to get back to work on the CS118 control system mounting bracket. Since the 5-min glue had cured, I pulled off the duct tape-mounted rear armrest.
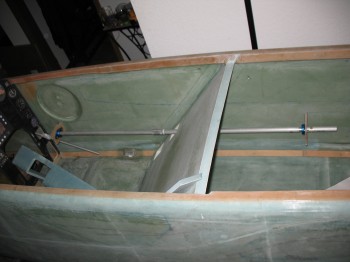
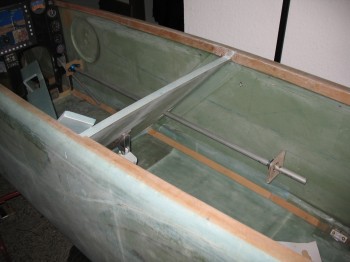
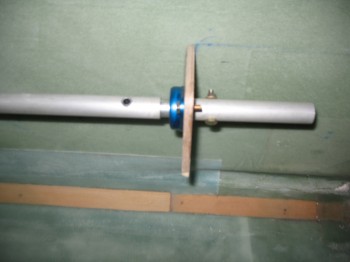 Here’s a couple shots of the initial barebones control system.
As I did with the foreward CS109 bracket I floxed in a small fillet in the corner between the CS118 bracket & the fuselage sidewall on both the front & back side of CS118 for a nice glass transition. I then glassed a 1-ply BID layup on each side of the CS118 bracket overlapping about 1 inch onto the Right fuselage sidewall. I then of course peel plied the BID layup on both the fore & aft side of CS118 & fuselage sidewall.
[I just wanted to add a quick note on my quality assurance during the layups here in these posts. As I post these pictures I notice a number of them show peel ply with a number of dry splotches in the layup. I just want to say that I’m sure like most builders, after the pics are snapped I go back over & over (some what obsessively often times) my layups to make sure they’re as close to perfect as possible, especially in getting that balance between having just enough epoxy to wet out the glass, but not having too much epoxy either. I just wanted to clarify that a time gap often exists between the point a lot these pics are taken compared to the actual end of my layup efforts, and that while I’m trying to finish my Long-EZ in fairly quick fashion, quantity does not win out over quality.]

