I can’t really finish the shelves or the glass cabinet until I get the epoxy hotbox knocked out.
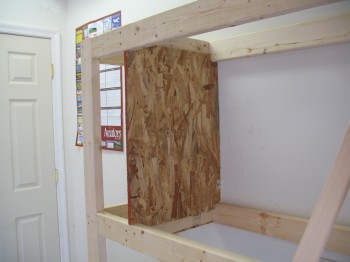
Once the back wall was in place, I started on the bottom shelf. Now the hotbox will be insulated all the way around, with both 1″ Styrofoam and aluminum covered foam used in building houses.
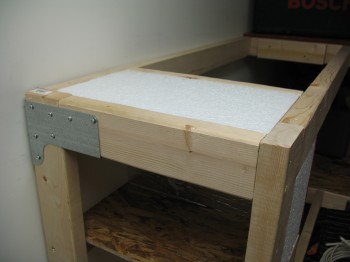
I installed edges for the bottom shelf “tray” to sit on:
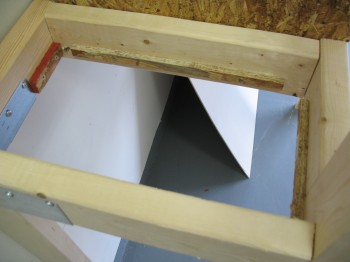
Now, the pain involved with building the hotbox is that it takes a fair amount of time to cut the Styrofoam insulation pieces. Luckily I had retrieved the hotwire cutter that I built back in early 2011 from storage at my buddy Marco’s shop. This made the insulation cutting a lot quicker and cleaner!
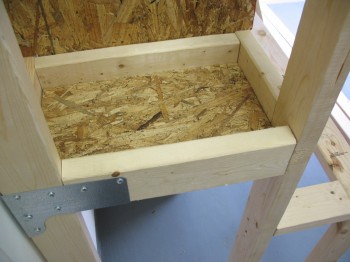
Below are 2 pieces of 1″ foam inserted into bottom shelf area and sitting upon the shelf tray built above: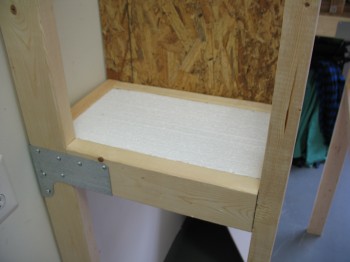 After installing the bottom shelf-top, I then had to refine my measurements for the epoxy jug storage on the bottom shelf and the quart & bottle containers of hardener on the top shelf to place the middle shelf.
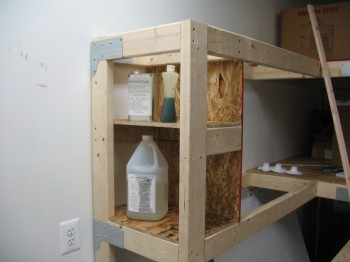
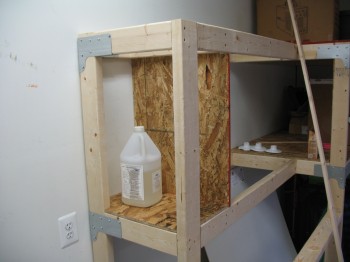
The epoxy you see here is MGS 335 that I had left with my buddy Marco to use if he wanted. Being busy on his build and machining projects, he never really used it, so I’ll play around with it on some non-aircraft/non-structural projects.
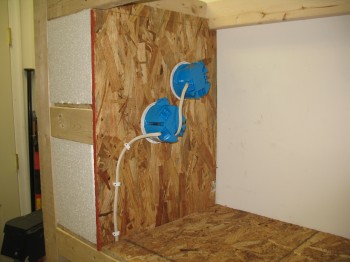
I then insulated the back and side walls, and installed the light bulb heating elements.
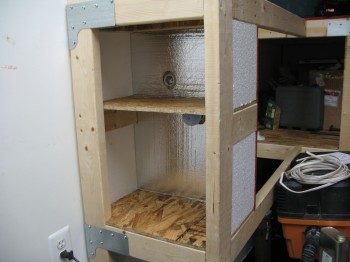
Finally, I finished insulating the top of the hotbox as I did the bottom shelf, and will use the actual top shelf sheeting to cover the upper 2″ foam insulation pieces.