Today was still all about finishing the left elevator rebuild . . . (big sigh!)
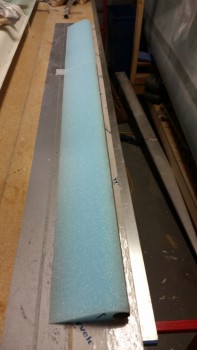
I was pleased to find no nasty surprises when I took the sandbags off the foam elevator cores. So far my evil plan is working to get the elevators to align.
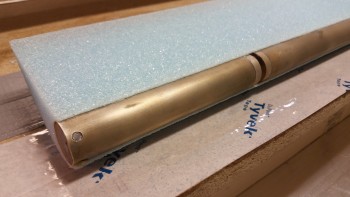
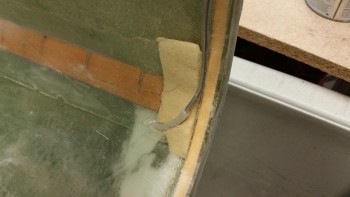
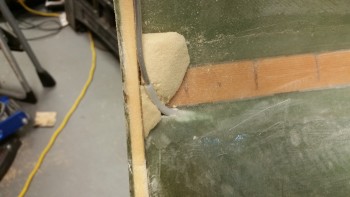
I started off by taping up all the openings on the elevator tube to keep the epoxy out of all the important orifices.
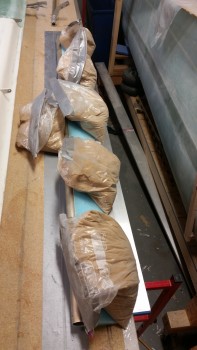
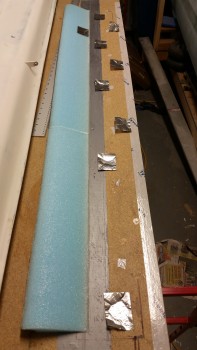
I then covered the top of the elevator foam core with patches of foil tape, hit each one with a drop of 5-min glue, and then mounted the elevator upside down on the work bench. I weighed down the elevator with sandbags, favoring the LE side.
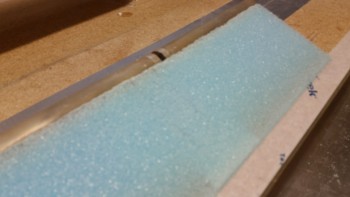
Although tough to see in this pic, I remembered to slightly sand the area where the outboard weight UNI will reside on the bottom face of the elevator.
Since I had my Friday afternoon online work meeting I didn’t want to start the layup of the bottom elevator UNI knowing that it would take too long for me to finish. So instead, I knocked another item off my list by cleaning up some epoxy goo on the face of the F22.
Then, while I was standing there looking over the F22 area, I realized that my internal brake lines were kinda hanging out into space. I wanted to secure them in place & protect them, so I grabbed a piece of nasty urethane foam and hacked it up and shaped a reasonable gap filler ramp on each side to slide in between the brake line, the fuselage floor/wall and F22, on each side of course. I’ll install these with a lot of messy micro and 1 ply of BID.
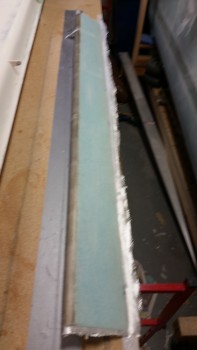
After my work call, I then laid up the 2-ply UNI elevator bottom skin.
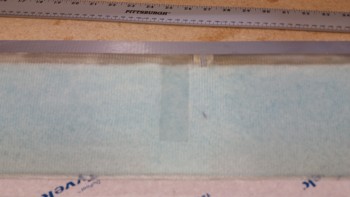
The first pic is a fuzzy shot of the elevator bottom layup when it hit its “green” stage (trust me, it looked FAB-U-LOUS! haha!). I then razor trimmed the elevator.
While I was waiting for the elevator to cure I (finally!) went ahead and finished wiring up the nose gear actuator to test it out. You can see the test in the video below:
Then, to let the glass cure even longer, I took the opportunity to run down to Home Depot to grab some 5/16″ bolts to attach the fuselage saddles to the fuselage dolly cross struts. While out, I called a good buddy of mine and ended up on with him for over an hour. This came into play since later in the evening I simply ran out of time… to make noise!
After I got back home, with the elevator skin cured more, I pulled the peel ply off the outboard weight mount area.
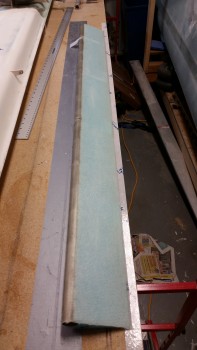
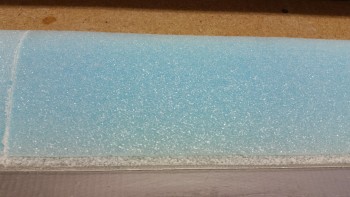
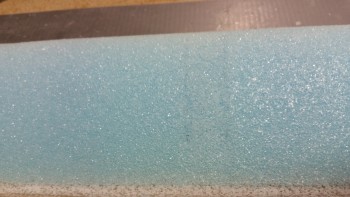
I then popped the elevator off the work bench. The pic below shows why I love using the foil tape so much. It holds incredibly well, but all but one of the pieces of foil tape stayed on the bench. Again, the top of the elevator foam core is clean … without any divots!
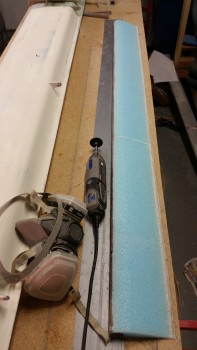
I trimmed the foam off the elevator TE, but I couldn’t finish the job because it was late and I didn’t want to make a lot of noise with the Dremel Tool. So instead I prepped the entire elevator to skin the top of it first thing tomorrow morning.
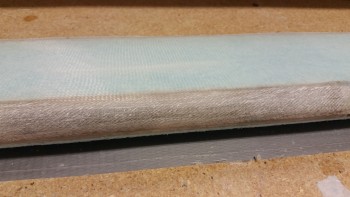
I then sanded the glass edge on the LE to provide a smooth transition for the top skin.
I also sanded the depression for the outboard elevator weight on the top foam core.
With all the prep actions completed for laying up the top elevator skin except for clearing the TE glass of all the foam & micro gunk, I turned out the lights and called it a night.
Again, tomorrow first thing I will layup the 2-ply UNI top elevator skin. I have a lot of non-build work to do this weekend so my time to work on the plane will be limited. That being the case, I still want to get this elevator completed.

