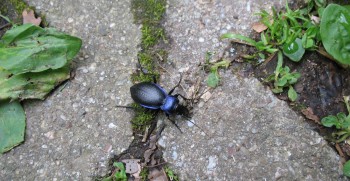
First off, I had another visitor stop by to help! It seems like the locals are very helpful around here… ha! Actually, if I weren’t building a composite bird I think I would use this guy’s striking colors on an airplane. Brilliant scheme!
I started today by making up a 24″ x 24″ 2-ply BID “Poor Man’s” pre-preg set-up. I also cut out a 4″ x 10″ piece of BID.
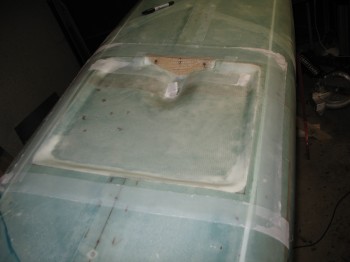
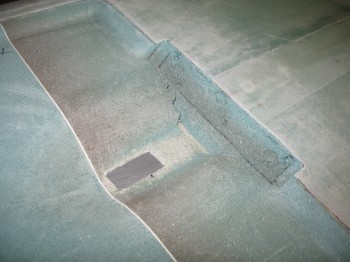
I then sanded down the outer edge of the glass that surrounds the landing brake depression. I started by tapering the transition edge of the glass and ended with a good sanding out about 3-4″ from the glass edge. The goal is to knock the square edge off and get the edge of the glass to flow into the foam so as to obtain as smooth of a transition as possible. The sanding out 3-4″ from the edge is to prep that glass to ensure there’s a good bond between it (the fuselage glass) and the new glass that will get laid up to make the “floor” of the depression area… tying everything together to make a “new” fuselage bottom. Once I had the outer glass edges sanded, I vacuumed up the mess and made sure the foam depression area was nice and clean.
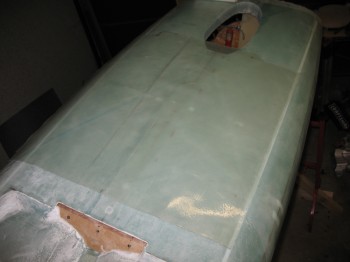
I floxed and micro’d in LB23 with the nutplate attached, or should I say “quasi” attached. It took a little bit of time to ensure the nutplate was lined up exactly behind LB23. A yard-stick came in handy for getting everything aligned. (There doesn’t seam to be a lot of glass showing around the actuator arm hole, and although it doesn’t show it here there was about a 1/4″ glass-to-glass contact all the way around when I glassed it. The angle was steep so I used flox on the edges of the foam to create a mini wedge shape going back under the foam a little as well).

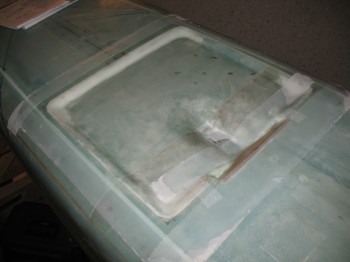
I dry micro’d the corners, gouges, rough spots, and edges, and then went to my downstairs shop to wet out the pre-preg set-up I had made up earlier. I took my wetted out pre-preg to the garage shop and set it aside as I wet micro’d the remaining foam.
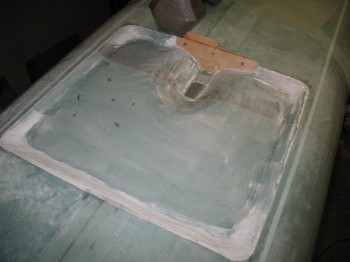
I applied wet epoxy to the LB23 hard point (I had hit both sides of it earlier with a 36 grit sanding block to rough up the wood so that the epoxy would grip better) and to the fiberglass edges surrounding the foam depression.
Note: You can see in the picture above a bit more micro towards the aft edge of the landing brake depression than the front. I had removed a bit more foam than I would have liked, and wanted a shallower, less abrupt, transition angle—thus the added micro. And although it seems like there’s a lot of micro, it actually wasn’t a very thick layer.
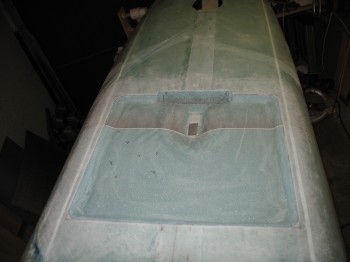
I glassed the 24″ x 24″ 2-ply BID pre-preg layup onto the landing brake depression area, added the 4″ x 10″ reinforcement ply of BID over the LB23 area, and then peel plied all the edges.