
About a month ago Marco and I had lengthy phone discussion in part regarding his current panel upgrade on his flying Long-EZ. One thing that he learned on his latest panel-creating endeavor that was a big wake up call for me: that if using 6061 Aluminum you can go back and fill in any errant holes with a welder and then recut/drill the panel. Marco did an excellent job capturing this new method (new to me anyway…) on his phenomenal blog.
Obviously this allows you to tweak a panel, or any other weldable aluminum component (sadly 2024 doesn’t weld well), almost endlessly to create what you want without wasting entire panels of costly aluminum! Clearly not having to spend $30-40 + shipping on extra aluminum panel(s) for each subsequent panel version is VERY attractive. In fact, out of curiosity I just checked Aircraft Spruce for the cost of obtaining one (1) sheet of 0.090″ 6061T6 2’x2′ –the specific panel stock I’m using– which alone is just over $30. However, add tax + shipping and I’m now literally pennies shy of $50. You can clearly see that the cost of each extra panel version in the recut-the-whole-thing method starts adding up very quickly.
The issue I had is that welding aluminum requires a welder with AC TIG capability, typically found on more expensive machines. I only have a cheap DC machine that does great on steel, but can’t weld aluminum. Well, after a good bit of research I found a really nice and comparatively inexpensive AC/DC TIG welder that I had to wait a few weeks to pull the trigger on until they were back in stock.
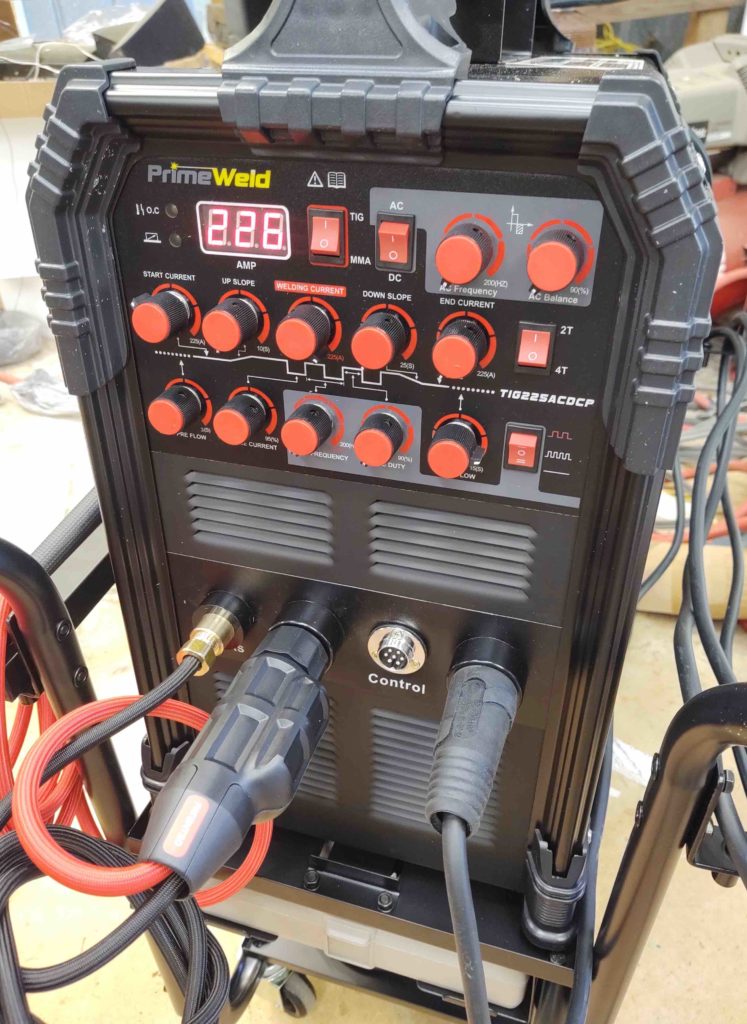
And here she is: the PrimeWeld 225X.
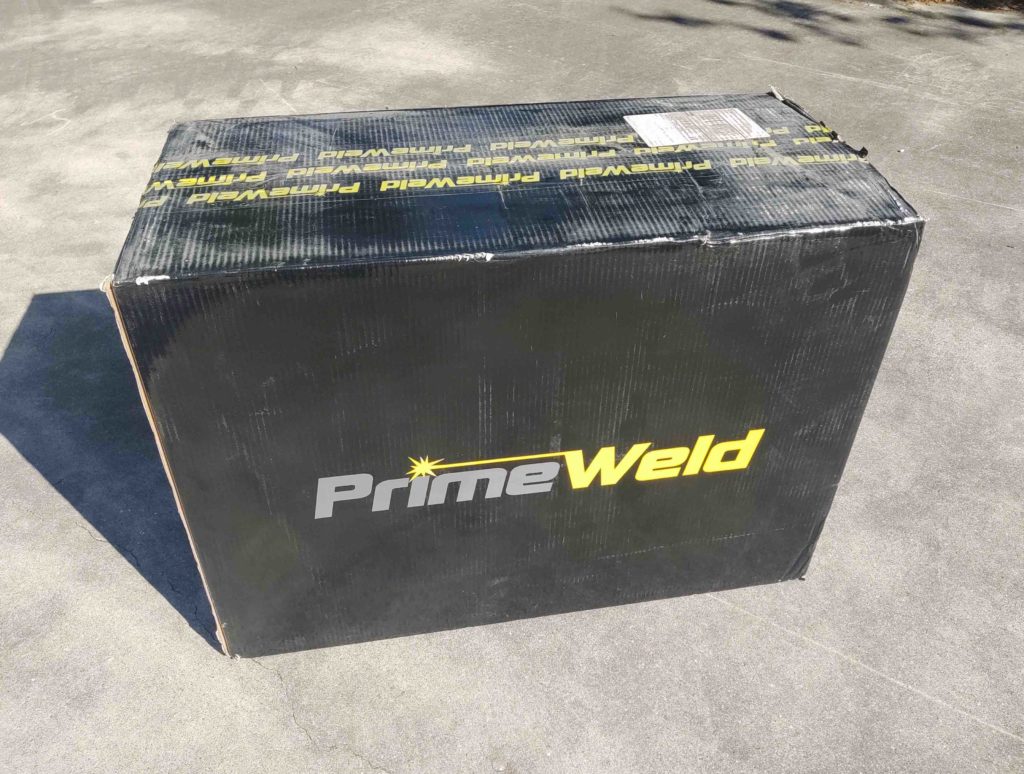
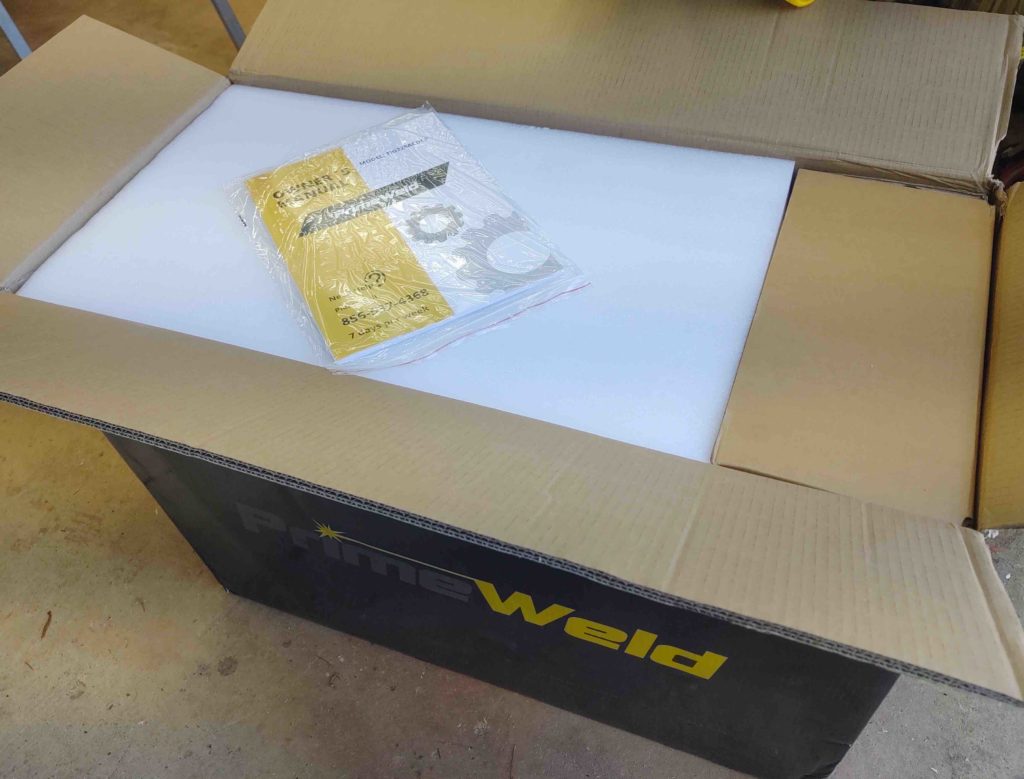
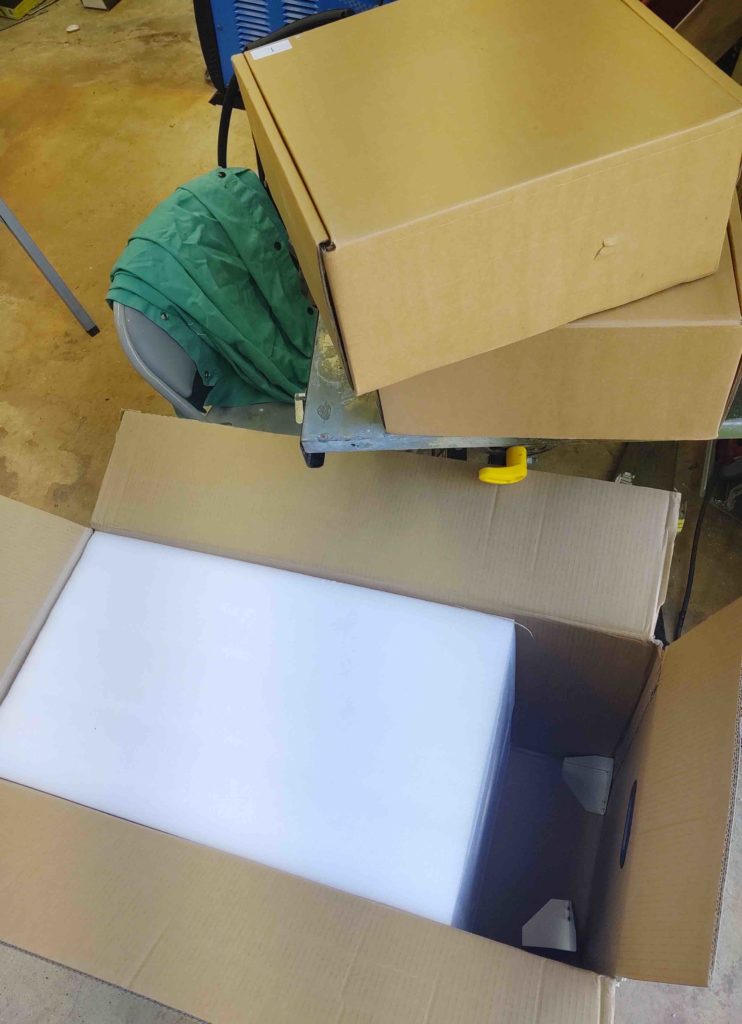
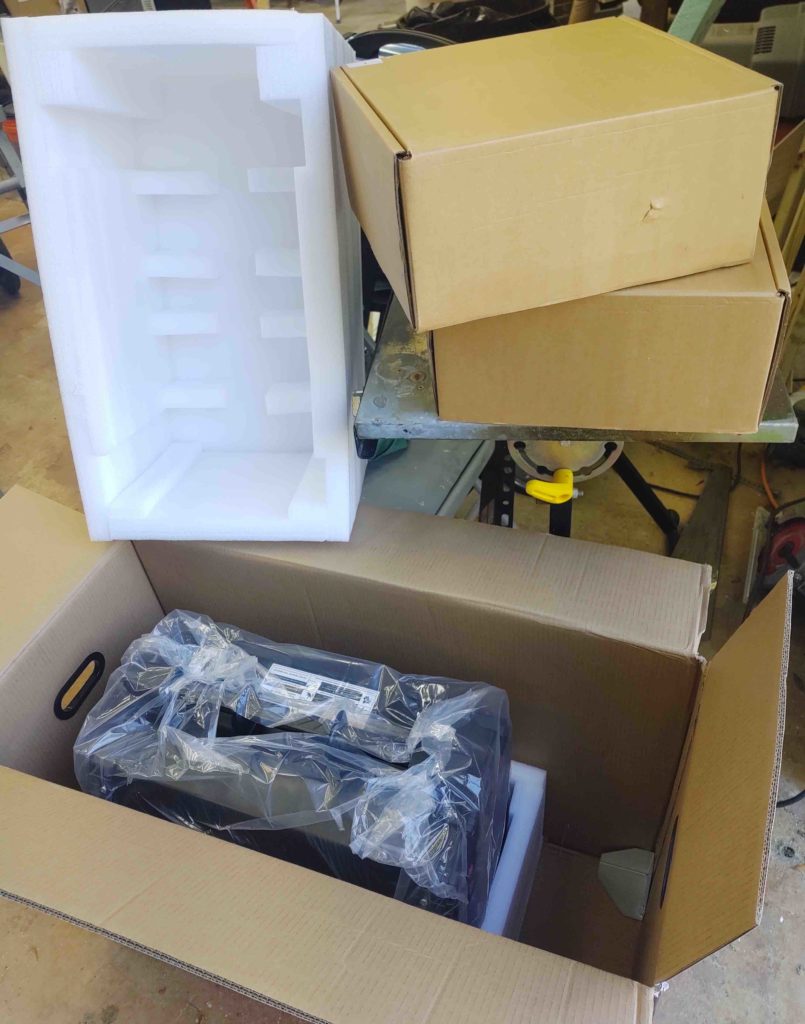
Of the many reviews I read or watched a few ancillary things stood out beyond just the performance of the machine. A) the security in packing is off the charts with a thick foam sarcophagus surrounding the unit itself, while the very thick cardboard box has steel corner reinforcement plates… all totally to a much reduced chance of damage during shipping.
B) the 3 year warranty including the covered cost of shipping on PrimeWeld’s dime if for any reason it must be shipped back for repairs… that’s both ways by the way. Associated with the warranty is 7-day a week LIVE customer service, quite often with the owner himself: Mike. I spoke with him a couple of times and he is extremely helpful.
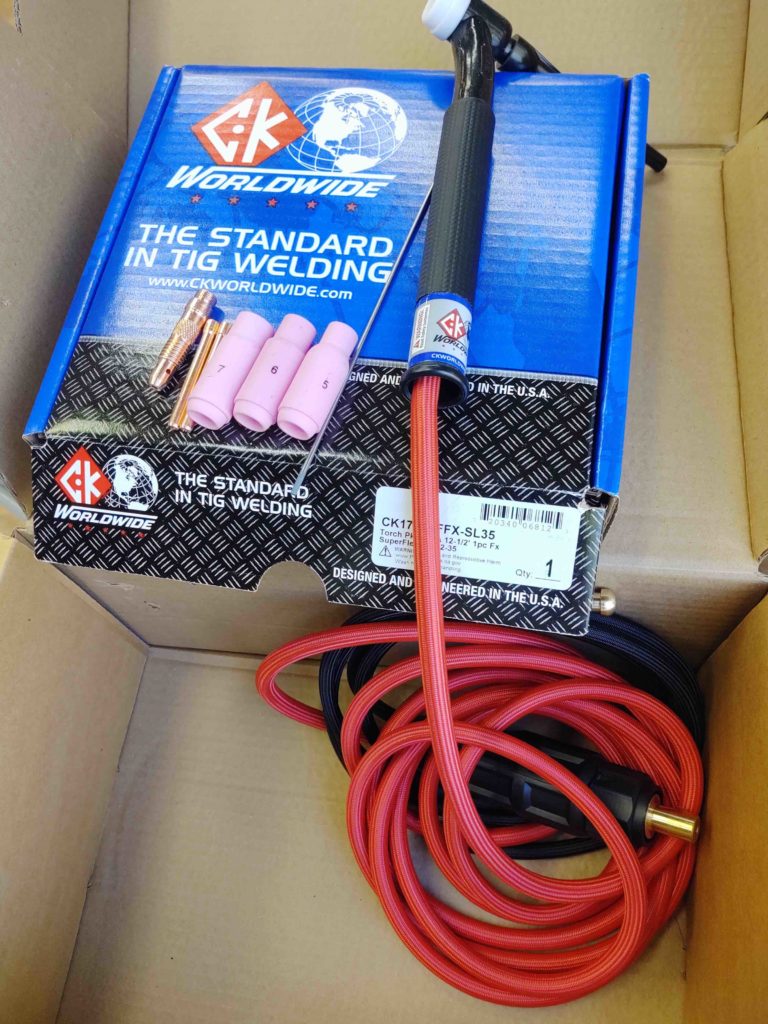
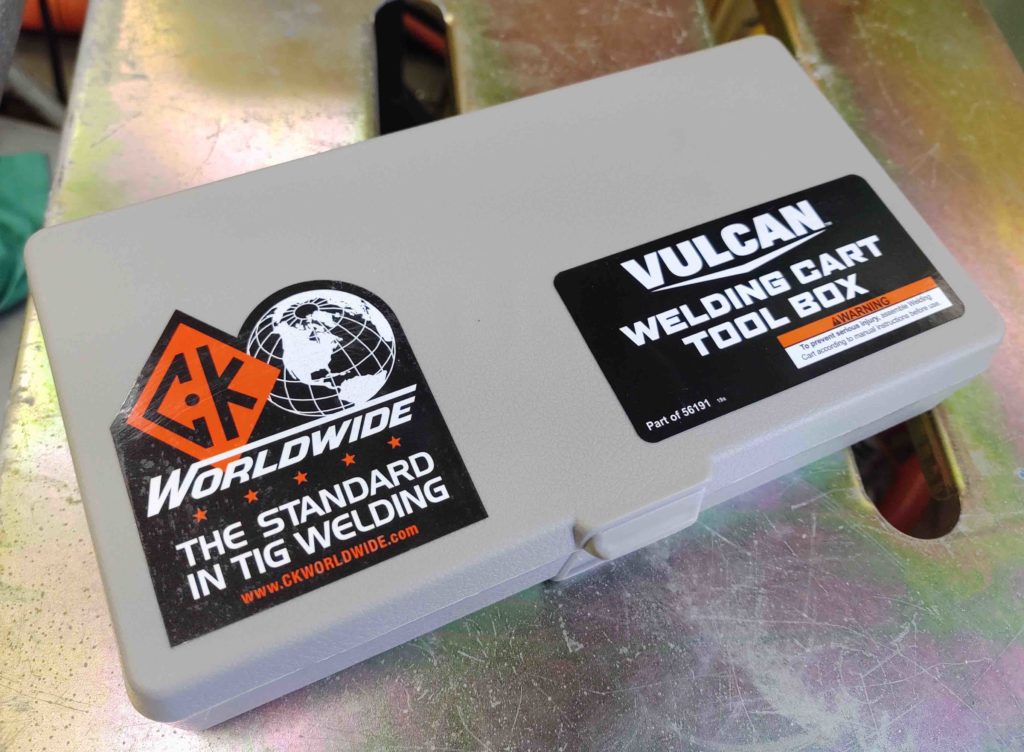
C) For any TIG welders out there, you’ll recognize right off the bat that these guys are not messing around when it comes to their choice on the TIG torch. CK Worldwide is arguably the best TIG torch out there… clearly big cool points here for PrimeWeld.
Moreover, this biggest negative on this welding rig in the reviews was the pedal, being that it was the standard cheap pedal that comes with TIG welders like my green eBay special. Well, PrimeWeld has corrected that oversight and now ships these guys with a high-end pedal (not shown).
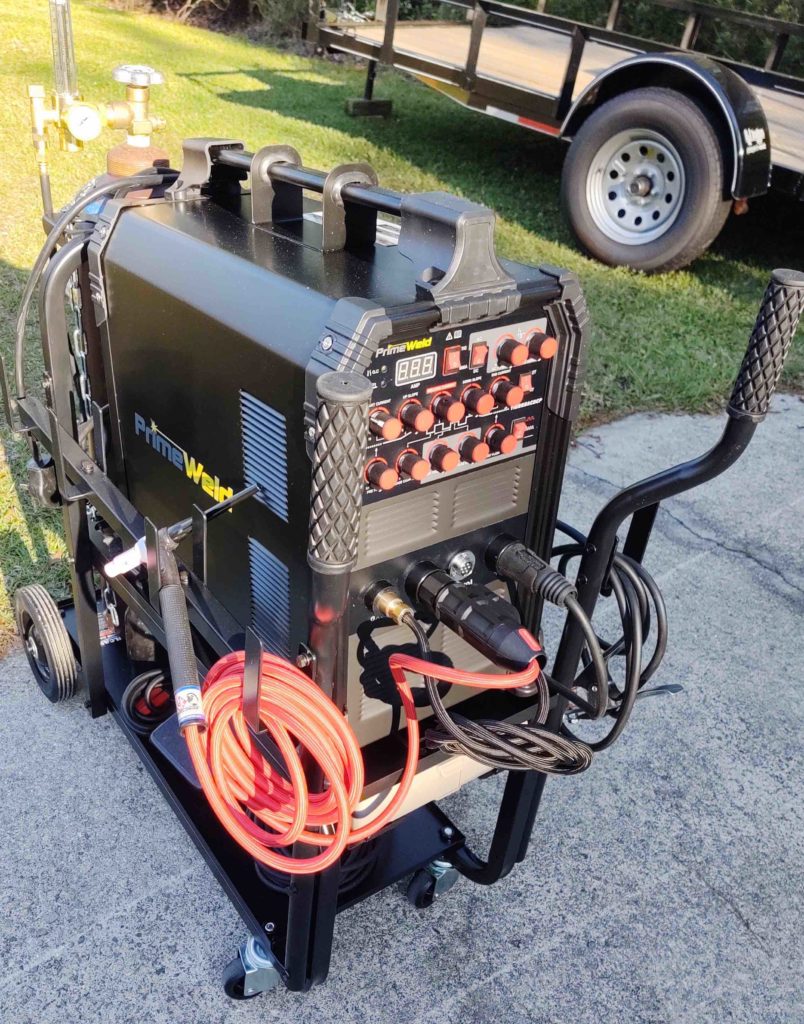
Here’s a shot of the rig as I fired ‘er up for the first time. Hard to tell but the amperage is set on 226.
Since I’ve been spending a bit of coin on both upgrading and outfitting the shop over the past 6 months, I decided to go a bit cheaper on the cart. With a 20% off coupon I walked out of the store with this Vulcan welding cart for about $80 (I also got 10% off the welder too).
I’ll have to check the amount of Argon in my tank, and may need to swap it out for a full one sooner vs later, but I have a bit of time before I really start laying down any serious welds with this machine… as per my nature I just wanted to have everything on hand and prepped when that time comes.
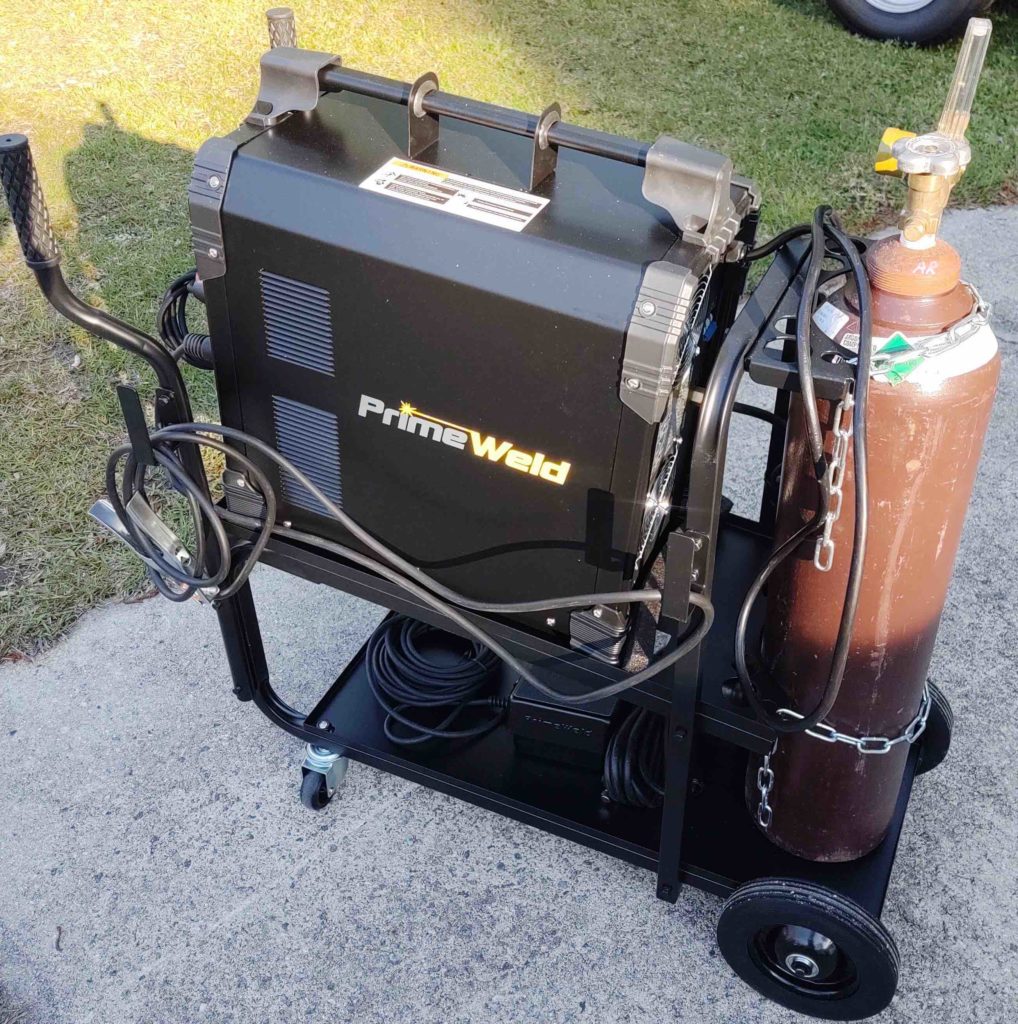
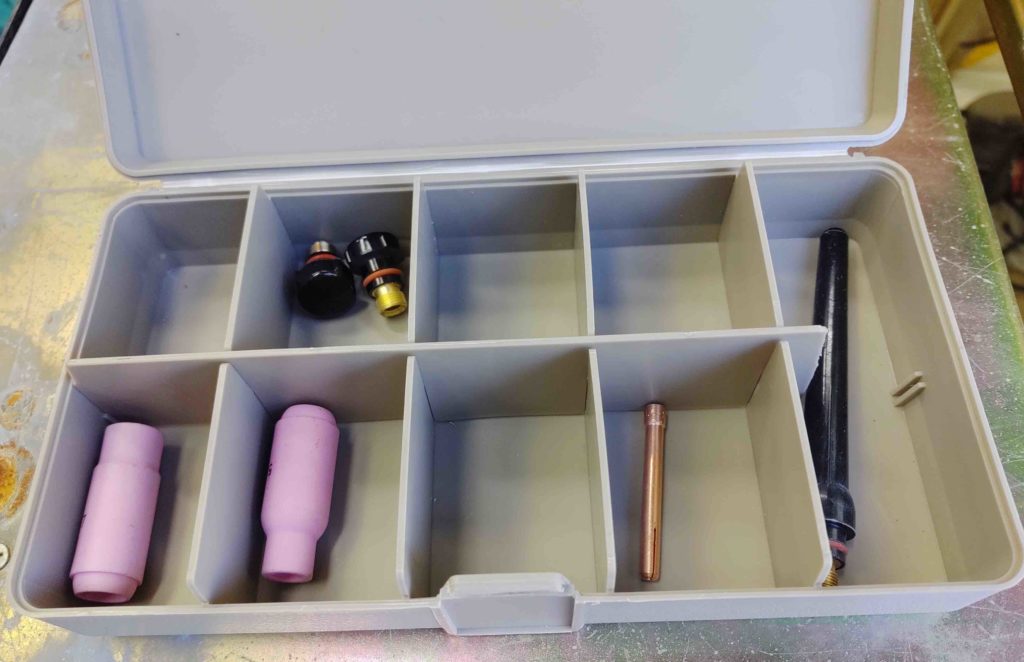
A nice albeit simple feature that this cart comes with is a small “tool” box that I’m using for the consumables.
I modified it a bit by snipping off the right end of the center divider to allow for longer components to be stored in it as well.
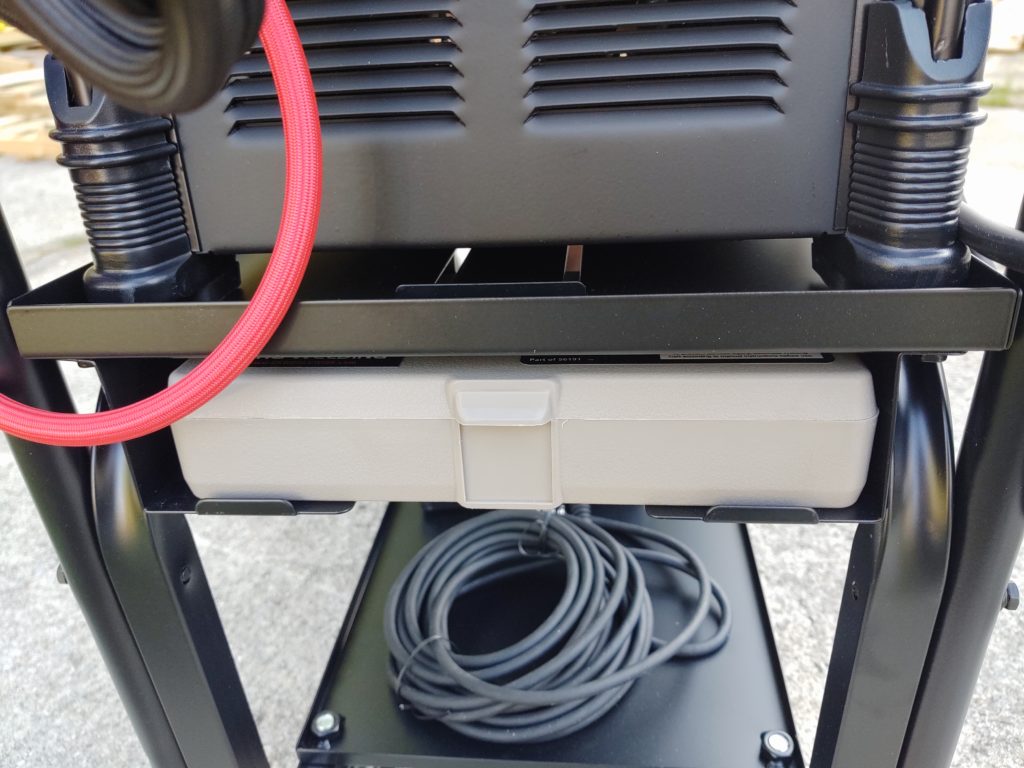
The tool/consumables box tucks away into a holder underneath the welder for neat, clean and simple storage.
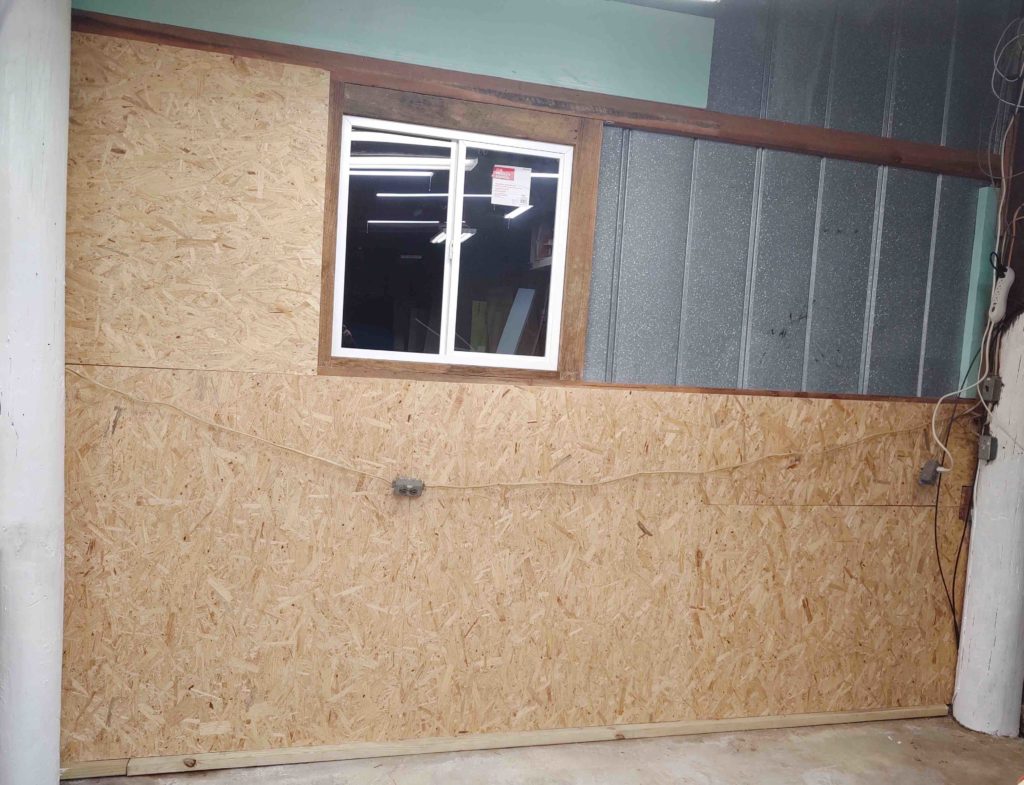
After spending about an hour getting the welder squared away and test-powered (not including the hour+ I spent assembling the cart last night), I got back to work for a few hours on the workshop walls.
The lower part of the wall presented some challenges near the front shop support pole (which I painted part of, and recoated the center one) with the irregular framing that existed, as well as having to contend with a number of electrical cables that were secured to the existing framing.
I did what I could until later into the evening and then called it a night. I expect another 3-4 hours of work and I should be done with this segment of wall… which will put me at over 70% finished on the walls.
Pressing forward!