
I’ll start off by regaling you all with a tale that was quite a startling event . . .
As I approached the shop yesterday to start work, not too far from the door I could distinctly hear the loud sound of rushing air. I could also hear the compressor running. I quickly opened up the shop to ascertain the problem and found right off that one of the connections on the compressed air line system’s upper “T” joint at the center pole had disconnected. After I found the leak, I then shut down the air compressor post haste and opened up the ports on the door to increase cooling air flow.
I don’t know how long the compressor was running —a negative aspect of having the workshop separate from the house— and it was quite hot, but there was no oil leaking. I reset and retightened the air compressor line connection and after a few hours of letting the compressor cool down I fired it back up to test my repair… all looked good after that (so far!). Of course my overarching lesson learned here was turn off the air compressor when departing the shop for the evening!
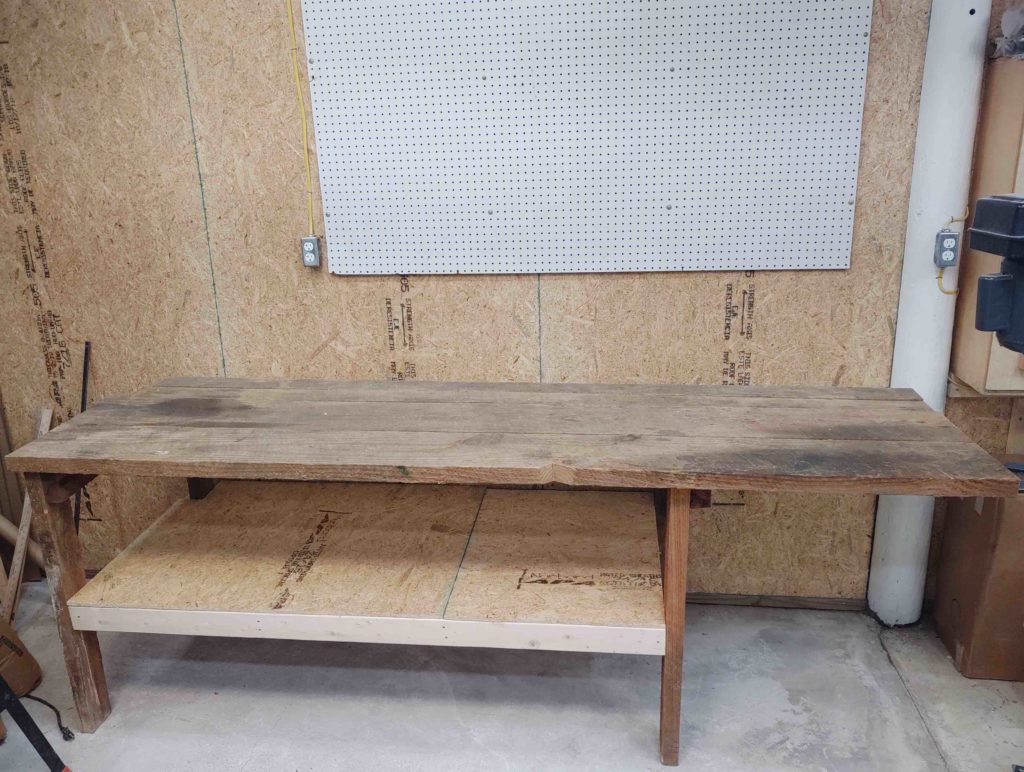
With the compressor and air lines back online, I then focused on finishing the bottom shelf on the workbench that I pulled from the “machining corner” wall. After finishing the shelf I then moved the workbench into its final position under the white pegboard, located on the left back wall of the workshop. I actually finished installing both this white pegboard and the other one at the right end of shop before setting the workbench in place.
I then got to work stringing up some CAT 5e ethernet cables, one line each from the mill and lathe locations, respectively, to the front of the shop where I’ll have a small admin kiosk with computer(s), printer, binders, etc. I also ran a speaker cable to have a speaker mounted in the back right corner and be able to feed and control it from a stereo receiver also located at the admin kiosk.
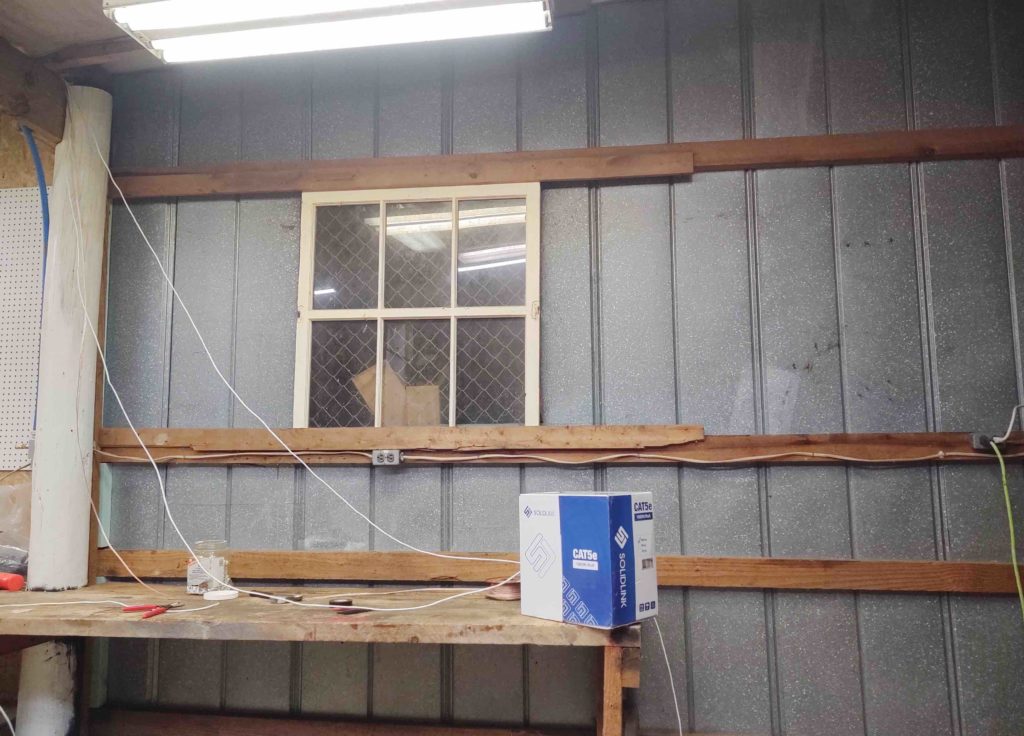
With the ethernet lines and speaker cable ran and tacked in place, I then got to work dismantling the workbench located under the window and along this segment of wall.
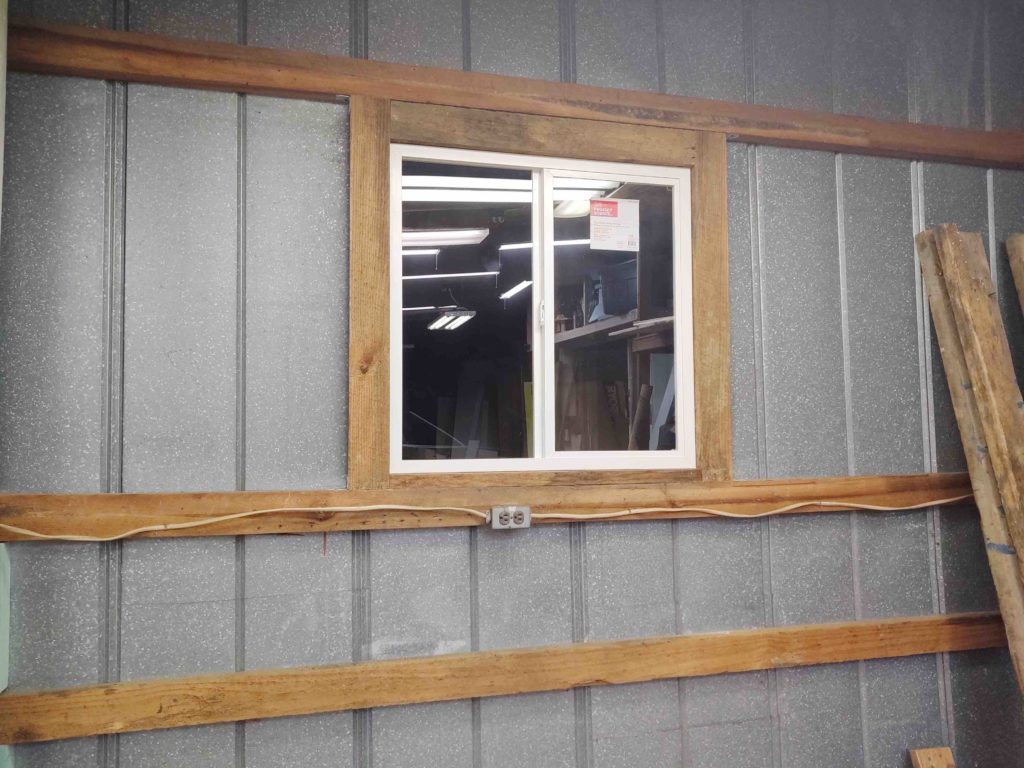
With the workbench out of the way, I then pulled the last of the old windows (4 in all) out. I framed out the window sill and then mounted the last replacement window in the workshop.
BTW, while constructing the window frame with my framing nailer I tested the air compressor lines by using one compressed air line coupler for a little bit, then switched to another coupler with the nail gun for a while before switching to yet another one. I tested half (3/6) of the couplers and all worked fine with NO leaks and good pressure.
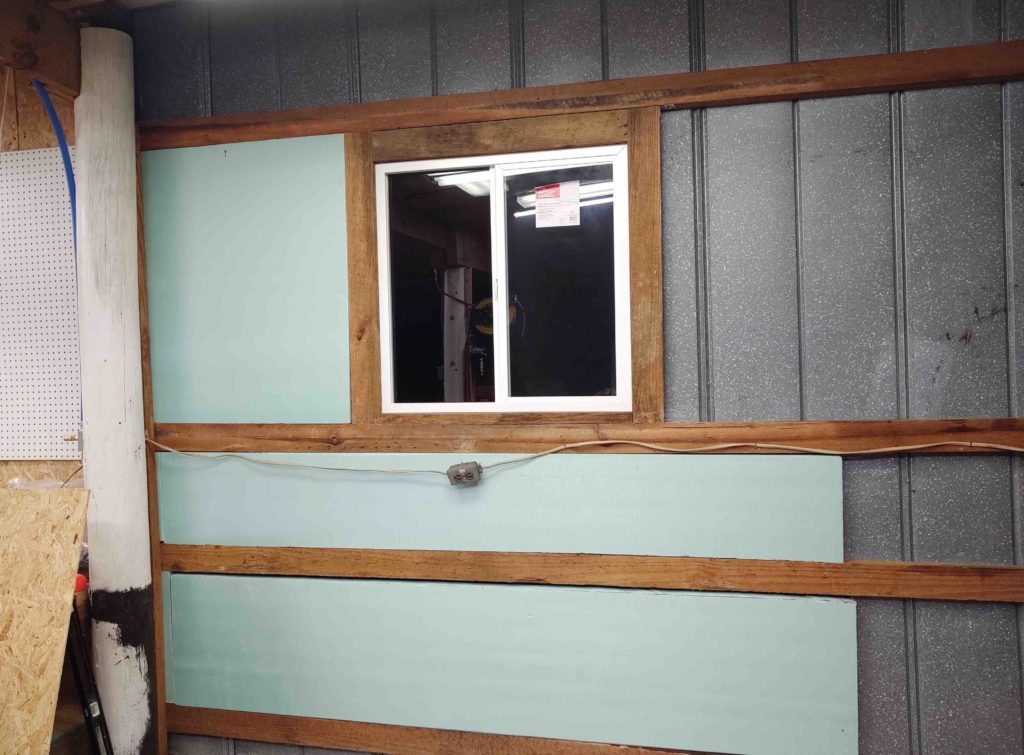
Before it got too late I then cut a few pieces of the 2″ foam insulation and got them up on the wall.
Now, I have a non-airplane build welding project coming up soon and want to knock it out as fast as possible. So I brushed off (literally) my 12-year old MIG welder and cleaned it up. After some very minor maintenance here and there over the past few nights I was finally ready to lay down some metal for a quick ops check.

Out of curiosity I hooked up the Argon/CO2 tank and to my surprise there was still a small amount left. Crazy since the last time I welded with this MIG machine was 2010!
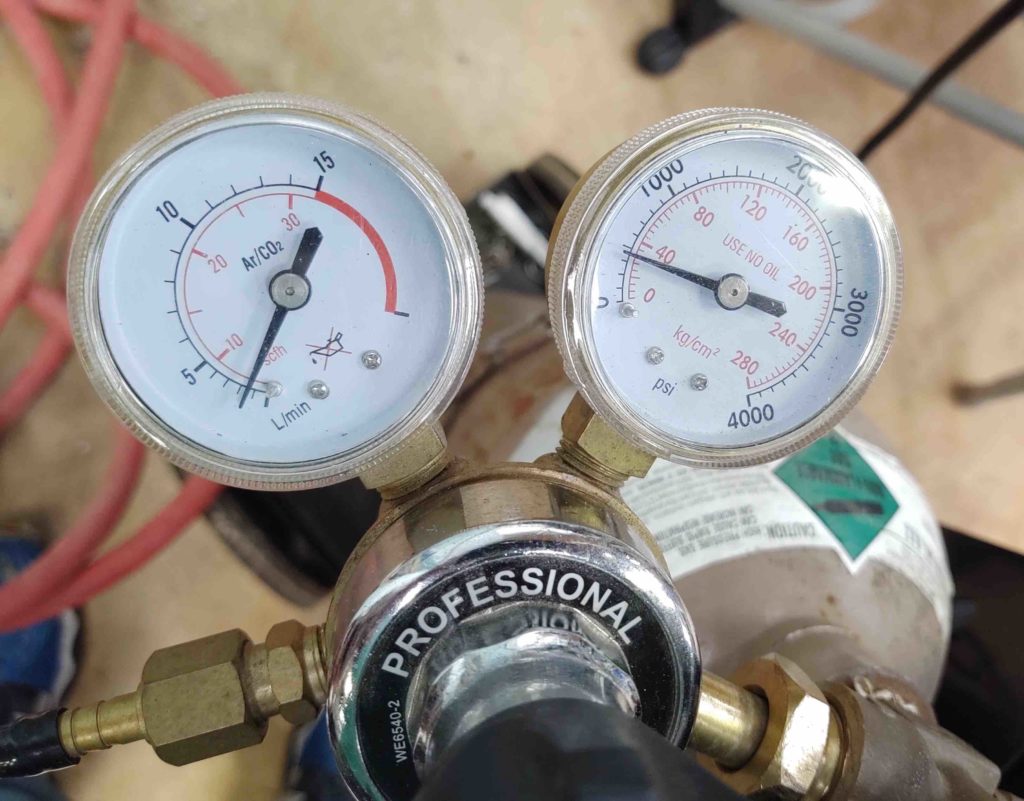
I shot a couple non-noteworthy tack welds on some 1/8″ steel which looked very passible. I’m tickled pink that the welder is operational –by all accounts so far– and I’ll be able to use it on my welding project: a steel framed shelf. Over the next week or so I’ll finish off this bottle of shielding gas and then pick up another one. In addition, I’ll be looking to assess the Argon bottle level as well for my TIG welder and be ready to swap that out if need be.