
Here’s another multi-day wrap-up of my workshop re-roofing project. To reiterate, being a week out from the shortest day of the year is having an impact on getting this thing done. Once dark it’s really hard to determine setting the screws at just the right height: too much and it crushes the rubber washer and allows for eventual leakage; too light and there’s not enough clamping force on the washer, allowing for –yep– leakage.
Anyway, with that being said, I have been making consistent progress and the weather has been proving to be a little better than what was forecasted, which has been a huge help.
Below I’m just finishing up installing the panels that will cover up the front section of the air compressor closet roof. In fact, when I removed the old roof panels I was able to officially finish the compressor bumpout roof by adding the one last row of shingles at the top with some roof felt flashing to ensure no crazy sideways rain makes its way in.
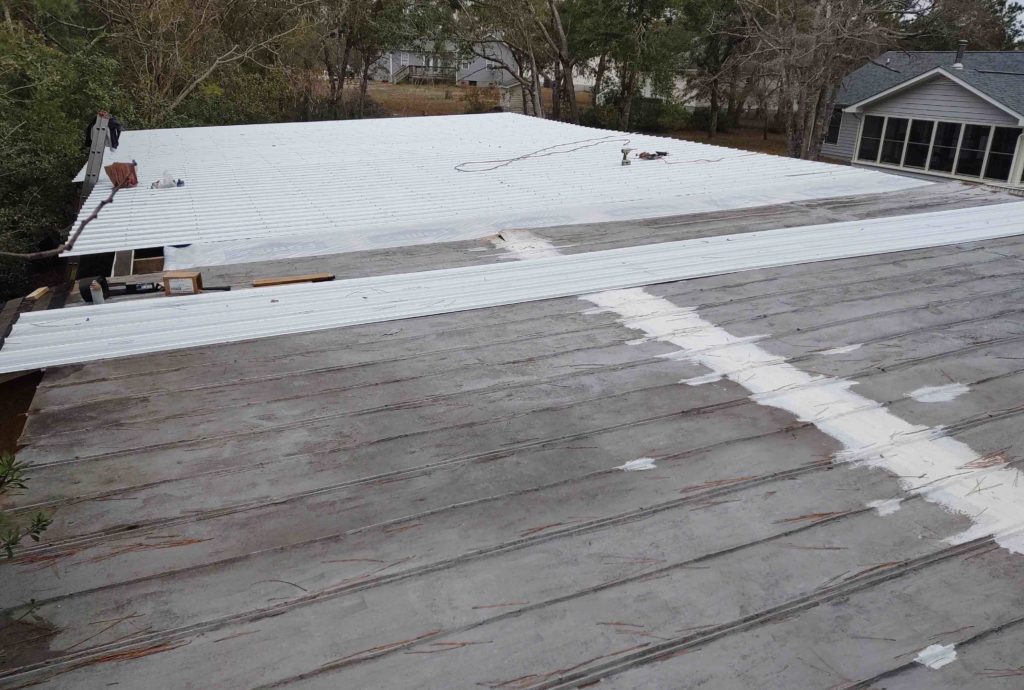
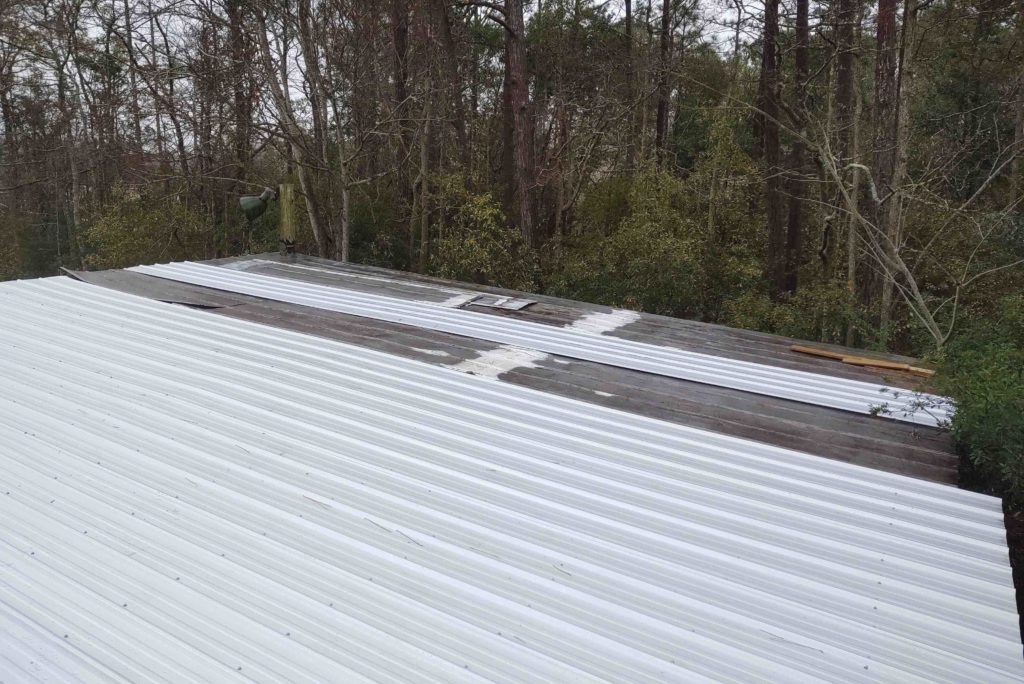
Since good weather was reported for the next day, I opened up more of the roof by removing a few rows of old roof panels. I had meant to remove another couple of rows to expose –again– the requisite 9′ swath that allows me to roll out and add the underlayment across the purlins… but alas, it got dark and I ran out of time.
So here’s the ending progress of the first evening of this post.
The next morning I removed my next couple of rows of old roofing panels . . .
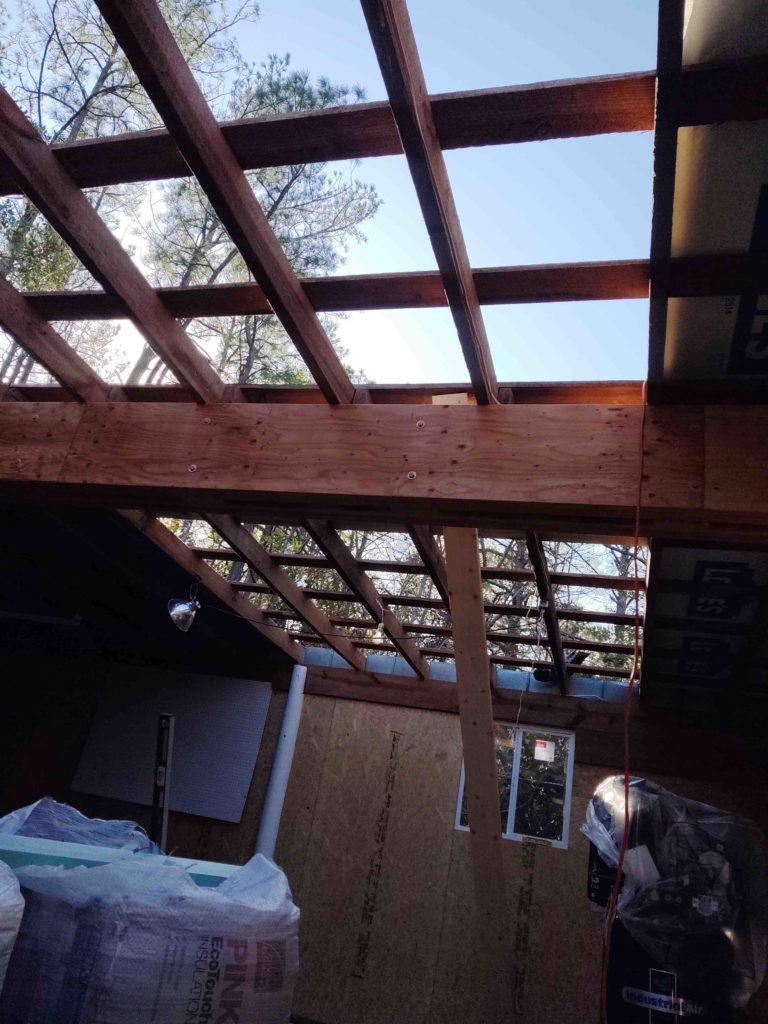
I then rolled out and stapled the underlayment in place…
A top view of the underlayment. It was a bit tricky to get the underlayment installed today because it was quite windy.
The time buster for this project is not removing the old panels, or installing the new ones. It’s the carpentry involved in cutting out the old rotting purlins, cutting new ones and then installing them.
Believe me when I say that this pic does NOT capture how rotten this piece of wood is, nor does it show the brilliant red of the rusted metal that accumulated over the past 30 years.
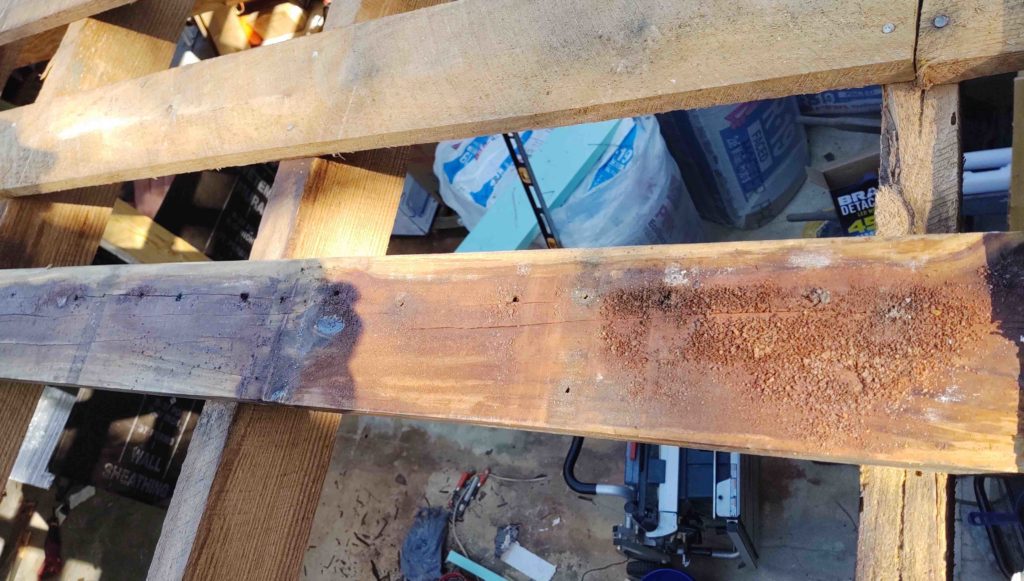
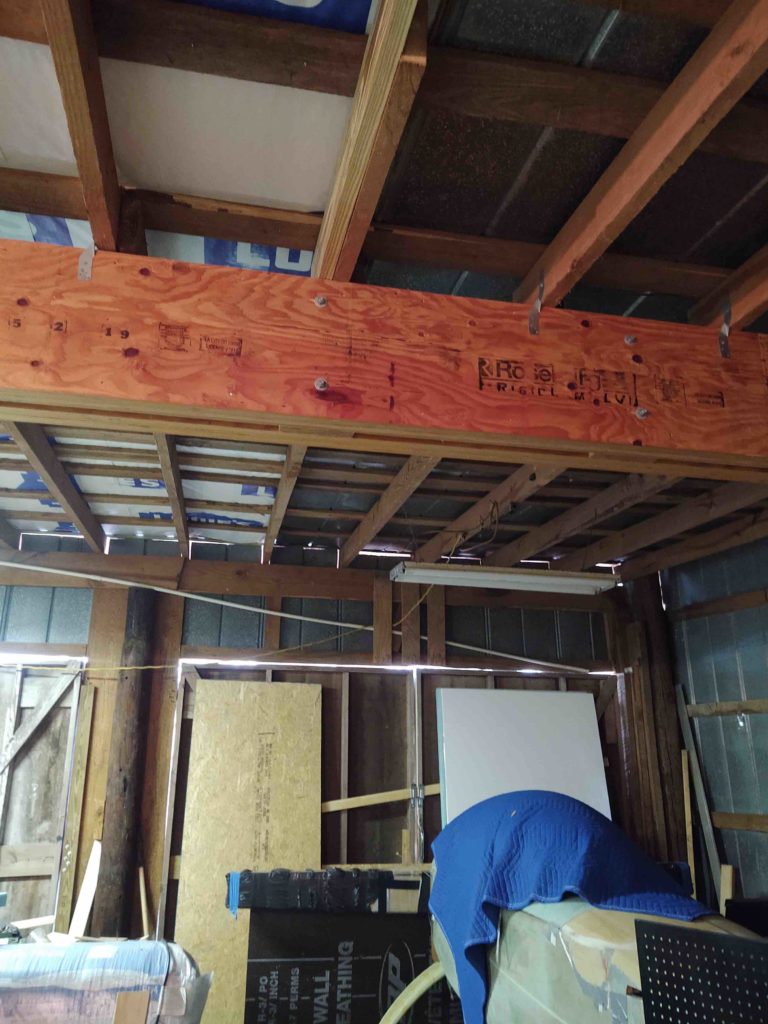
Here we have the rotted purlin above removed, but it was so bad that it really did a number on the joist below it. There was about a 5-foot long 2×6 attached to the face of this joist that I pried off to reveal some pretty bad carnage from a lot of years of water pouring down into the heart of the joist. Continuously wet wood is of course an open invitation to termites and they did a number here, so the bad part of this joist had to be removed. Notice the new pressure treated joist on the scene and ready to be installed.
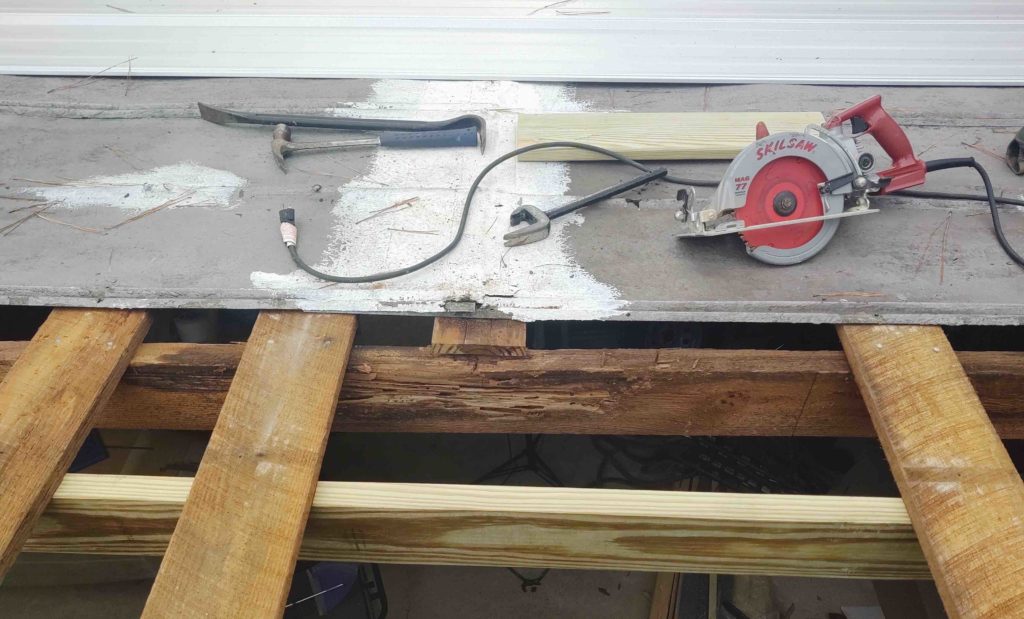
Here I’ve cut out the worst part of the rotten, half-eaten joist and am ready to install the new bridging joist. For added support on the interior I normally use simple untreated wood, but since this problem joist clearly had some type of wood eating insects in it, I want to ensure any new wood won’t be tempting for them if it were to happen to get wet for any reason.
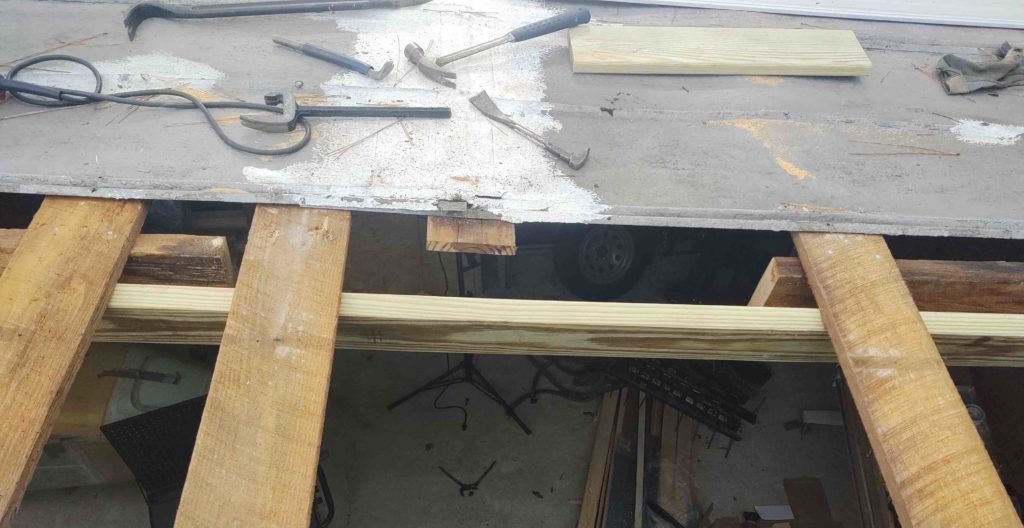
Here’s the new joist nailed in place. Again, this is just one example of some of the structural stuff I’ve had to rebuild before getting to the actual re-roofing tasks.
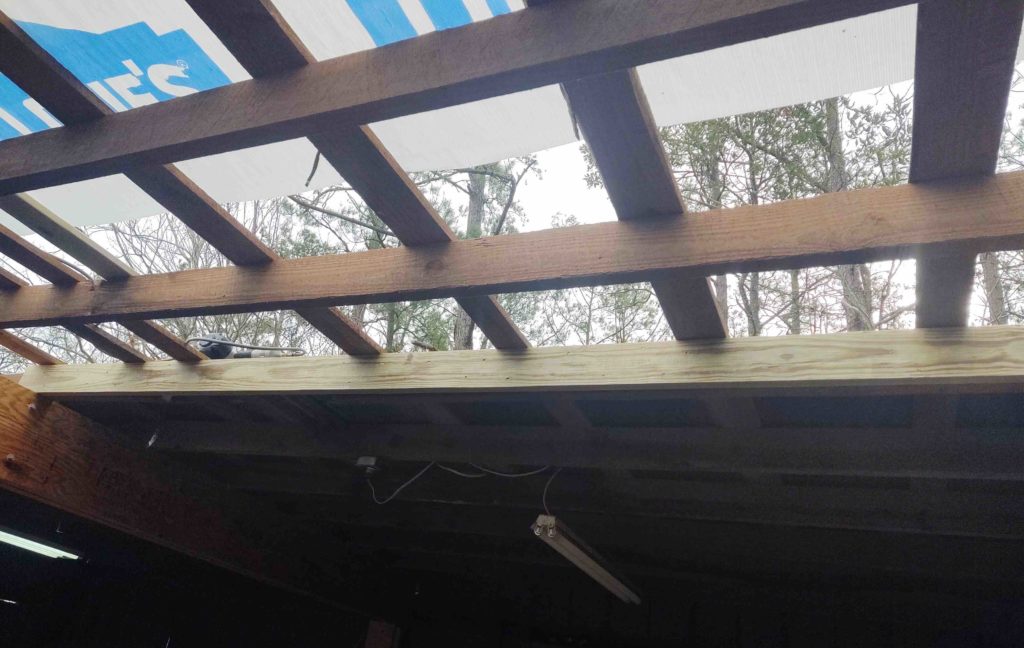
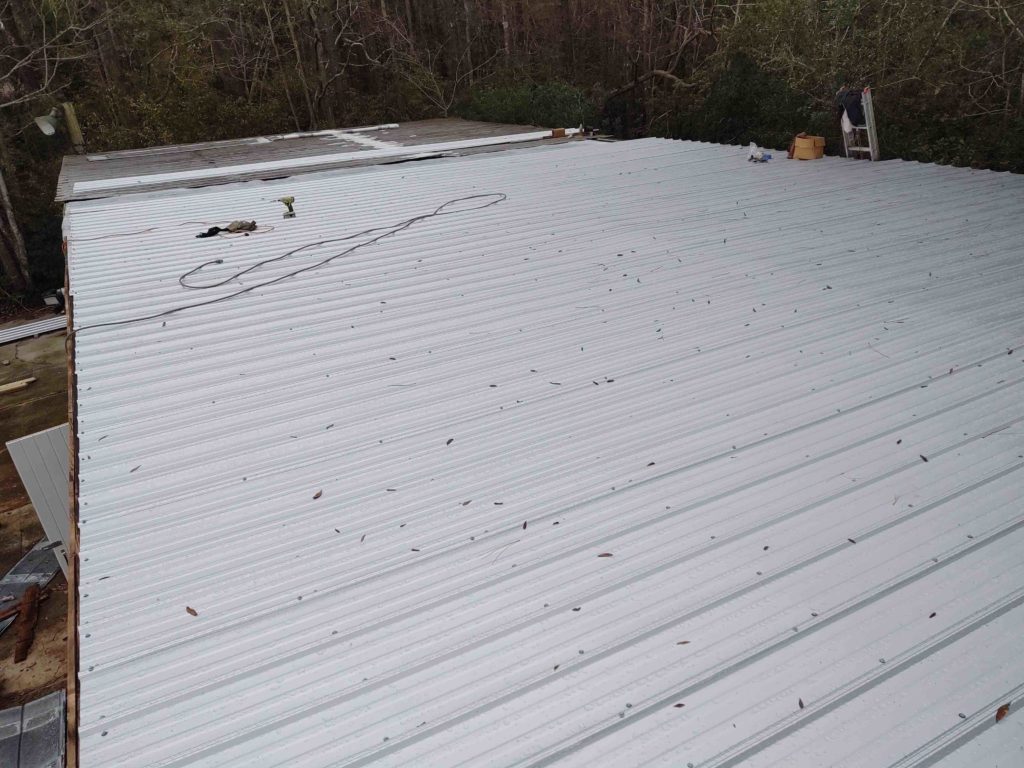
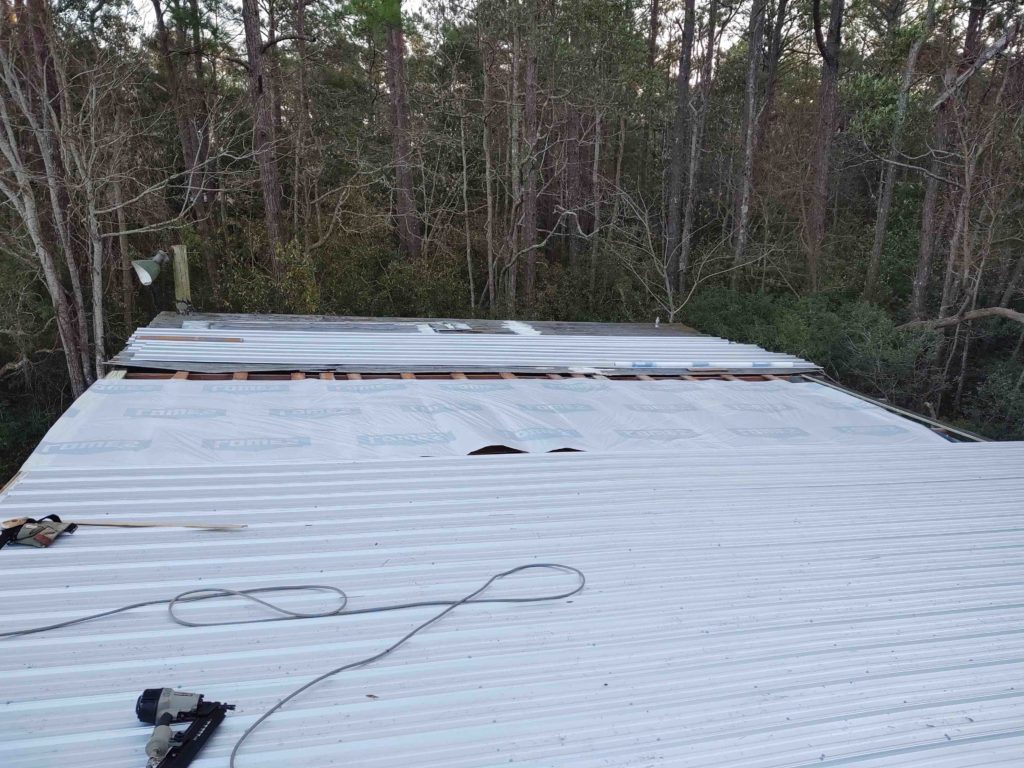
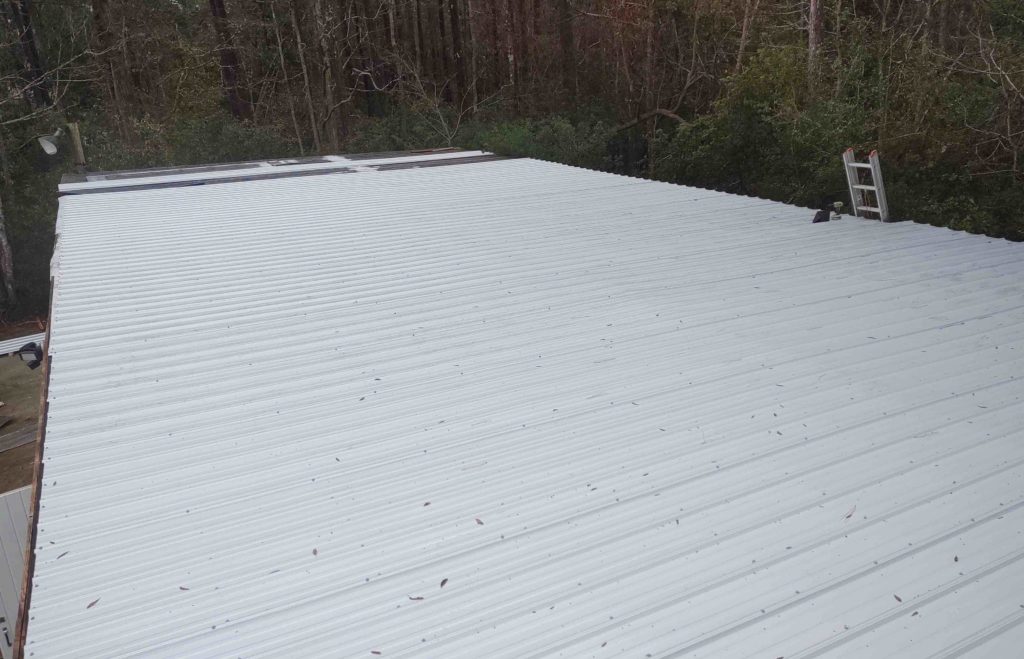
Here are some shots of the latest progress on the new roof panel installation. As you can see, not much left of the old roof panels… 12 feet in width to be exact, or 4 new roof panels left. I have one panel pre-deployed on the roof, obviously meaning that I only have 3 left on the ground that need to be brought up.
Here’s a long view of the re-roofing progress. Another couple good days of weather and I should have this baby knocked out!
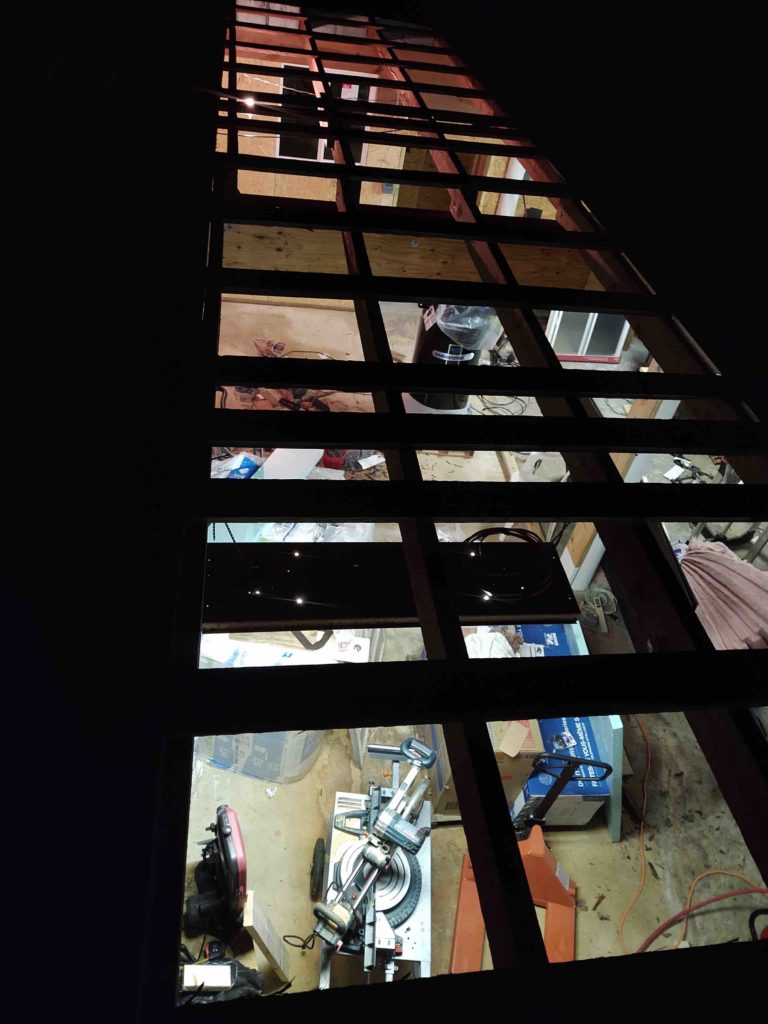
And an interior shot of my progress. I’m clearly into the last working bay of the shop with the new roof panels installed just over/inside the leftmost set of doors.
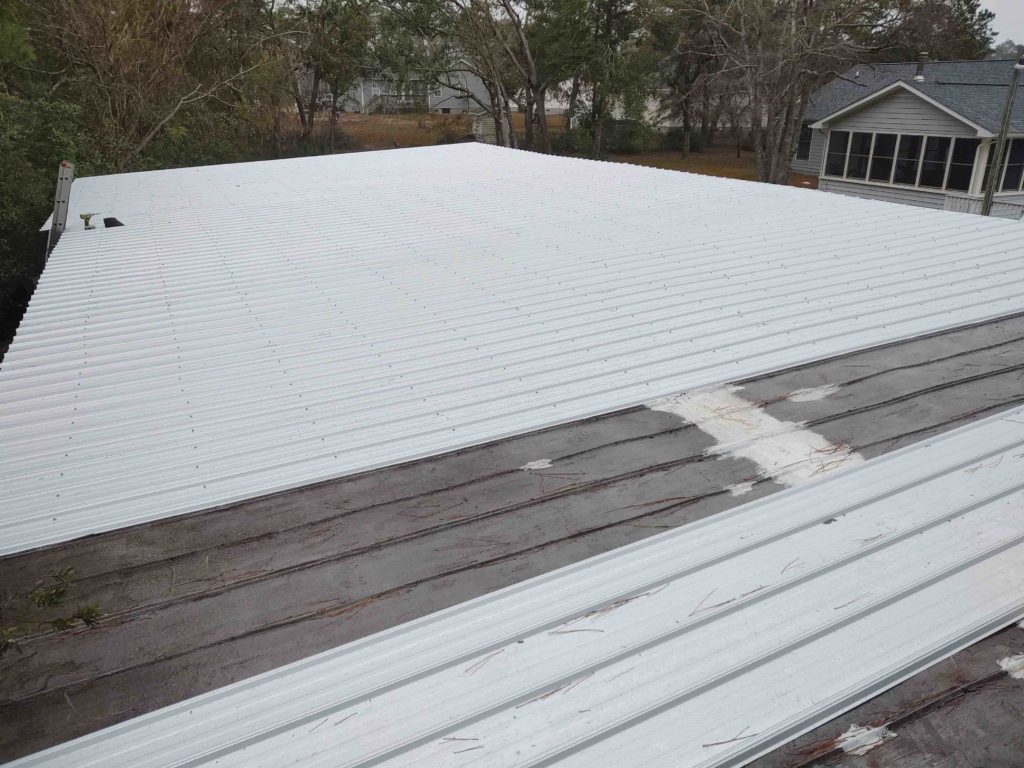
I had just finished taping and physically installing the last new roof panel for the day when it started drizzling. I then installed all the screws while it rained lightly. I scrambled to get the tools down under cover to keep them dry. And then a few hours later it really started to pour.
The heavy rain is significant because I was working in the shop for quite a few hours as the rain really came down, and it was definitely loud. I was figuring out my ceiling lighting configurations, all the while keeping an eye out for any leaks. I have to say after an hour or so I finally felt confident that the new roof was upholding its end of the bargain and proved (thus far at least) to NOT leak!!!
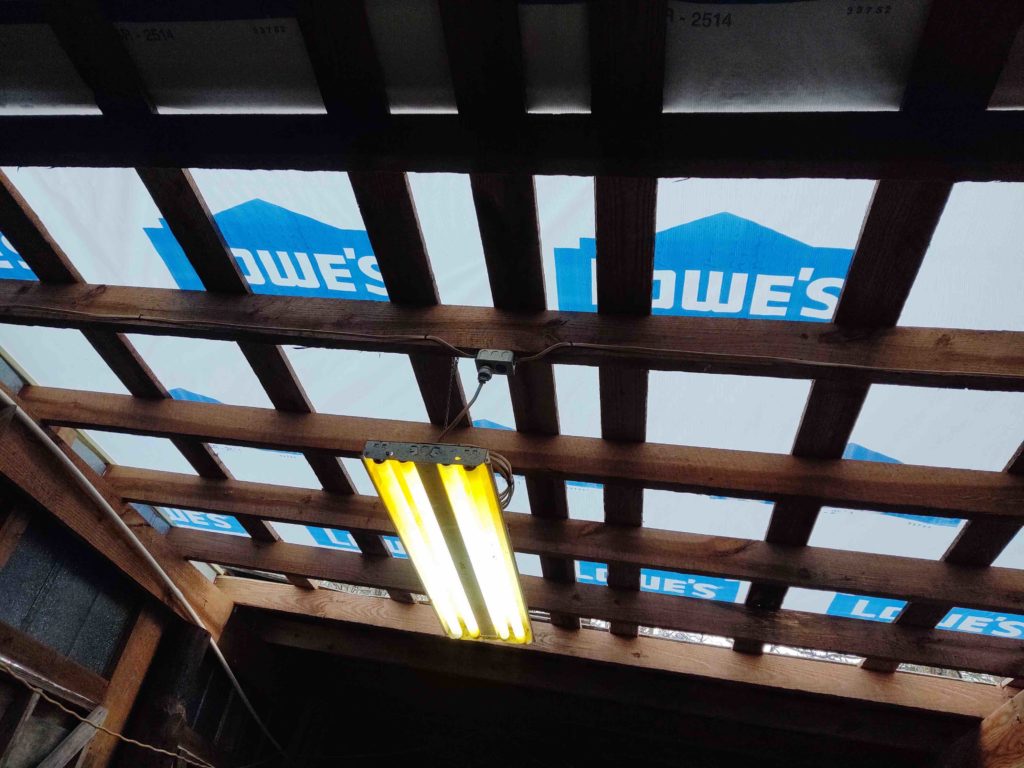
With workshop made up of essentially 3 bays divided down the center by a left-right beam, I basically have 6 areas, or “quadrants,” if you’ll allow me the technical misuse of that term, to plan for lighting-wise. Since I had access to the center aft “quadrant” of the shop (just in front of the compressor closet) to set up my ladder, I decided it would be my initial test area for putting in some fluorescent lights that I brought from my garage in Virginia, and a few new LED light bars that I bought to fill in some of the coverage to eliminate any light gaps.
Before any lighting could go up, I needed to insulate the ceiling first. But, I had to back up even a little further and seal the significant gaps between the metal siding and the joists poking out the back of the shop, and through the top of the siding. Before I got serious on working with the lights, I used some expanding foam out of a can to fill in those gaps…
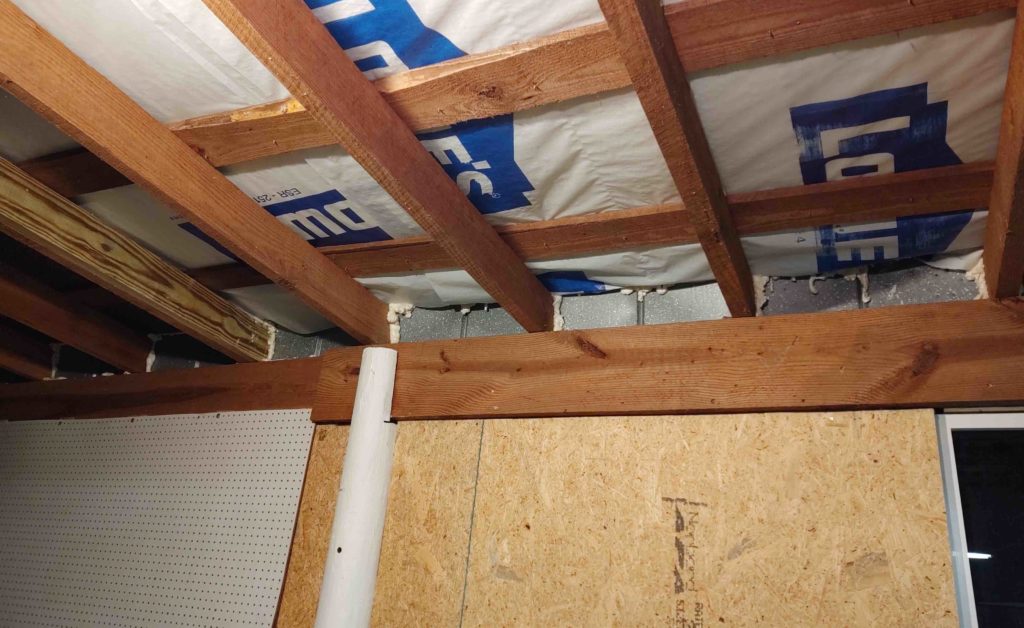
With the upper exterior wall joist gaps filled and the foam cured, I then added a few batts of insulation in between the ceiling joists where I wanted to mount my 4-bulb fluorescent light that I’m transplanting from my Virginia shop.
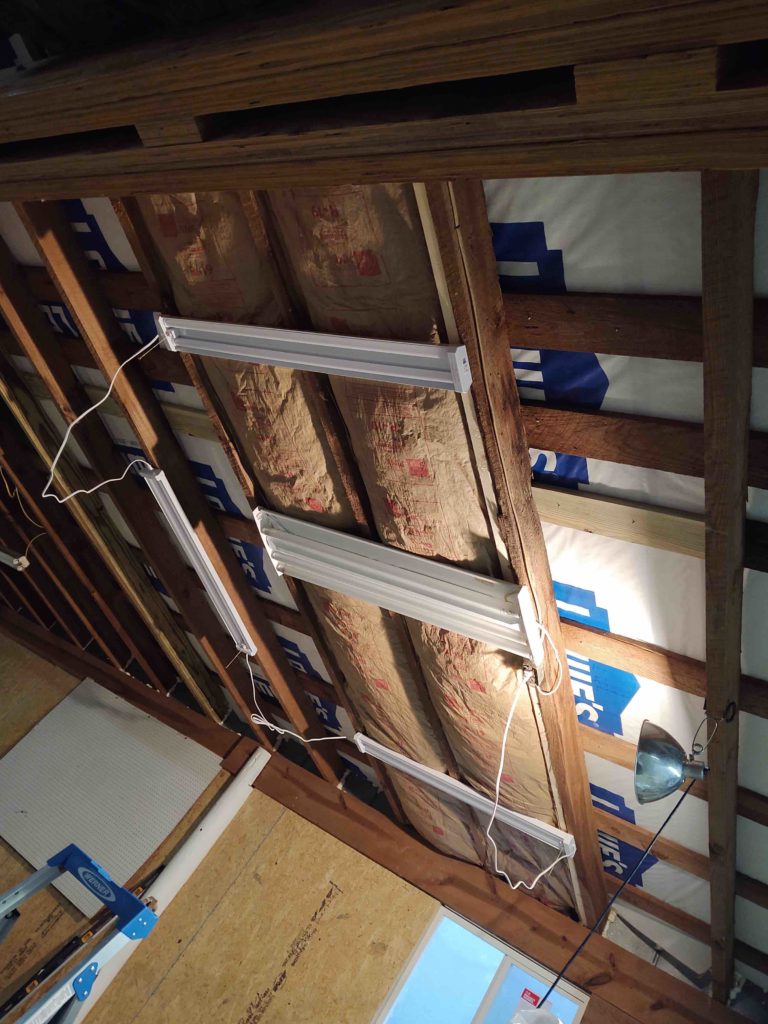
Here’s a shot with just the LED lights on… there’s actually one more in the group that will go on the right side about where the shop light is clamped to the joist. Since the previous owners had all their fluorescent light fixtures –mostly one per bay, or “quadrant”– plugged in to a ceiling mounted power receptacle, I decided that for my LED light bars I would simply circle the wagons and place them around the bigger existing Fluorescent light bars. Since the LED light bars allow a max of 4 per series of lights, this obviously works out to one big fluorescent light bar in the middle with 4 LED bars around it in a square pattern for each of the main work bays, or the 4 left side “quadrants”… main here being the area under the big cross beam where the Long-EZ project will be situated. Over on the right side (2 “quadrants”… fore & aft) where my long work benches and shop equipment (milling machine, lathe, drill press, etc.) will be located, the lighting will be just a tad different than over where the airplane will be located.
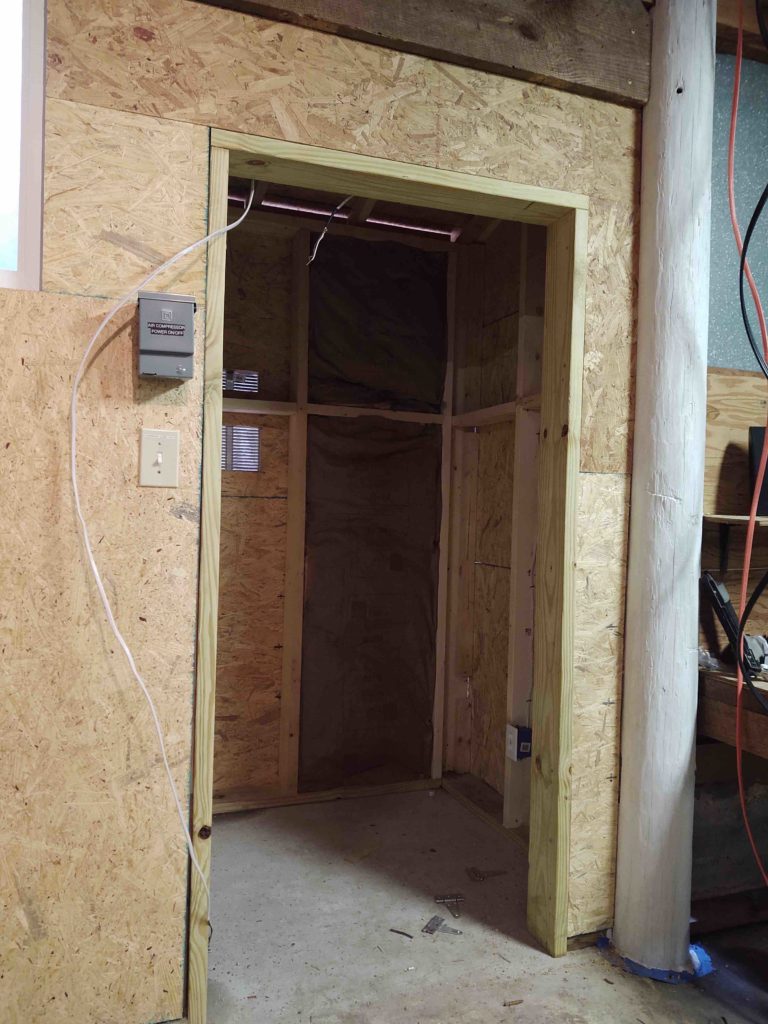
Since I opened my first pack of insulation batting, I quickly put one of them up in the air compressor closet before shutting the shop down for the evening.
So clearly still a lot to do on the workshop, but with the roof project winding down I think over the next week to 10 days the shop will transform quite a bit into what I need it to be to get back to work on my plane build.