The Long-EZ N916WP project officially begins on 24 April 2011!
The first chapter in the plans for actual aircraft component construction is Chapter 4, which covers the building of all the bulkheads that will make up the structural cross-sections of the fuselage. Below is the first bulkhead to be constructed: the front (Pilot’s) seat back.
Chapter 4 — Step 1 of 4: Front Seat Bulkhead


Chapter 4 — Step 2 of 4: Rear Seat Bulkhead
25 April 2011 – The cured first sides of the front seat and rear seat bulkheads. →
26 April 2011 – The work continues on the front & rear seat bulkheads. ↓
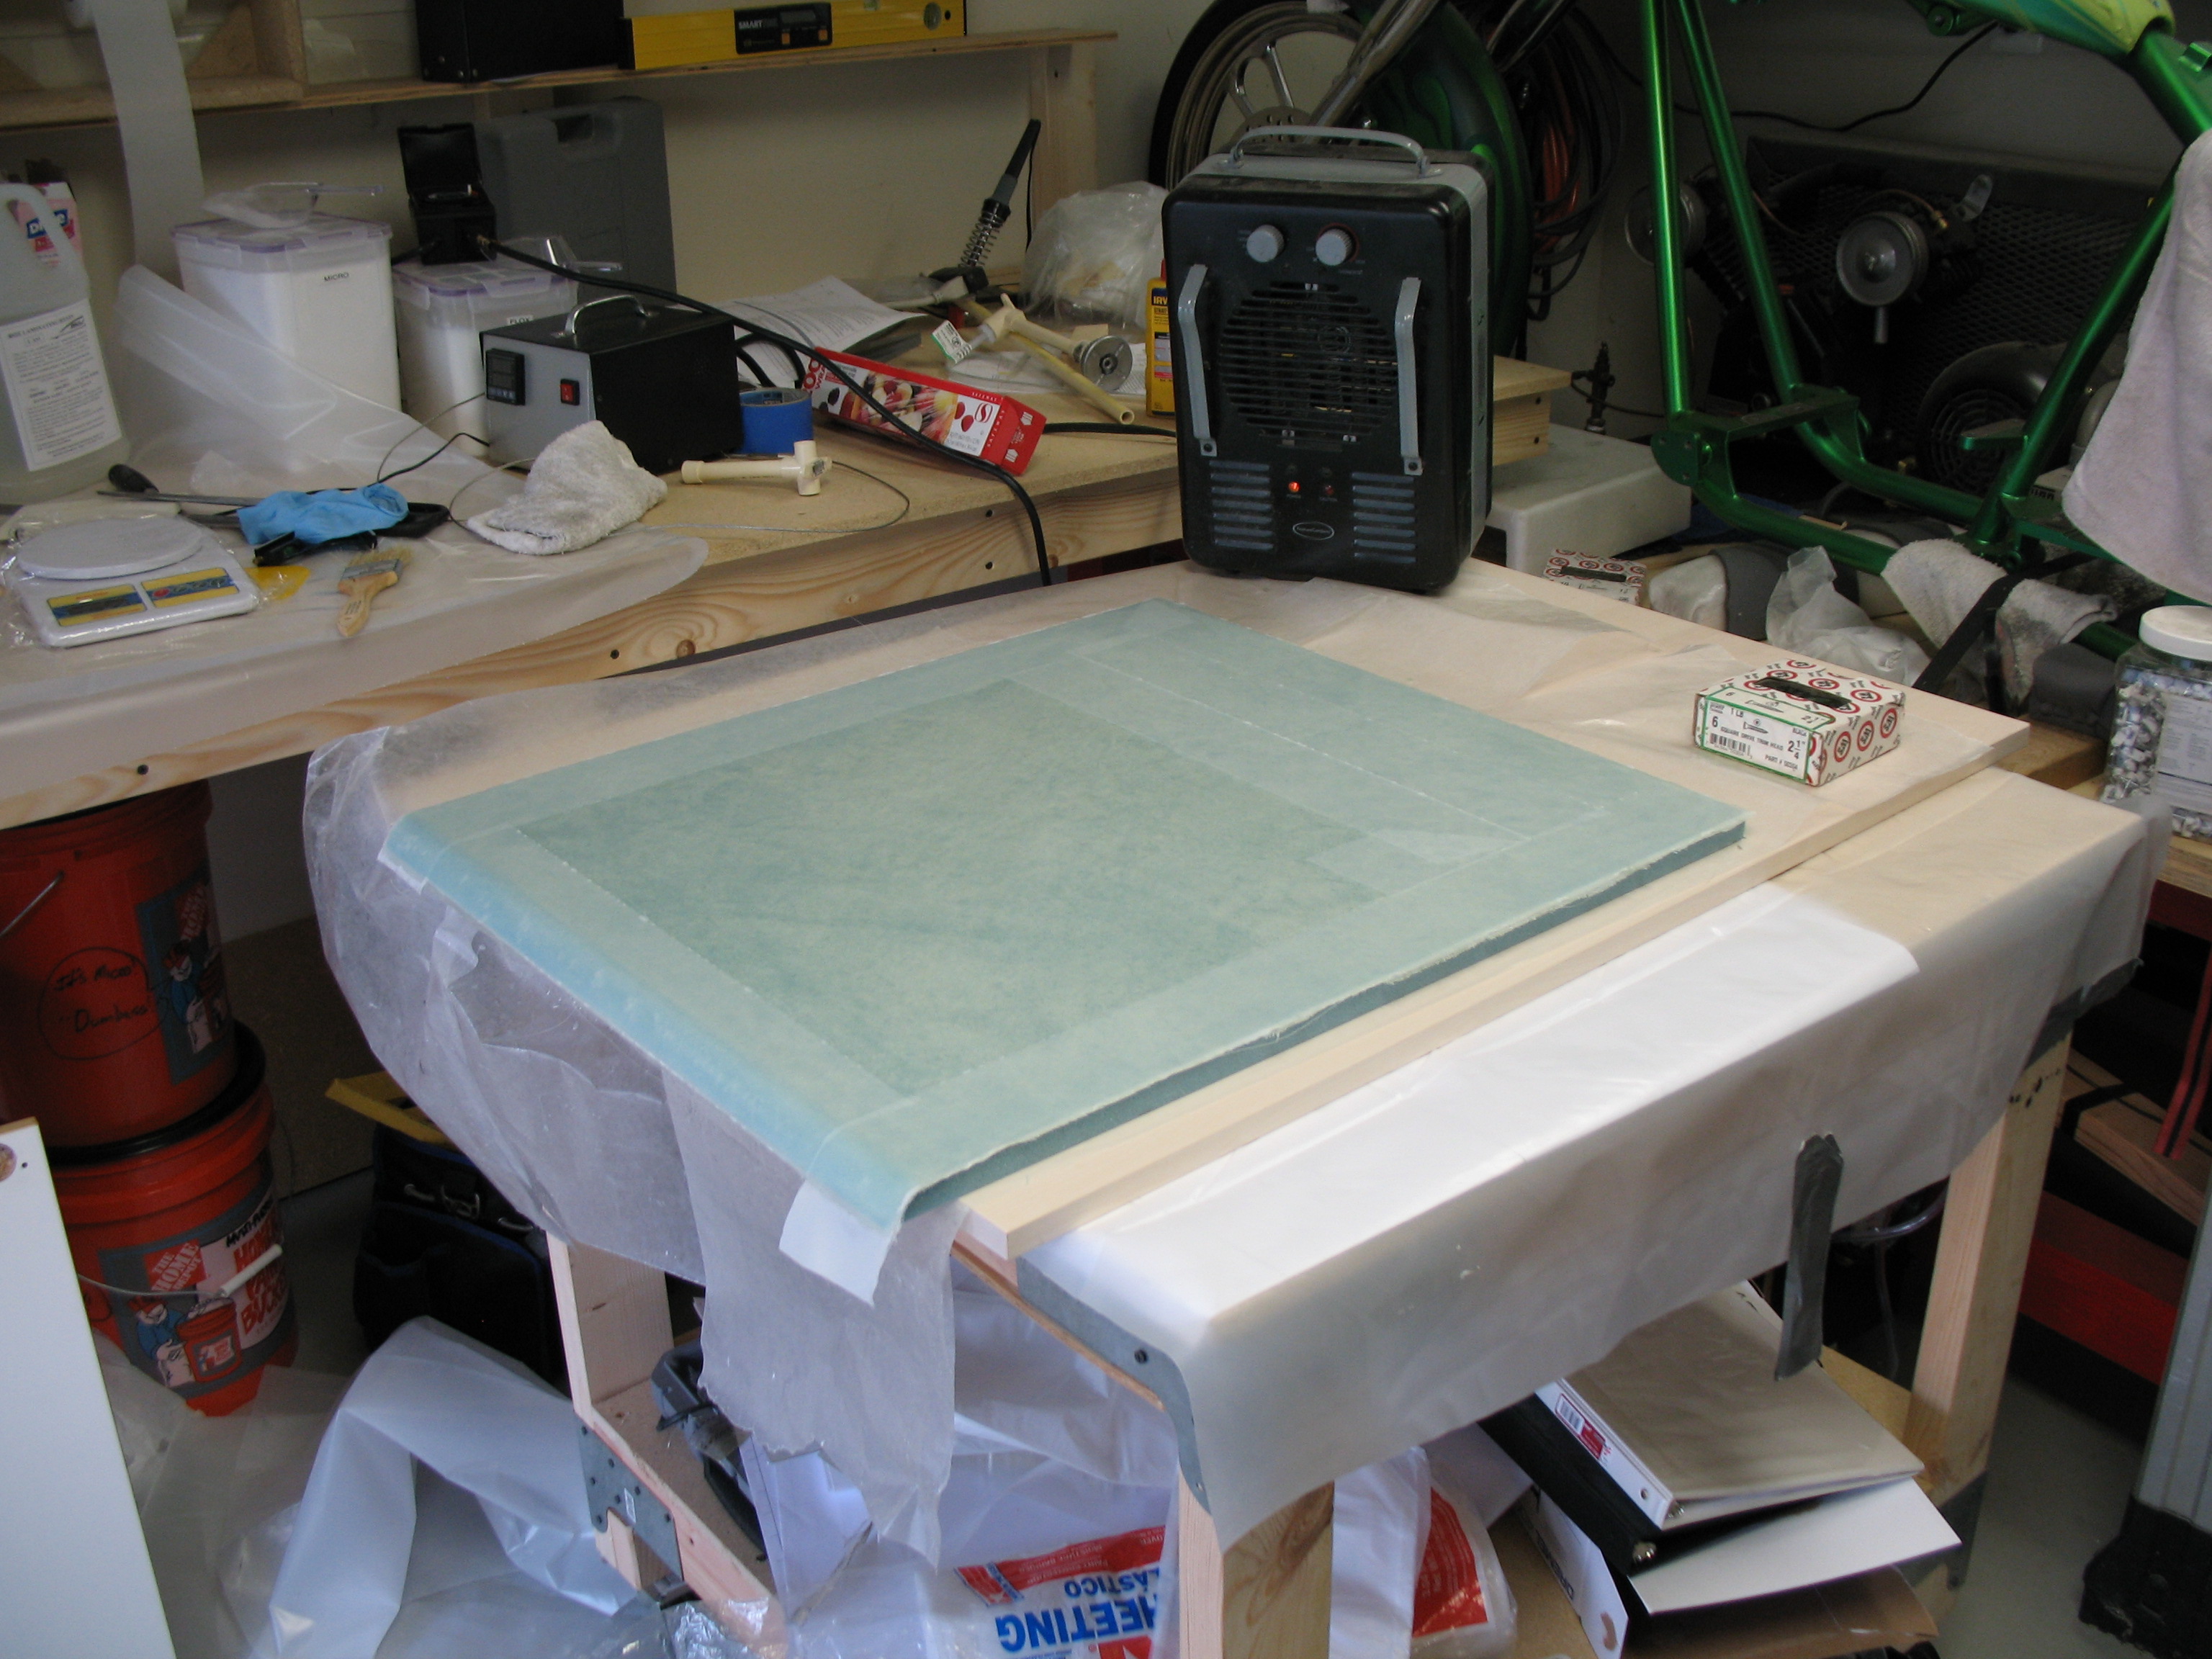
#1 – A shot of the front seat bulkhead, glass completed on both sides.
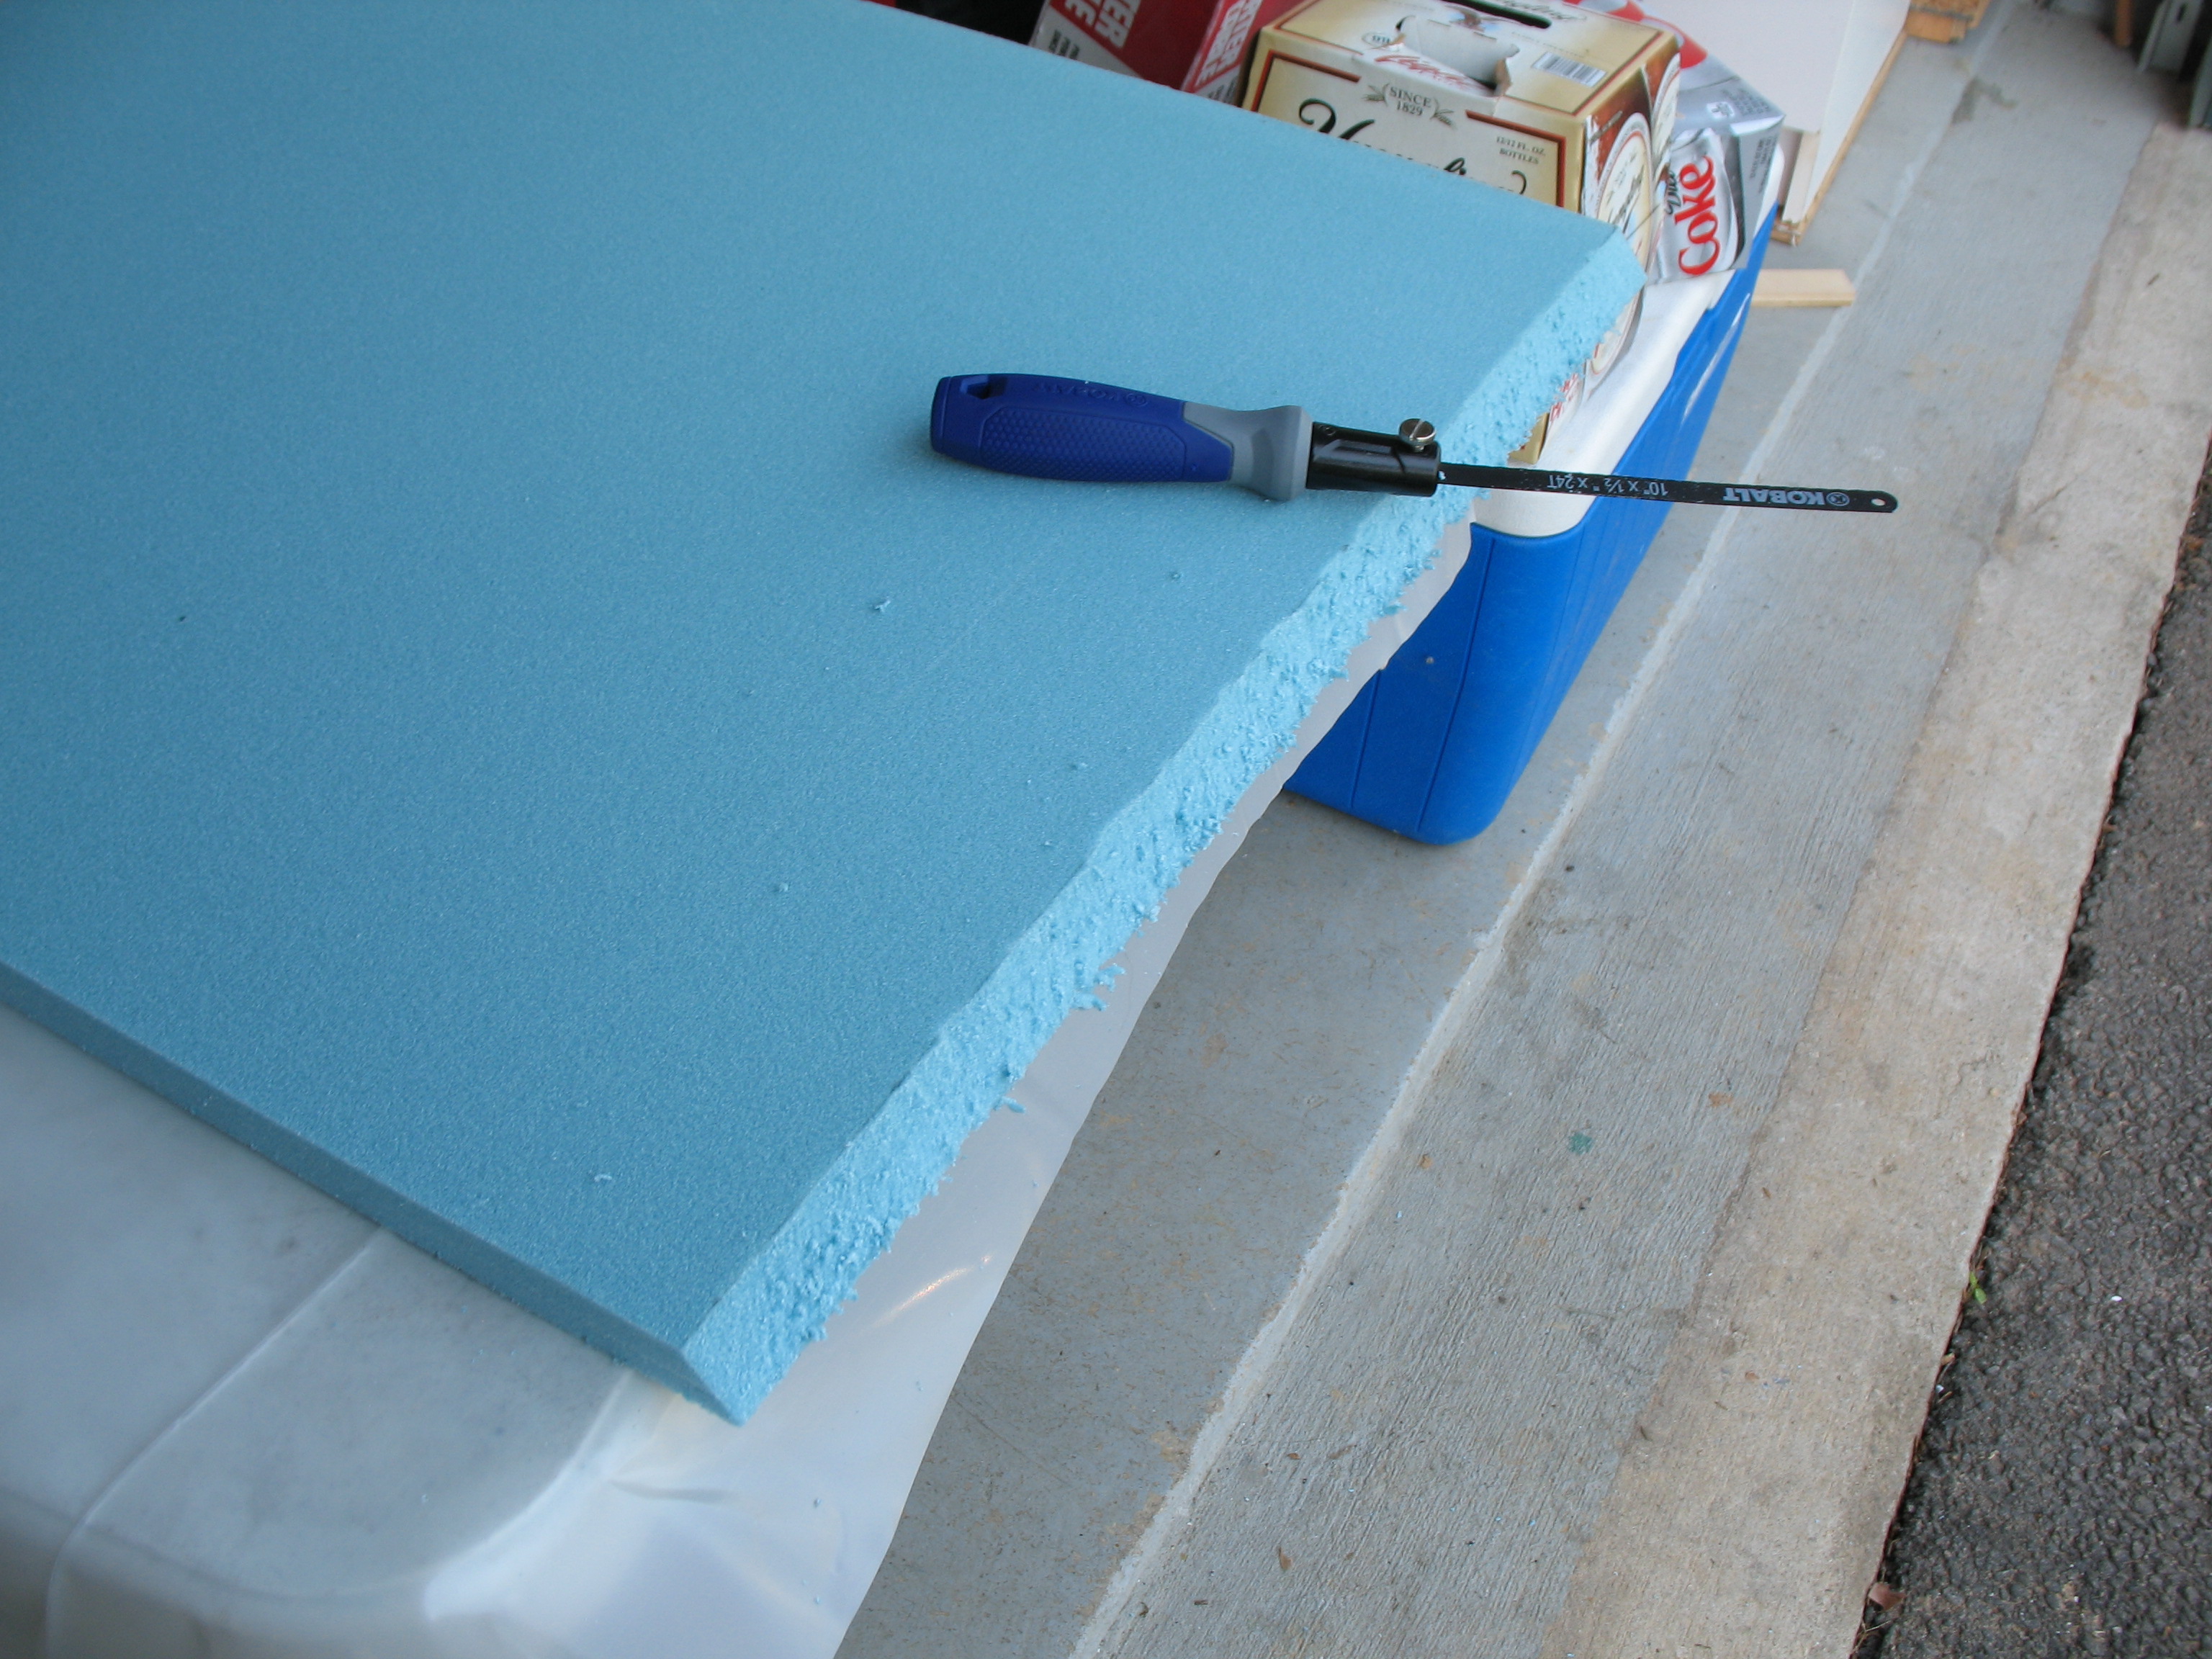
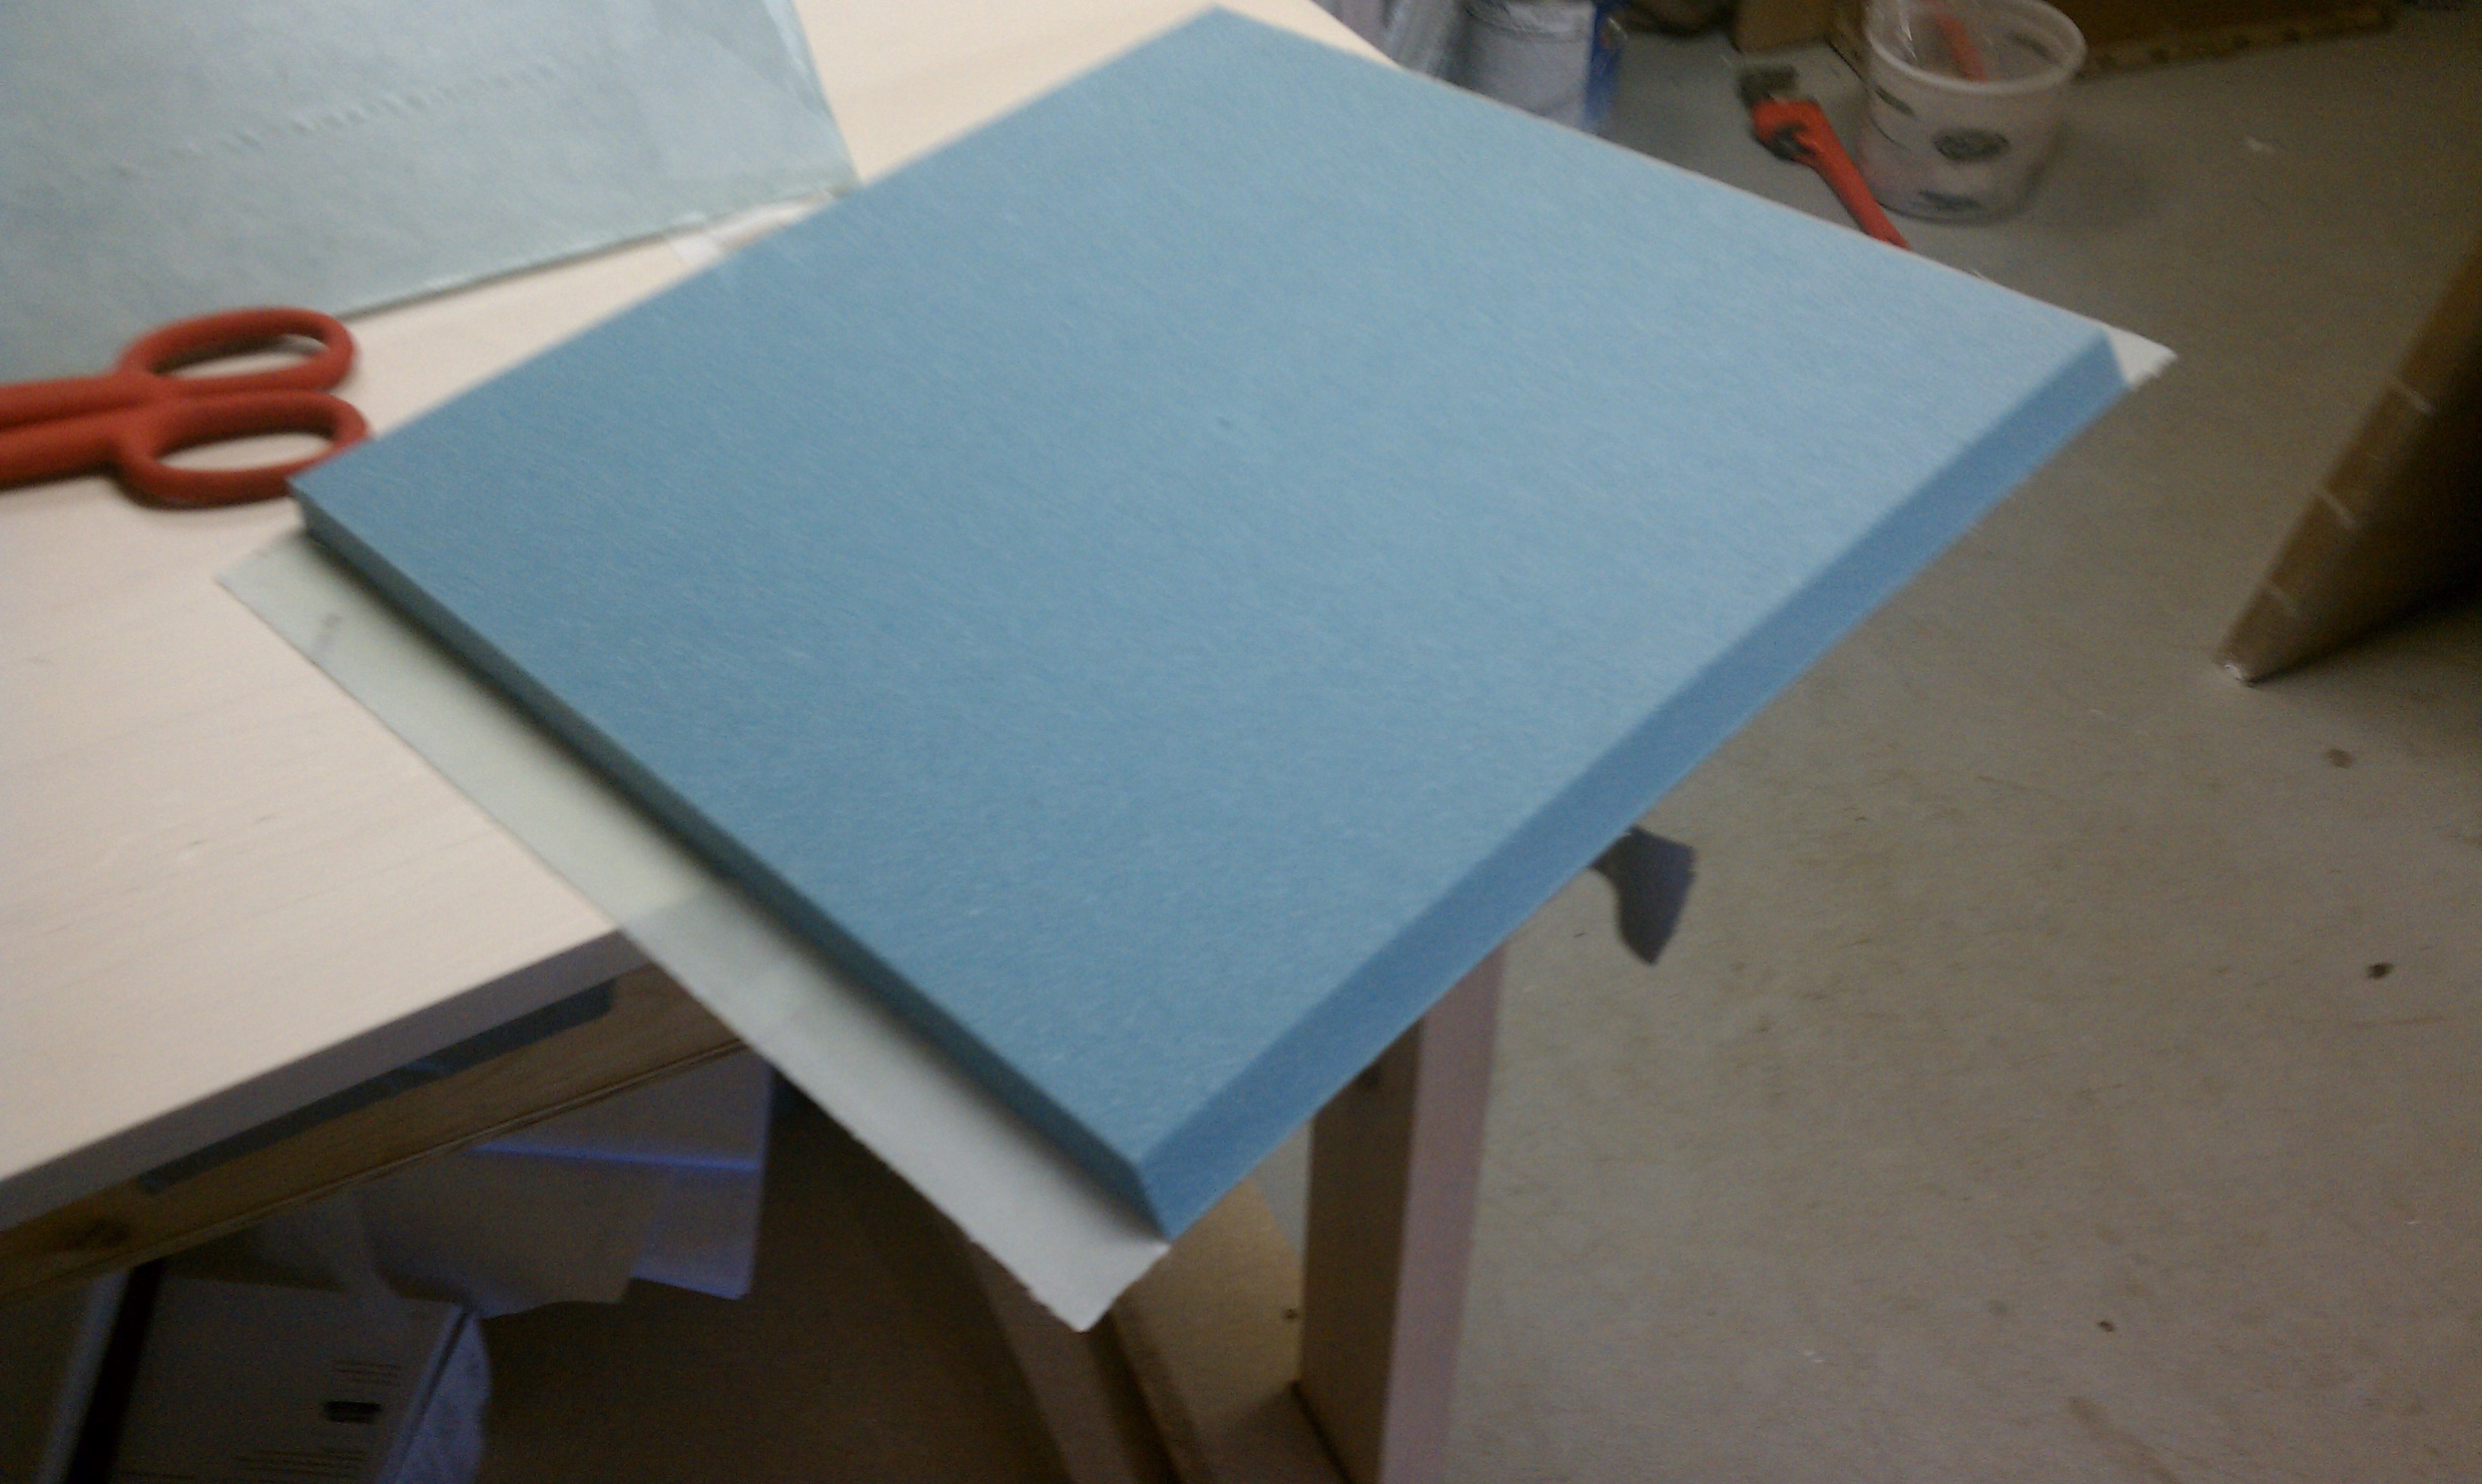
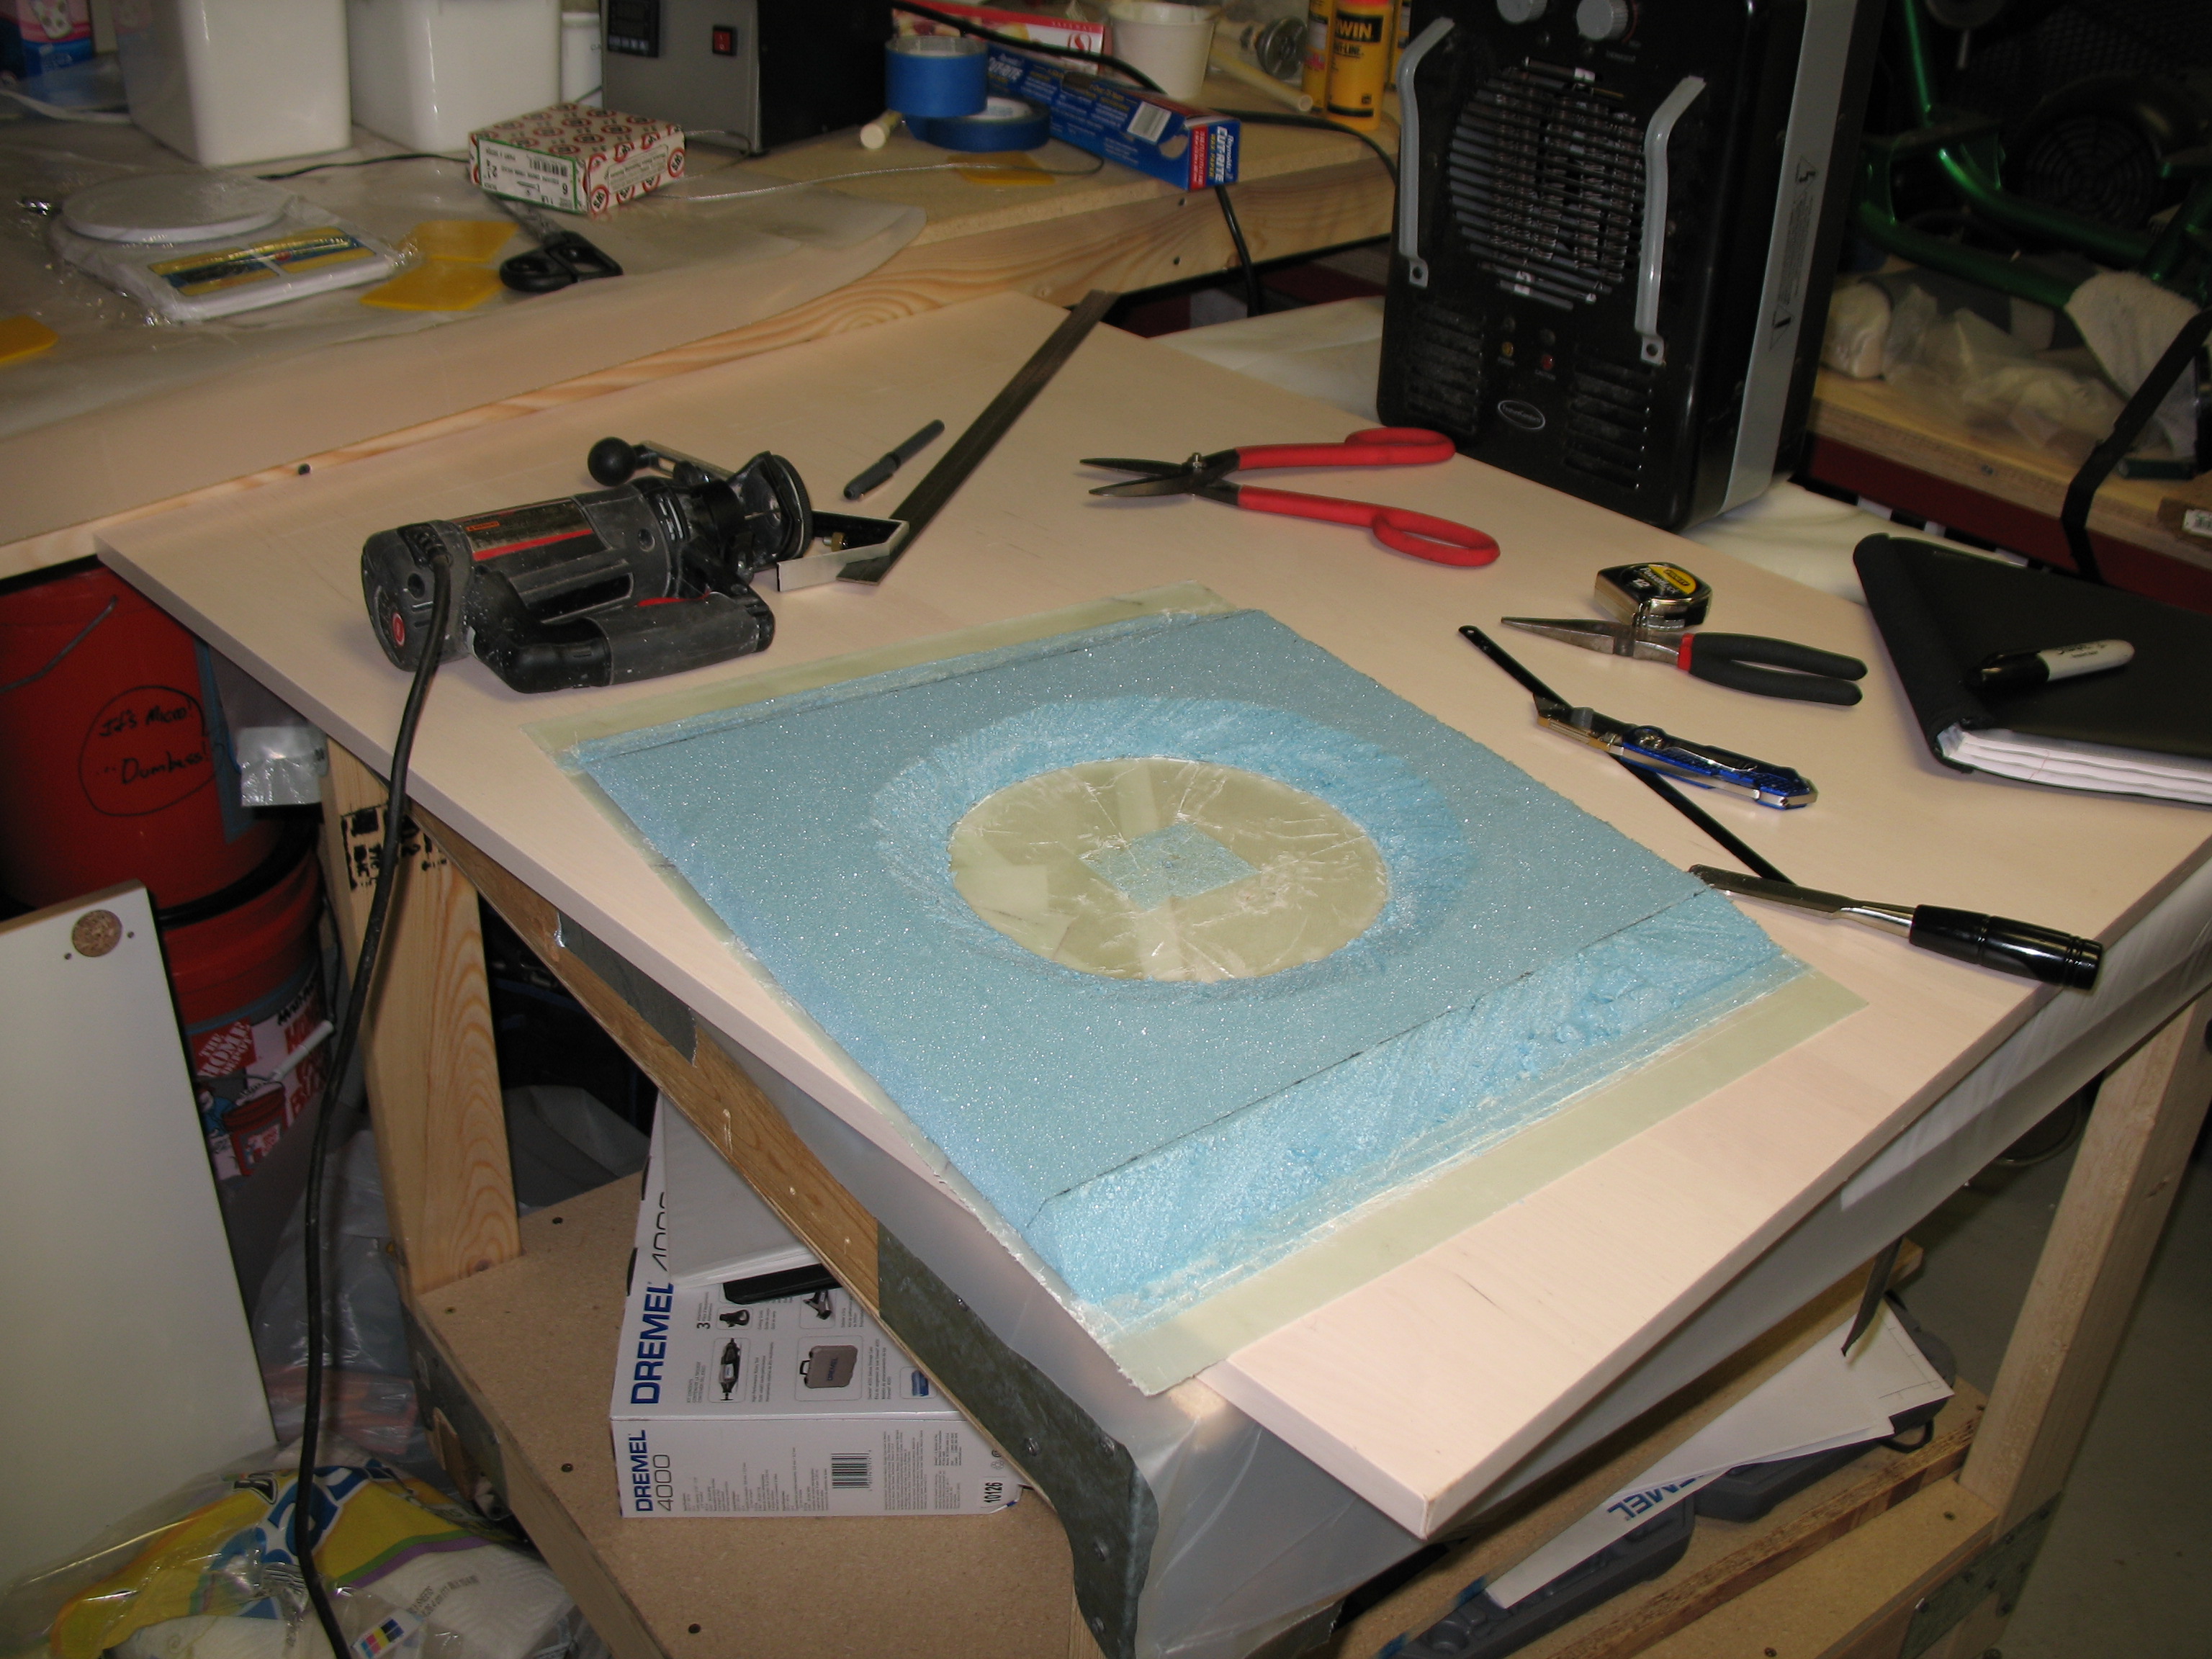
#2 – Start of the foam prep on the backside of the rear seat bulkhead.
Below is the front side of the rear seat bulkhead. It doesn’t look like a very nice glass lay-up on the front because it wasn’t! I started out trying to save as much glass as I could, so I was piecing together remnants to save glass. Boy, did I ever grow out of that in quick order!
•••
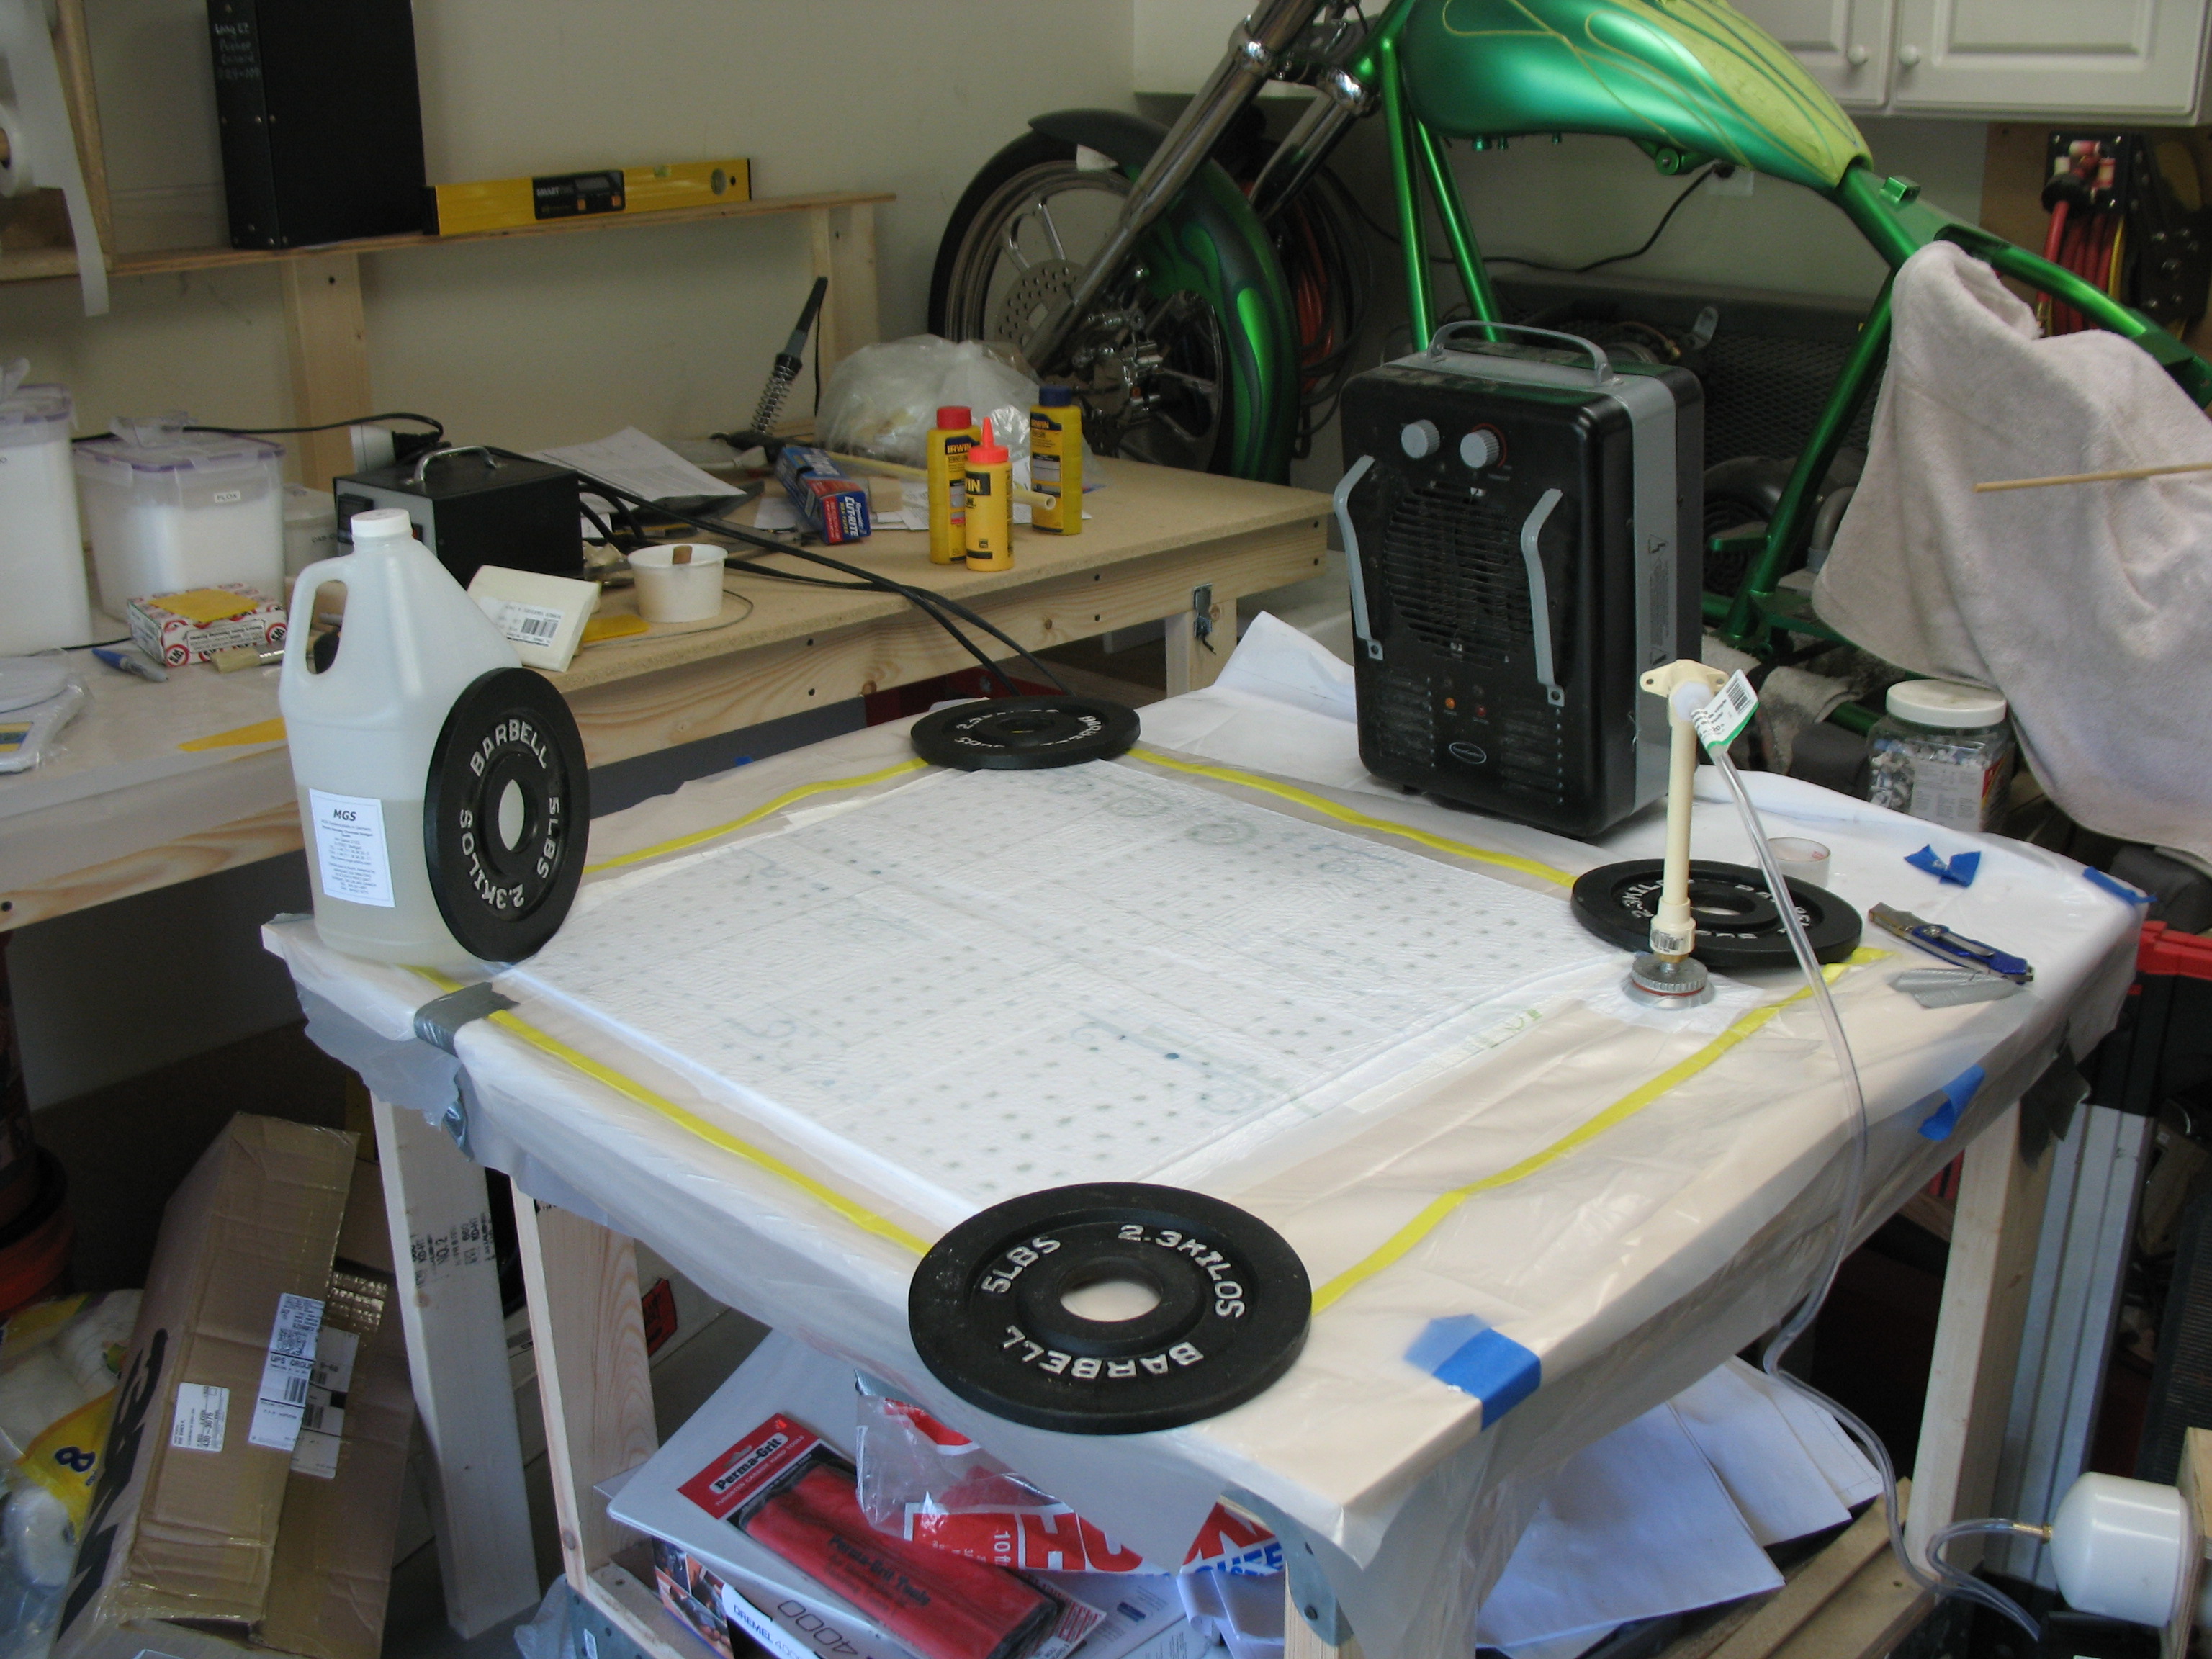
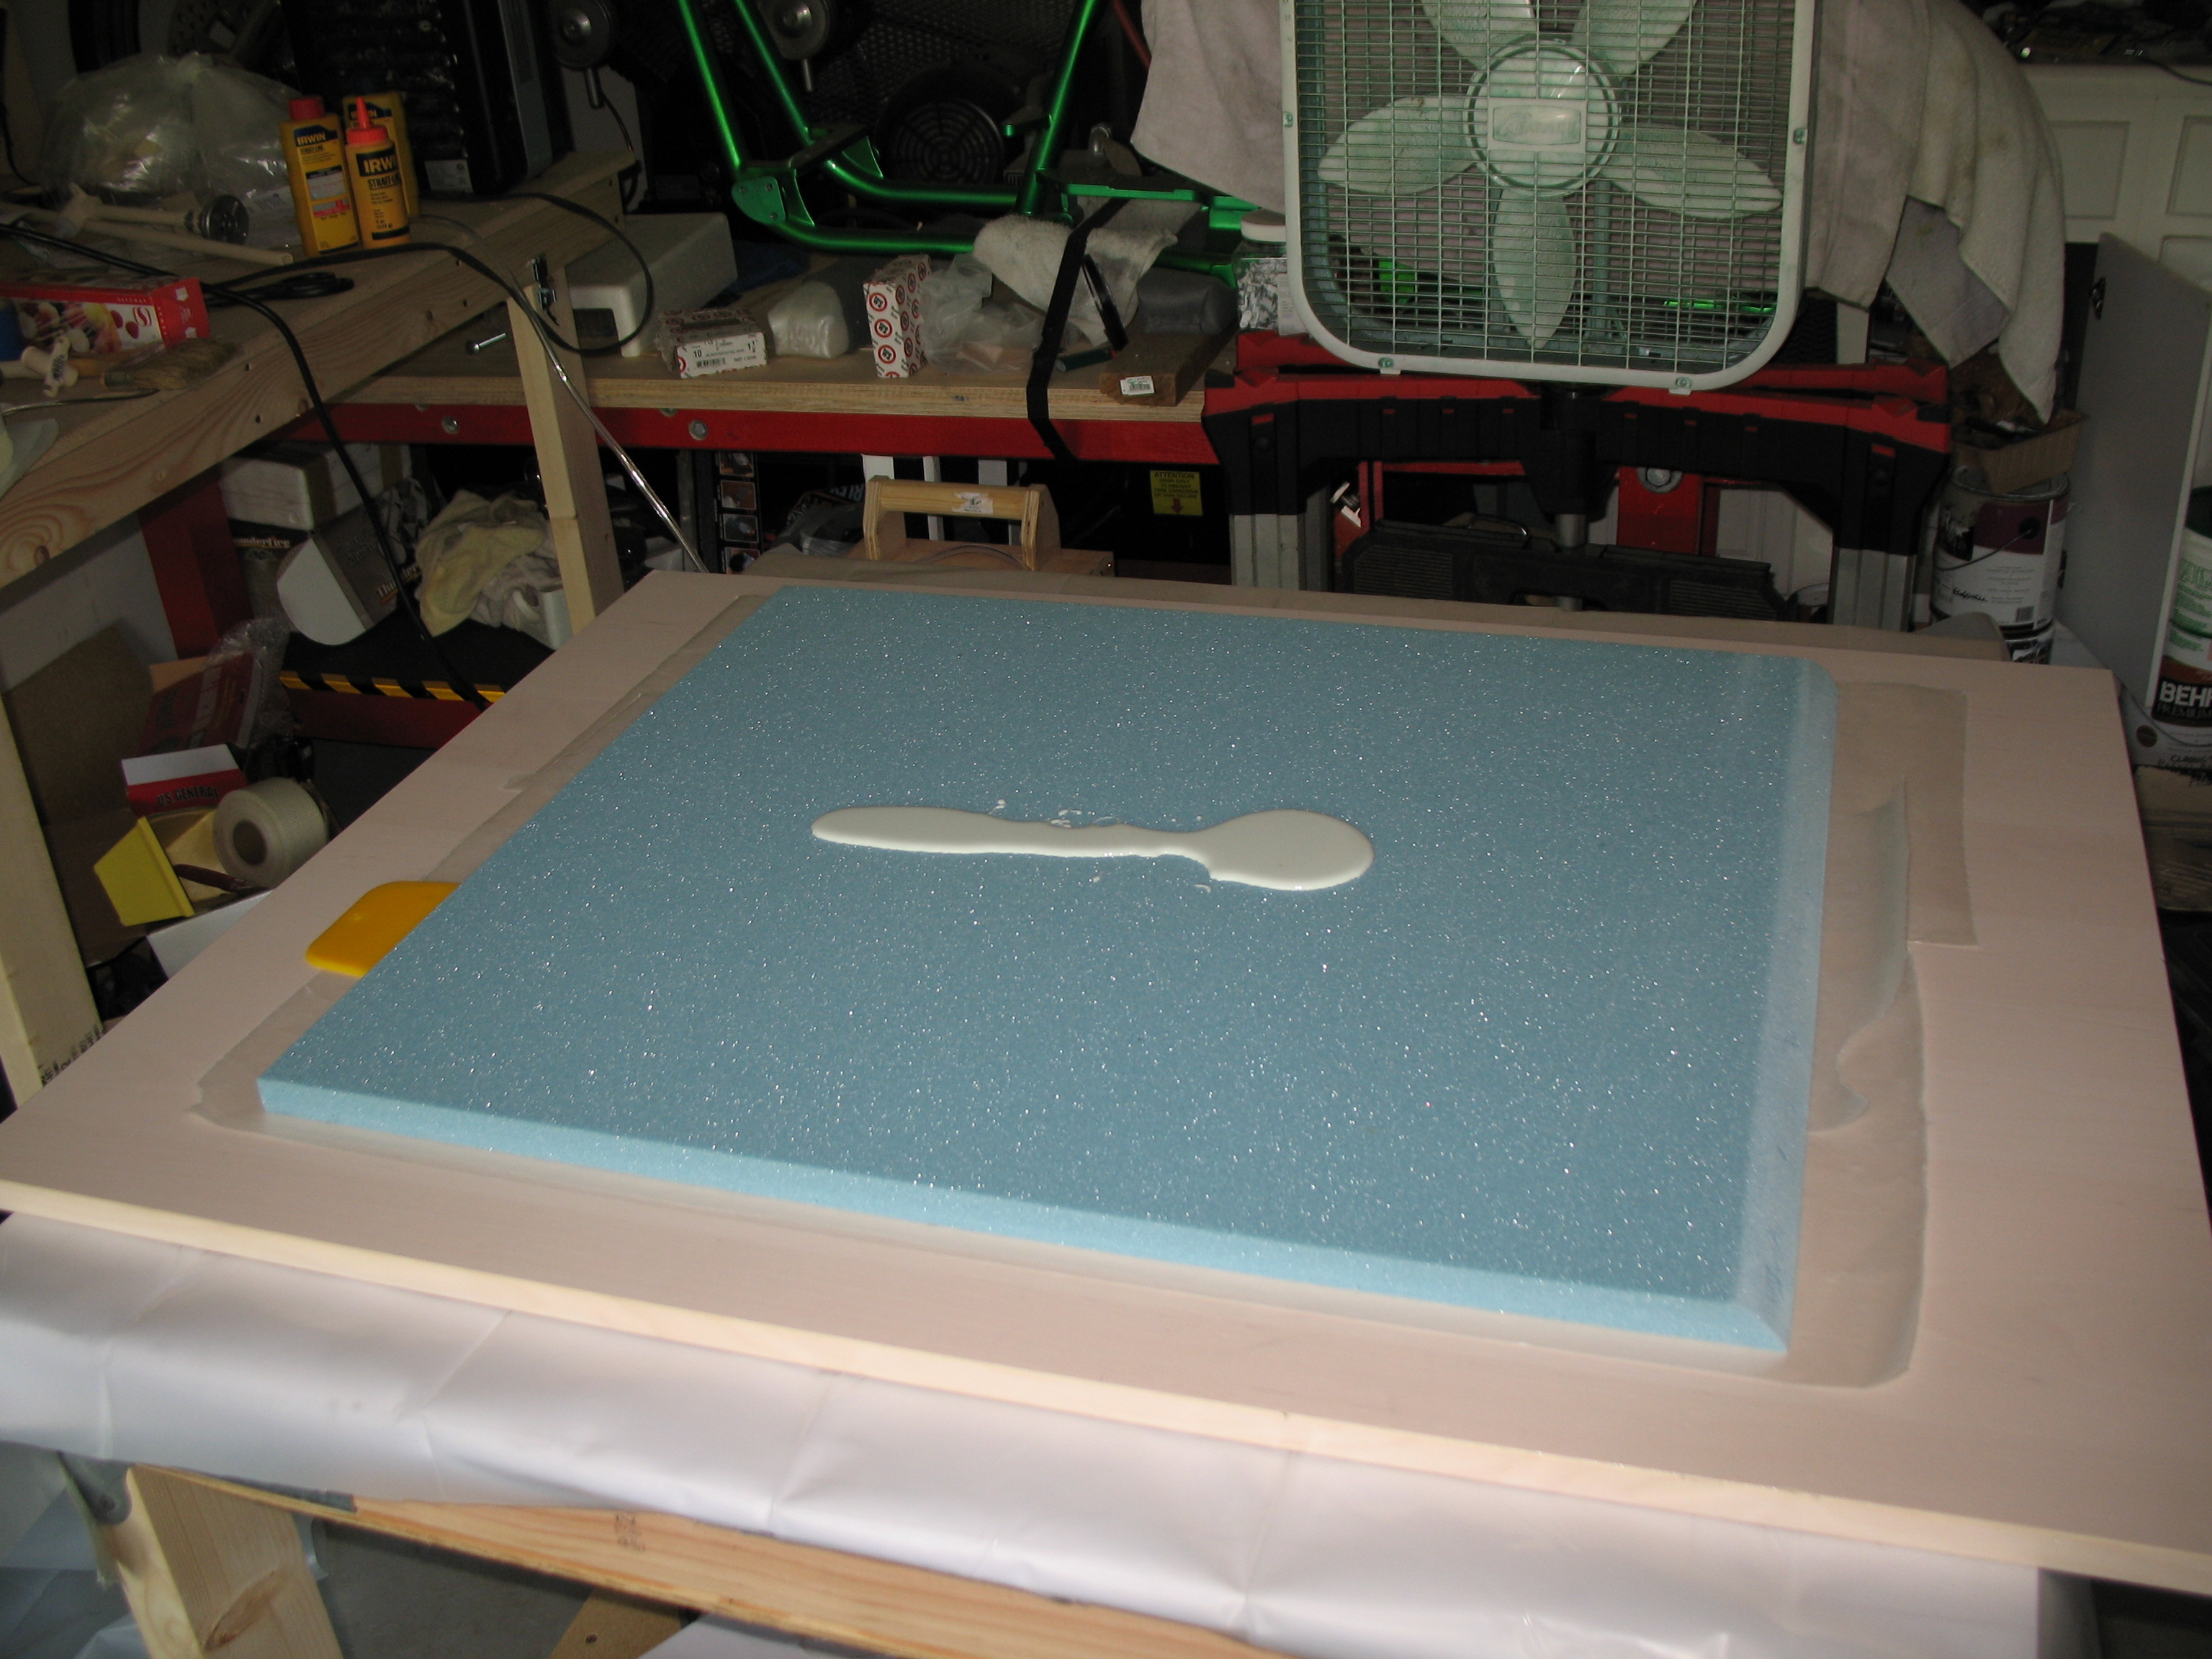
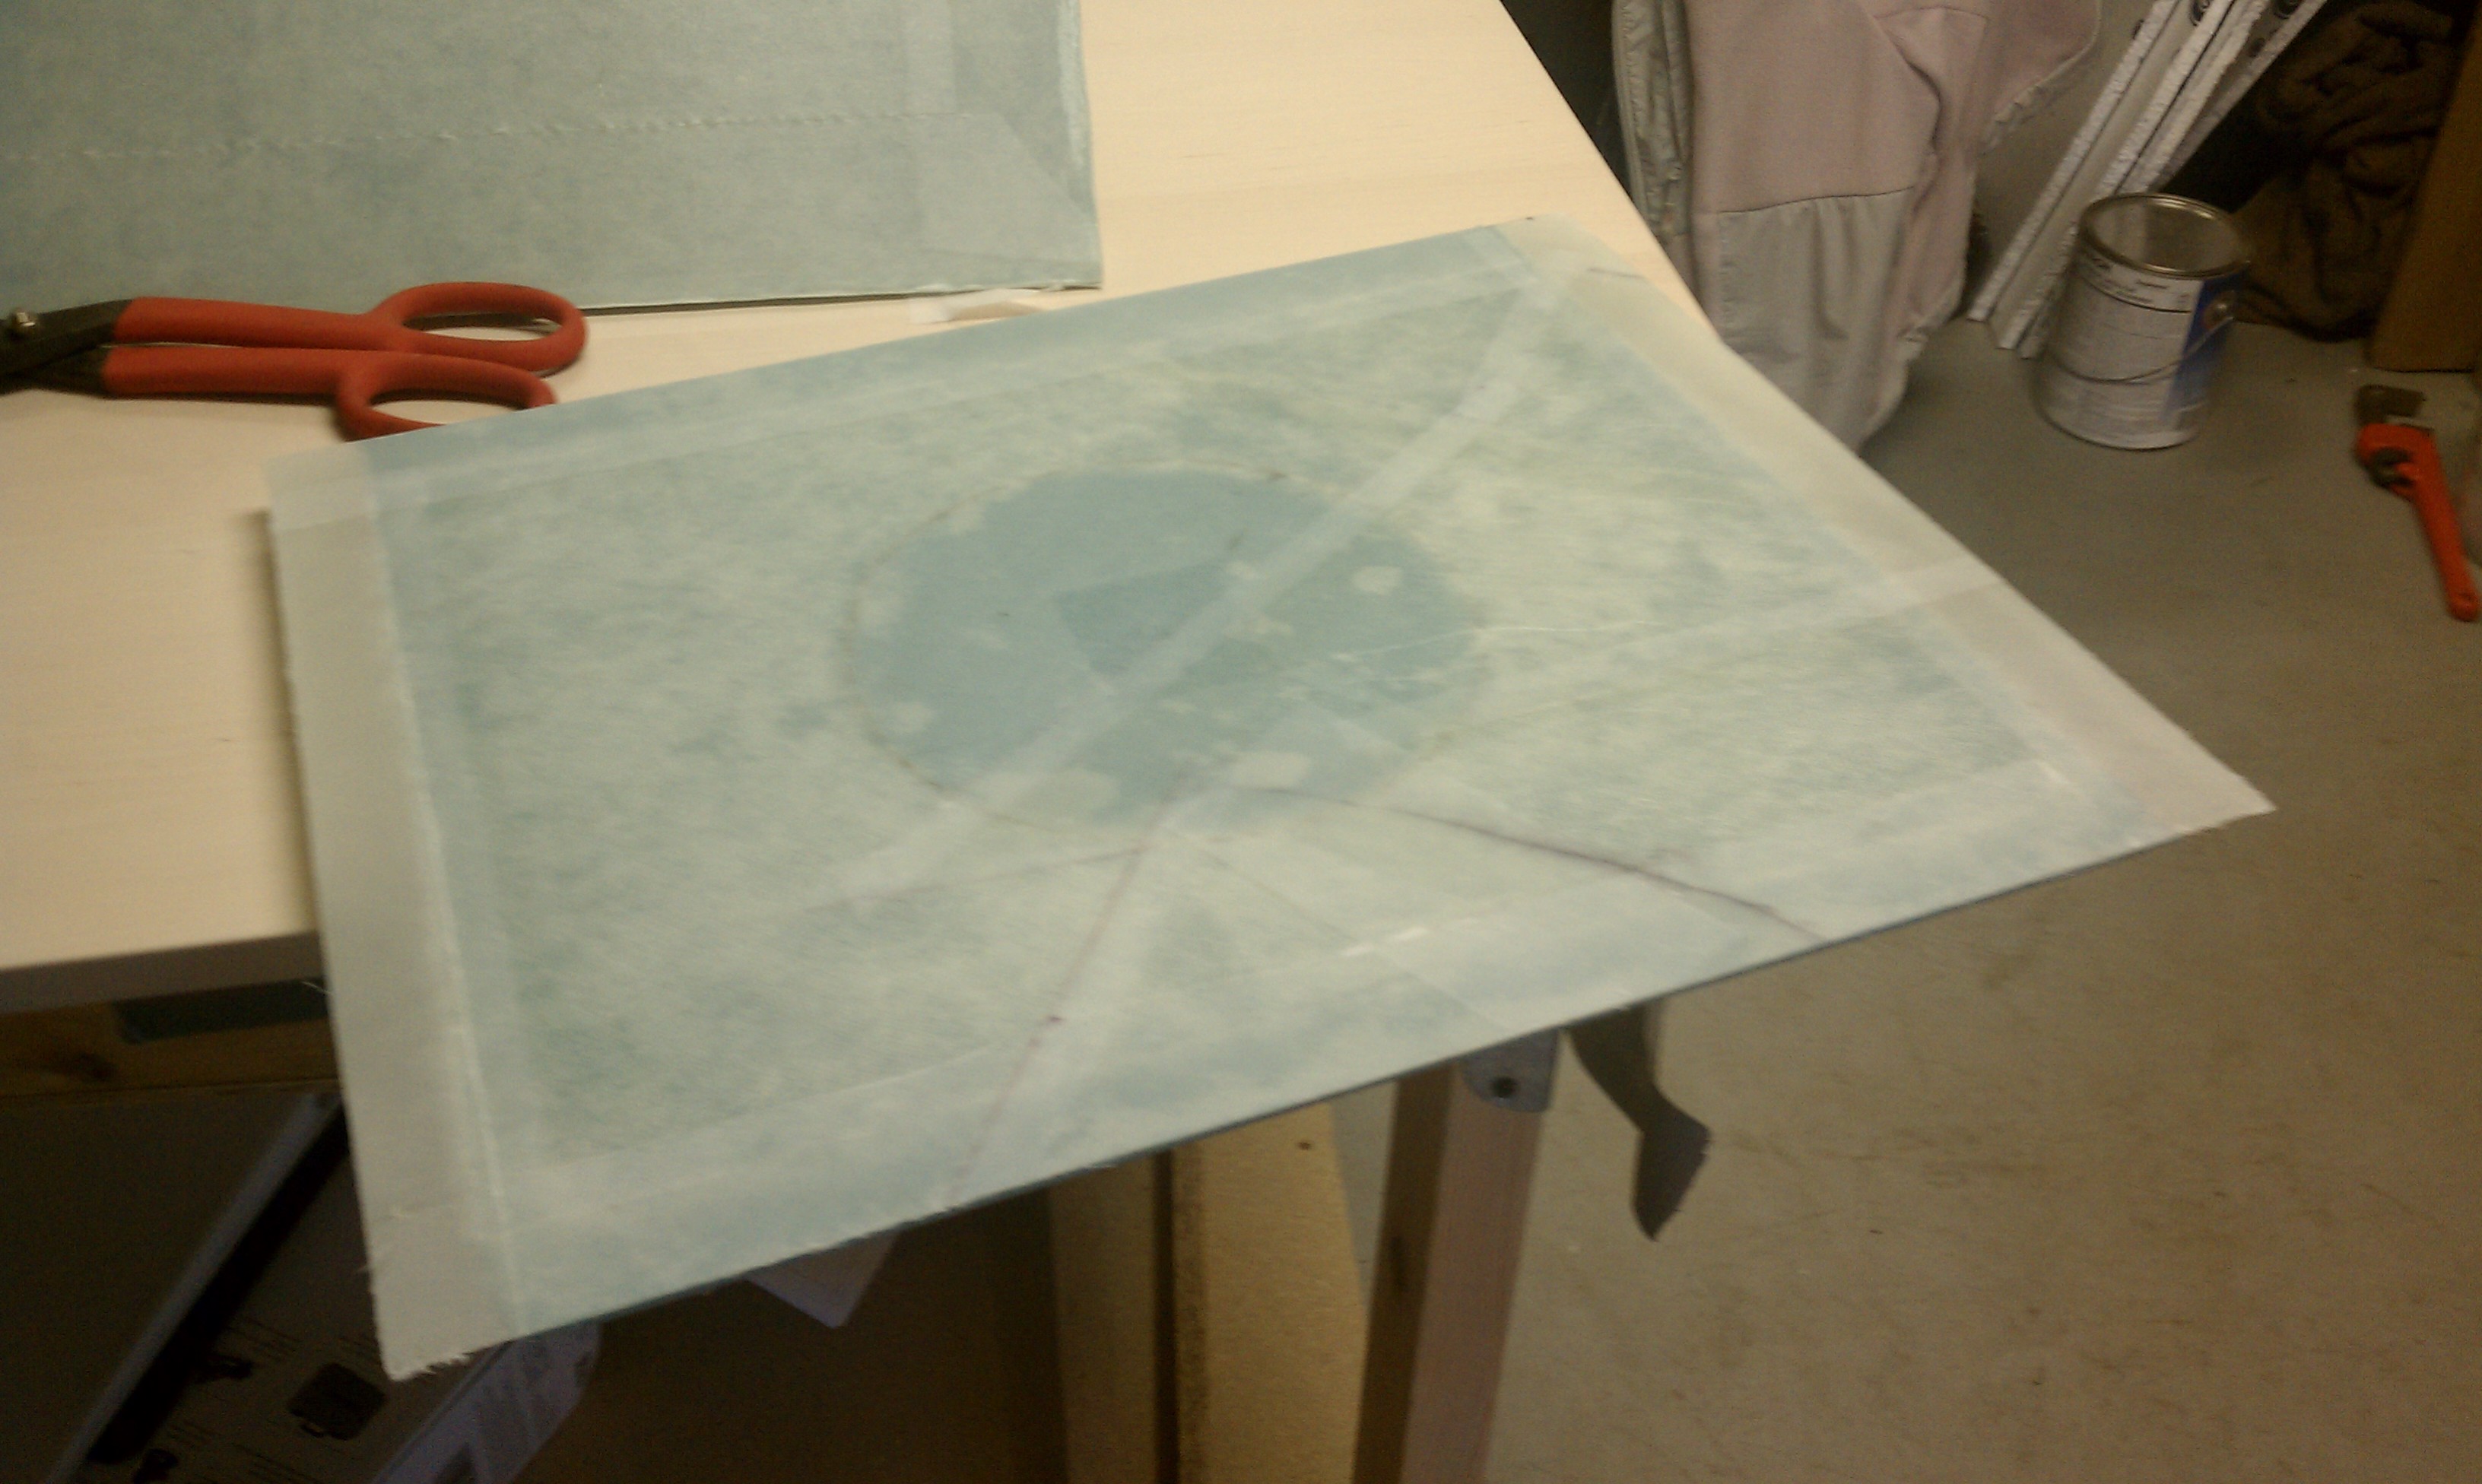
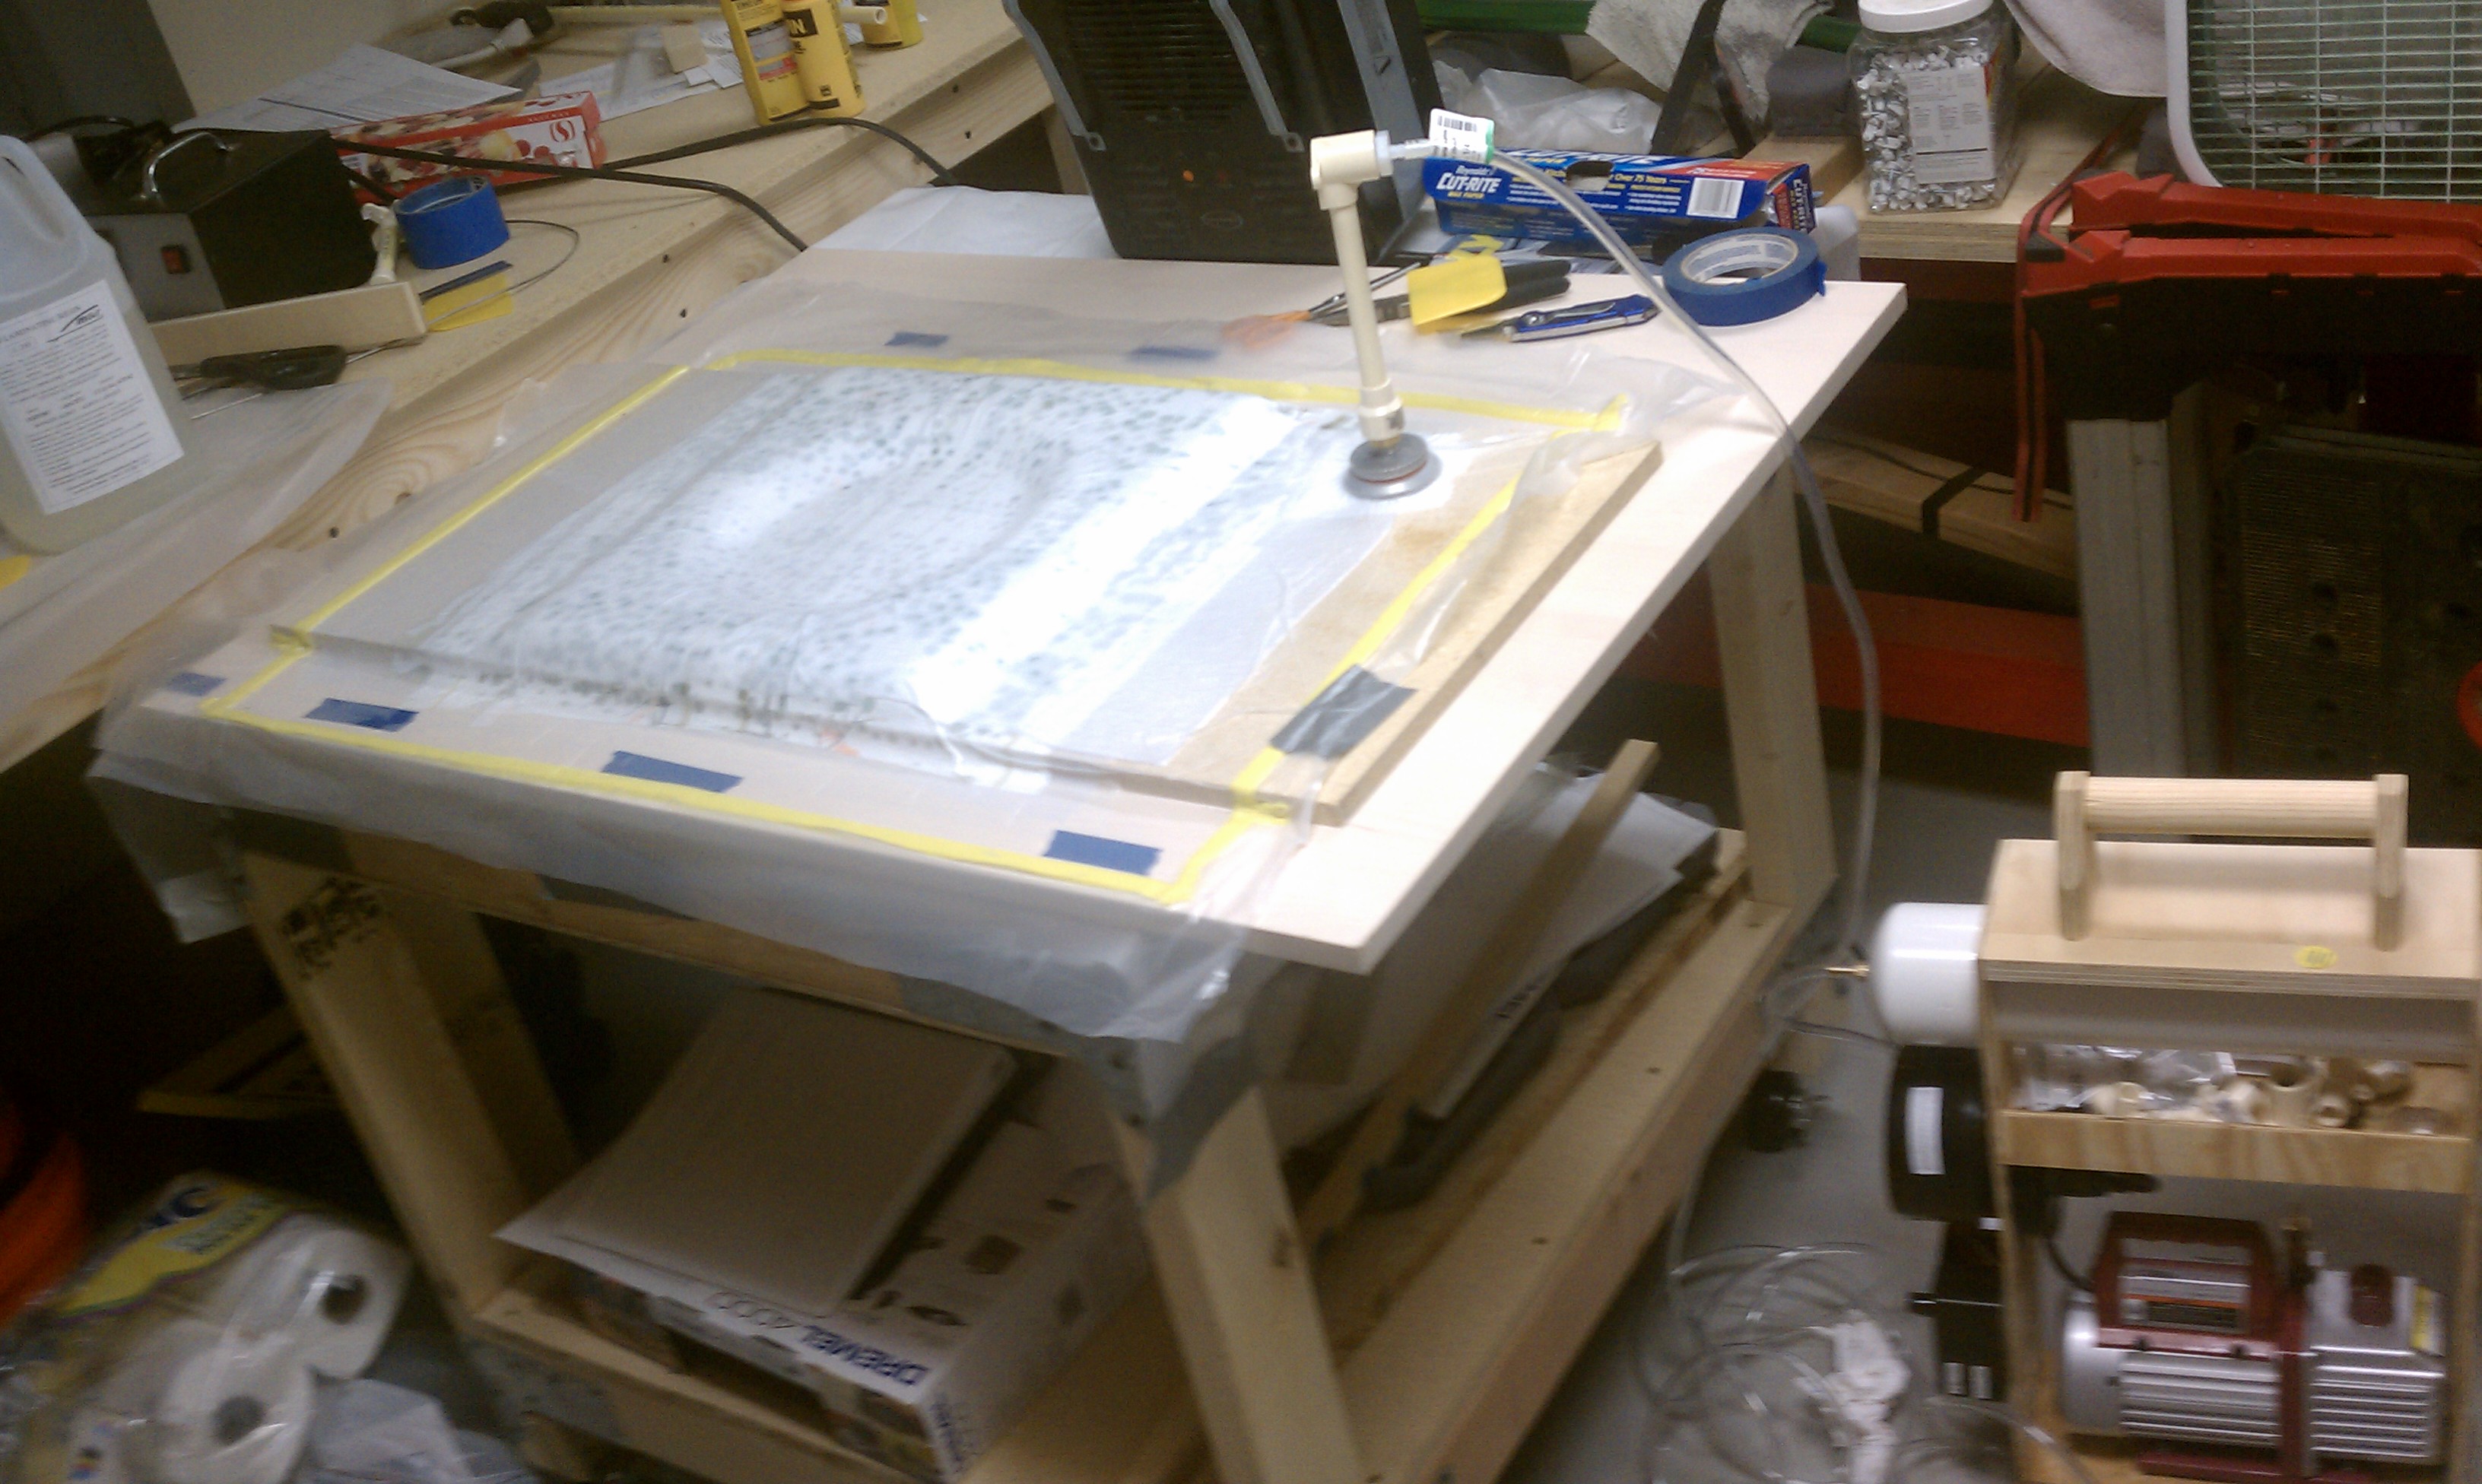
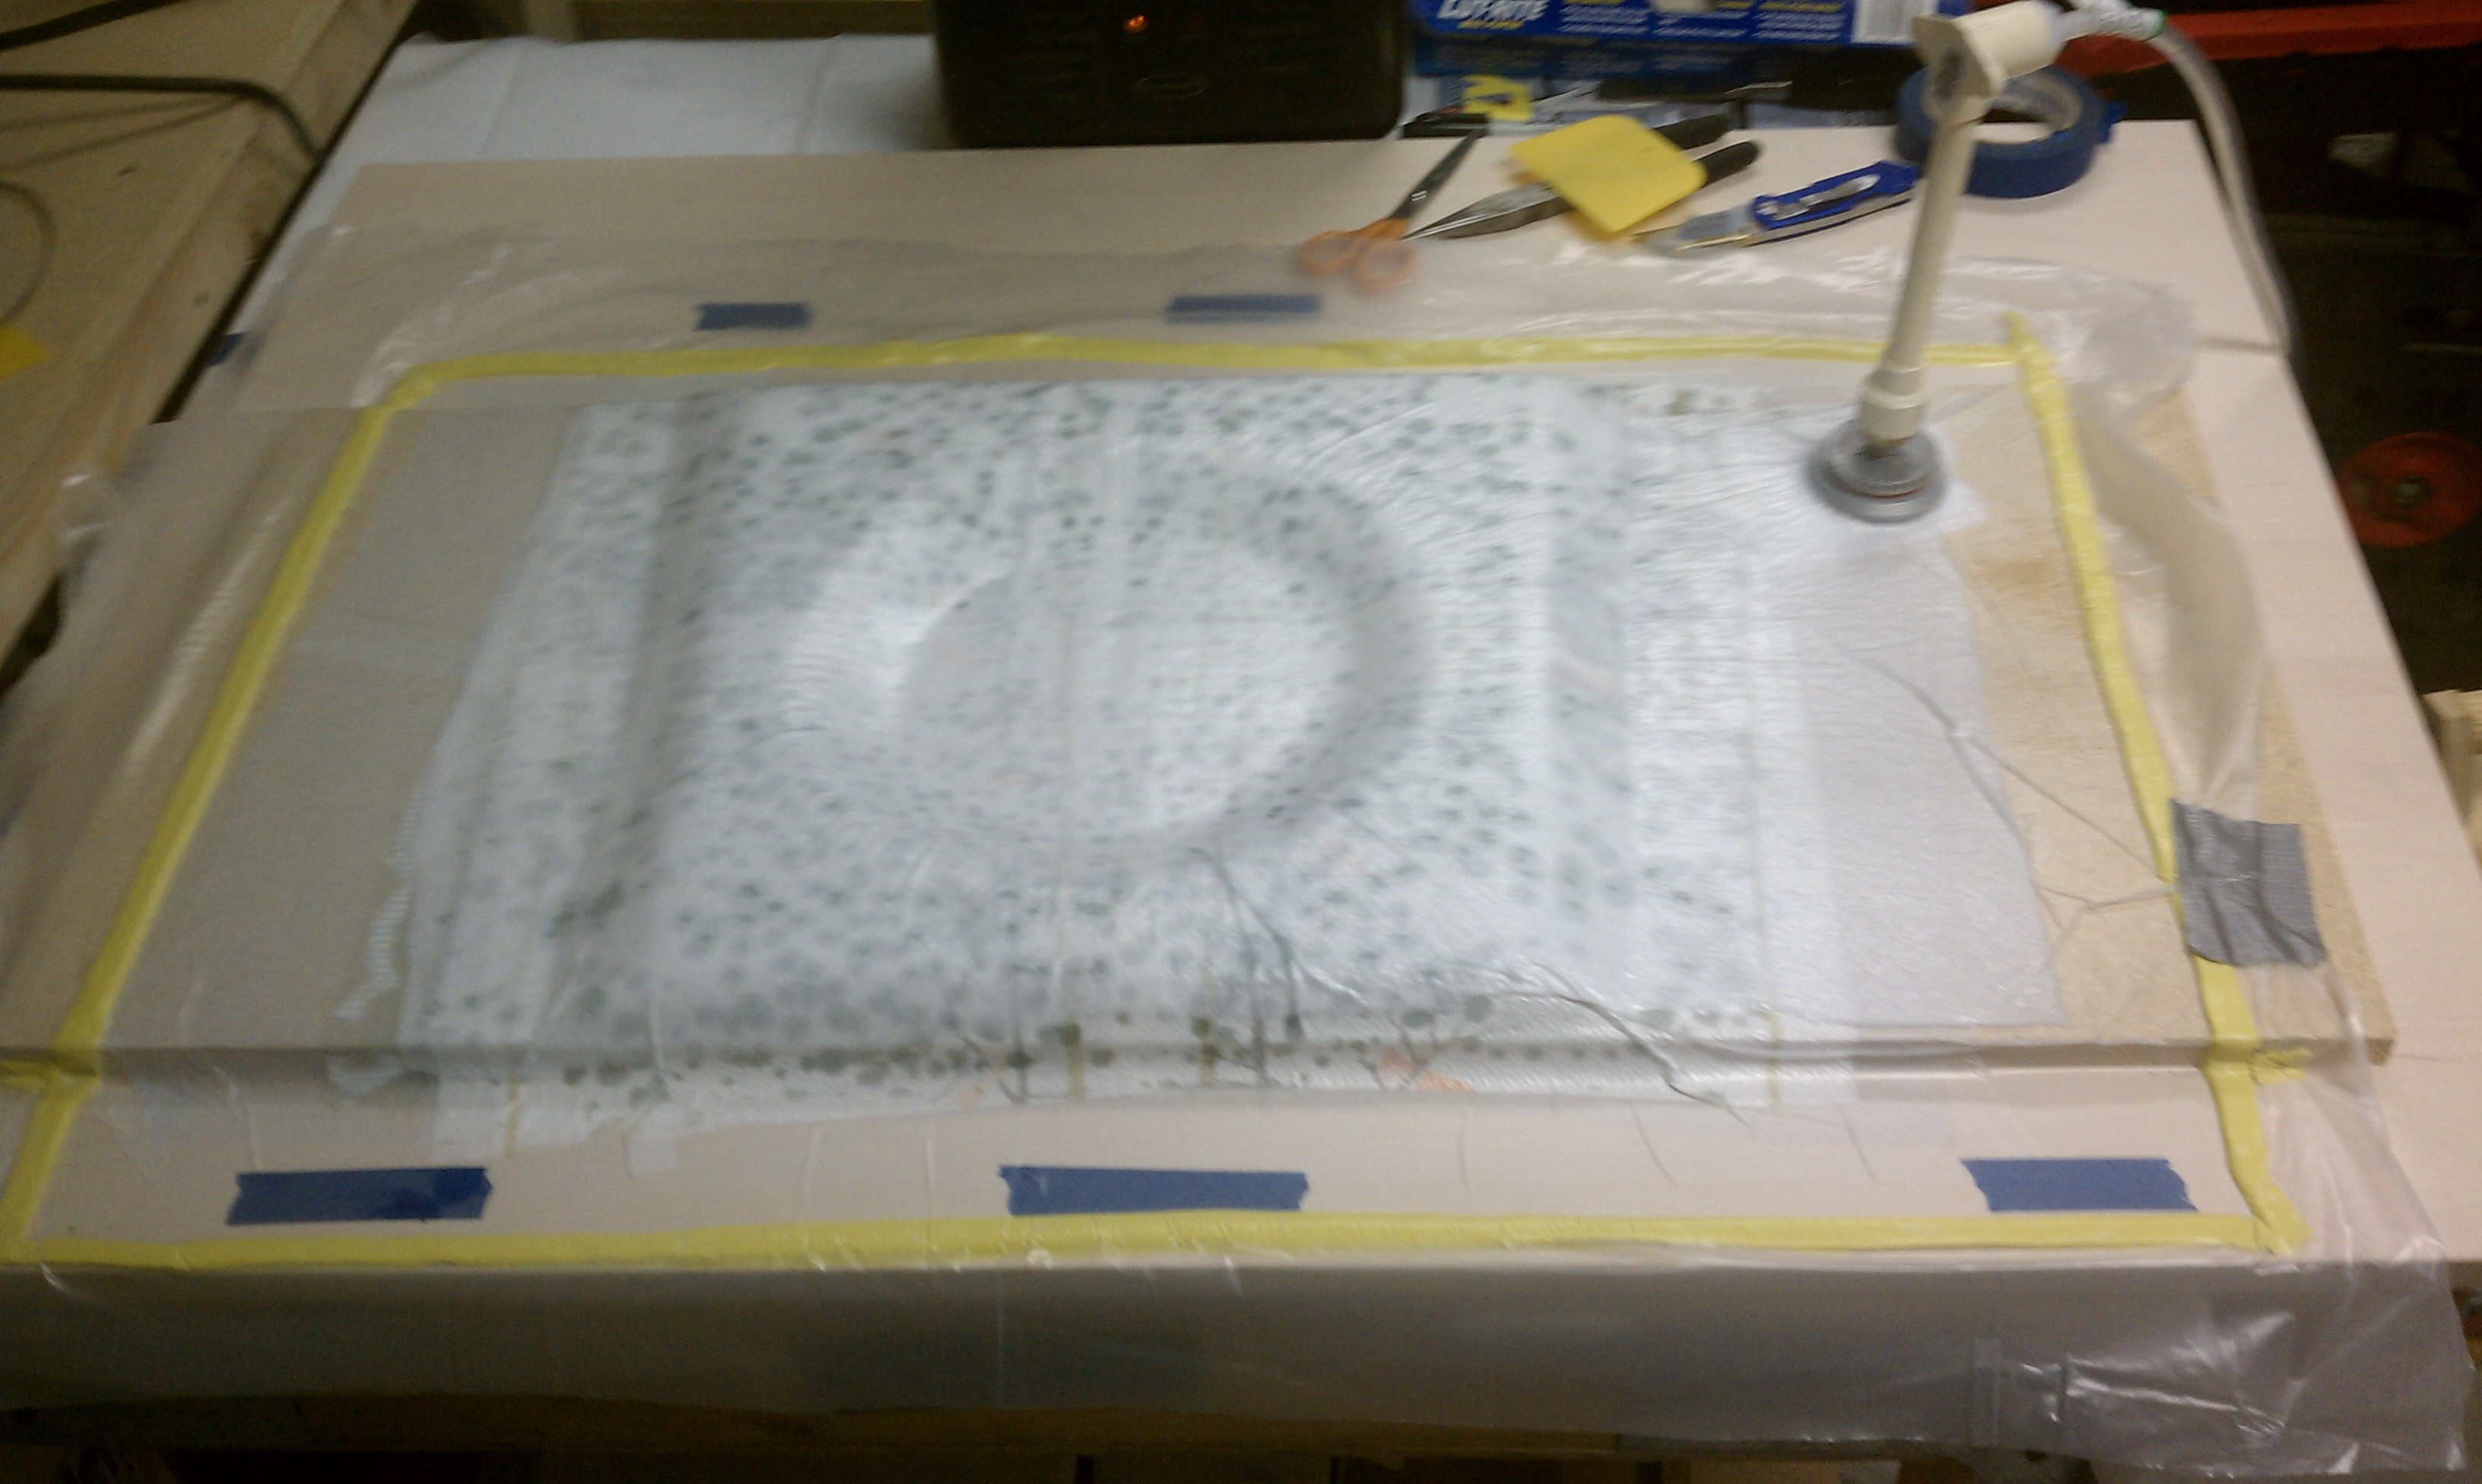
27 April 2011 – I shaped the rear side of the back seat bulkhead, and then vacuum bagged the fiberglass layup on the back side of the rear seat bulkhead, which was the second and final layup on the rear seat bulkhead. The vacuum bagging worked really well. The only down side is that with the hole in the middle of the seatback, it caused the plastic to wrinkle and that transfers some to the layup and leaves some epoxy ridges that have to be sanded down later. Again, I was very happy with the outcome.

__________________________________________________________________________________________________________
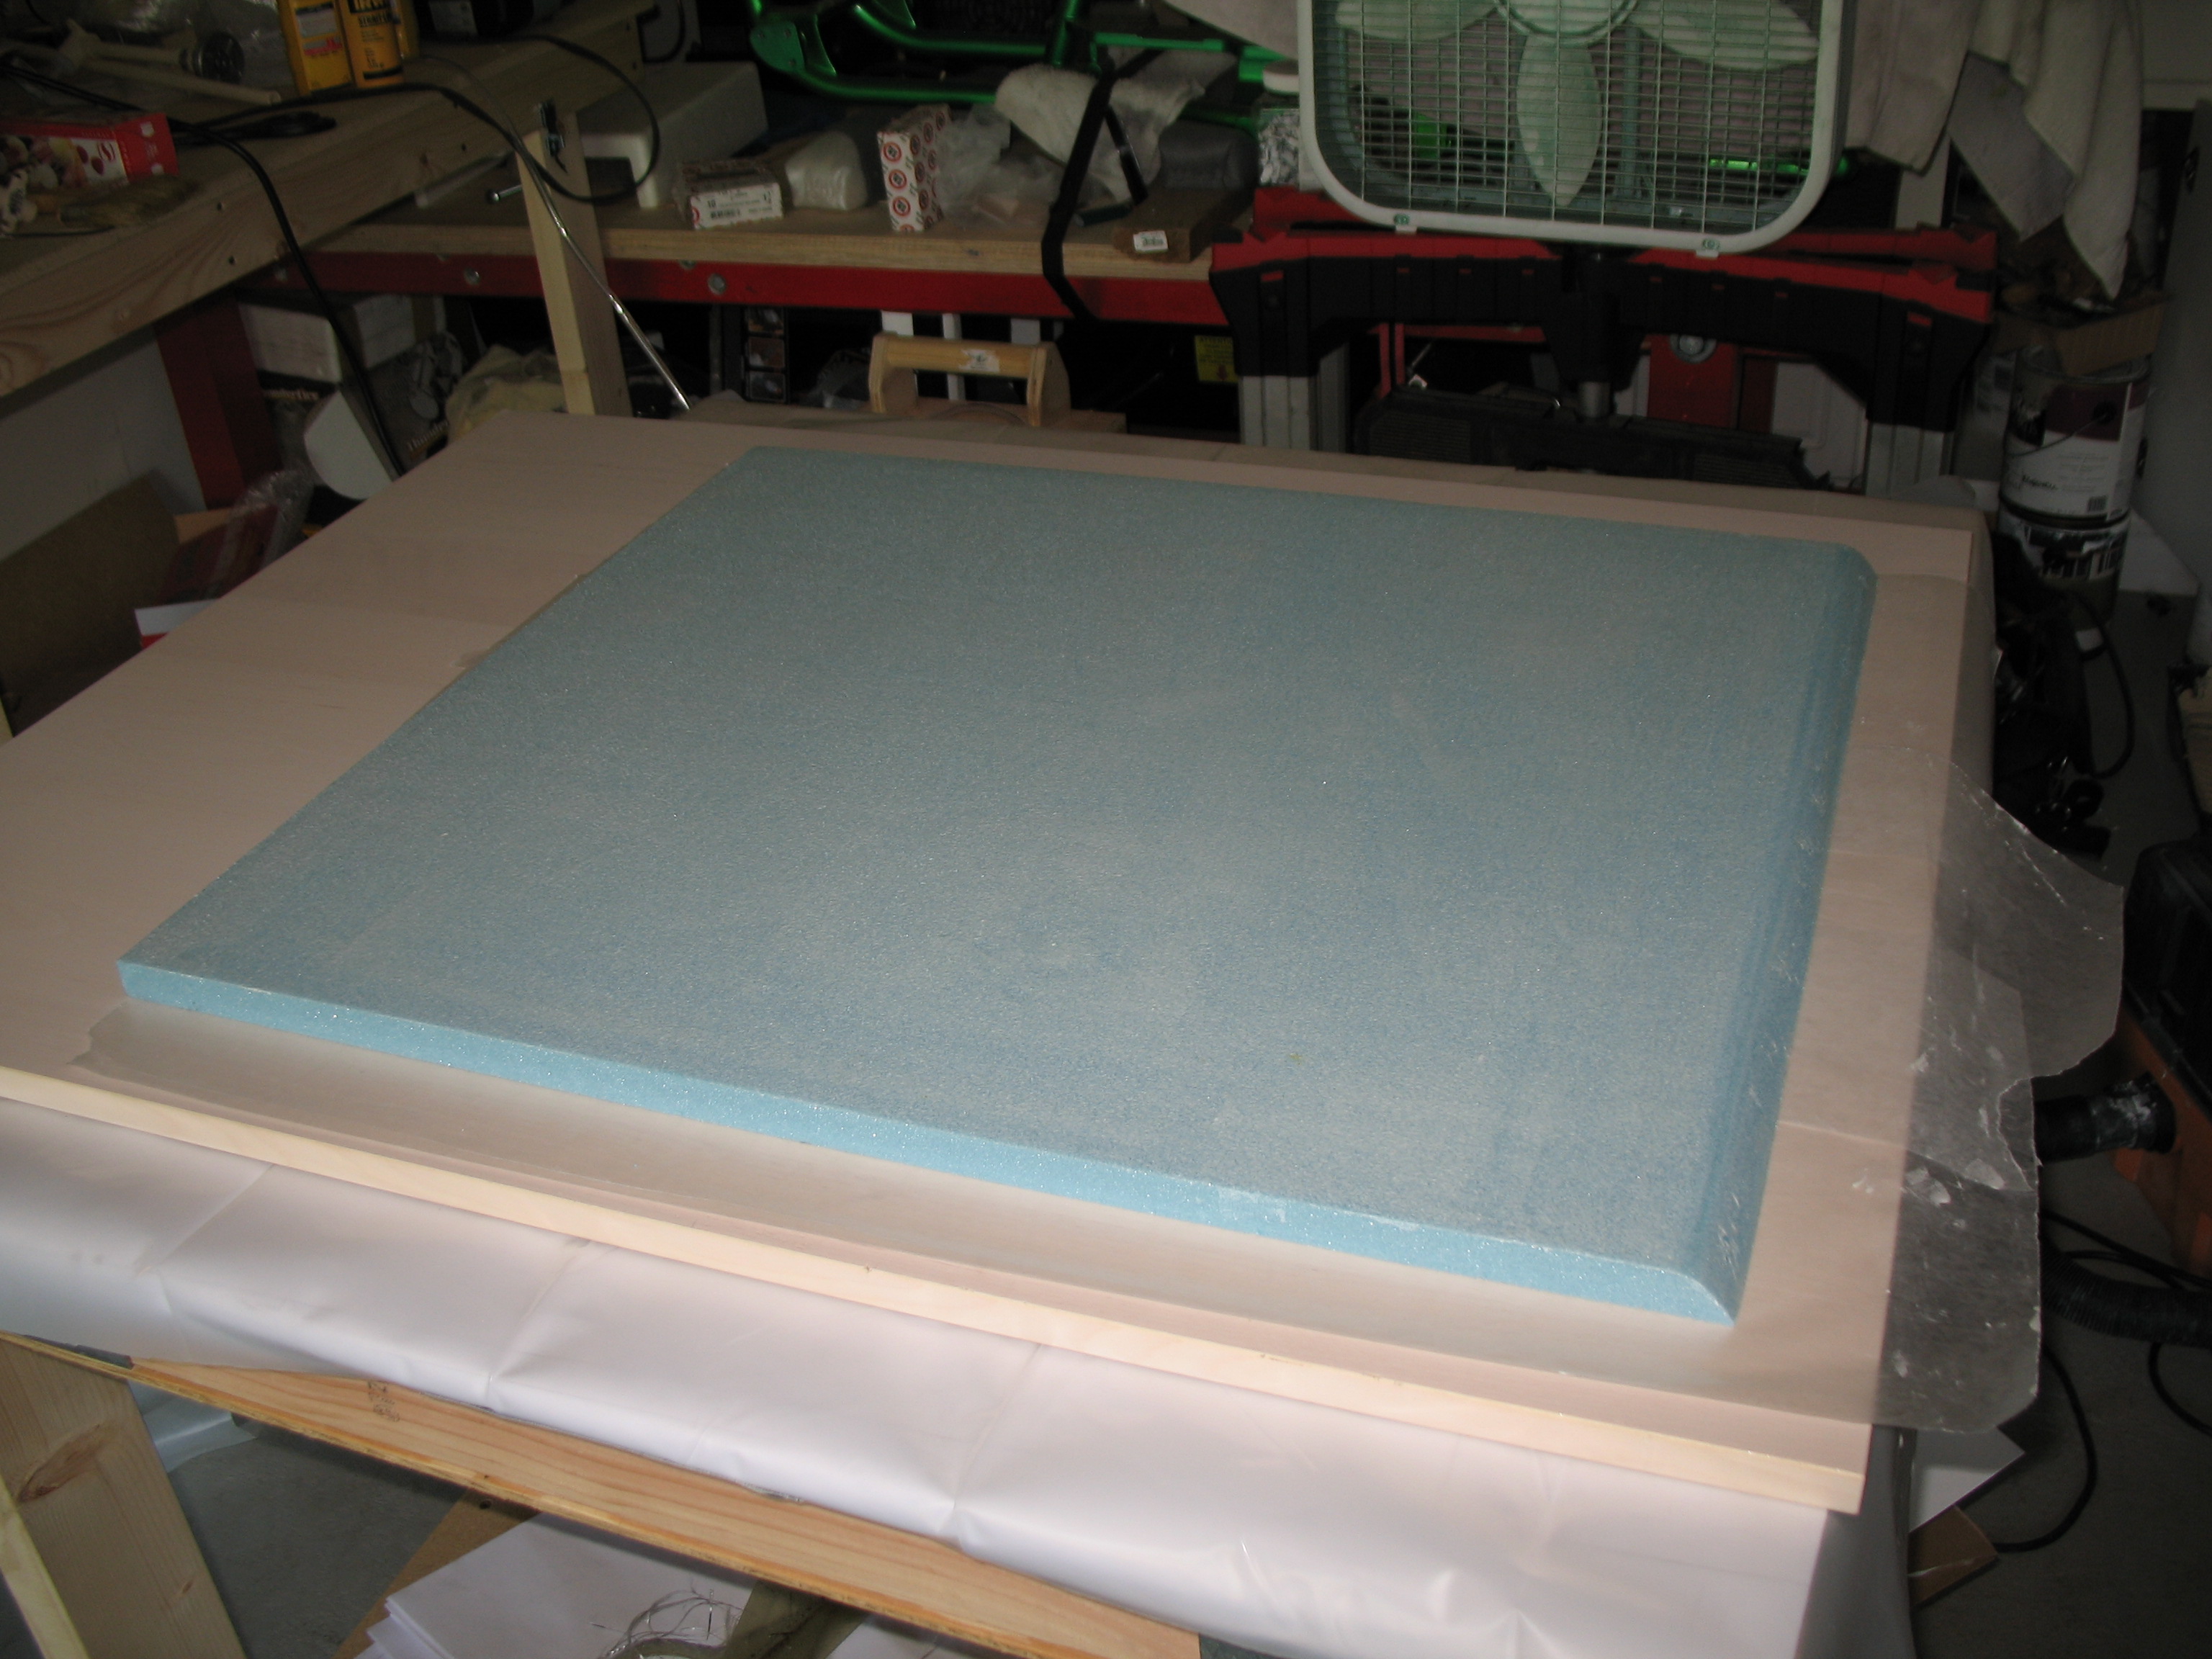
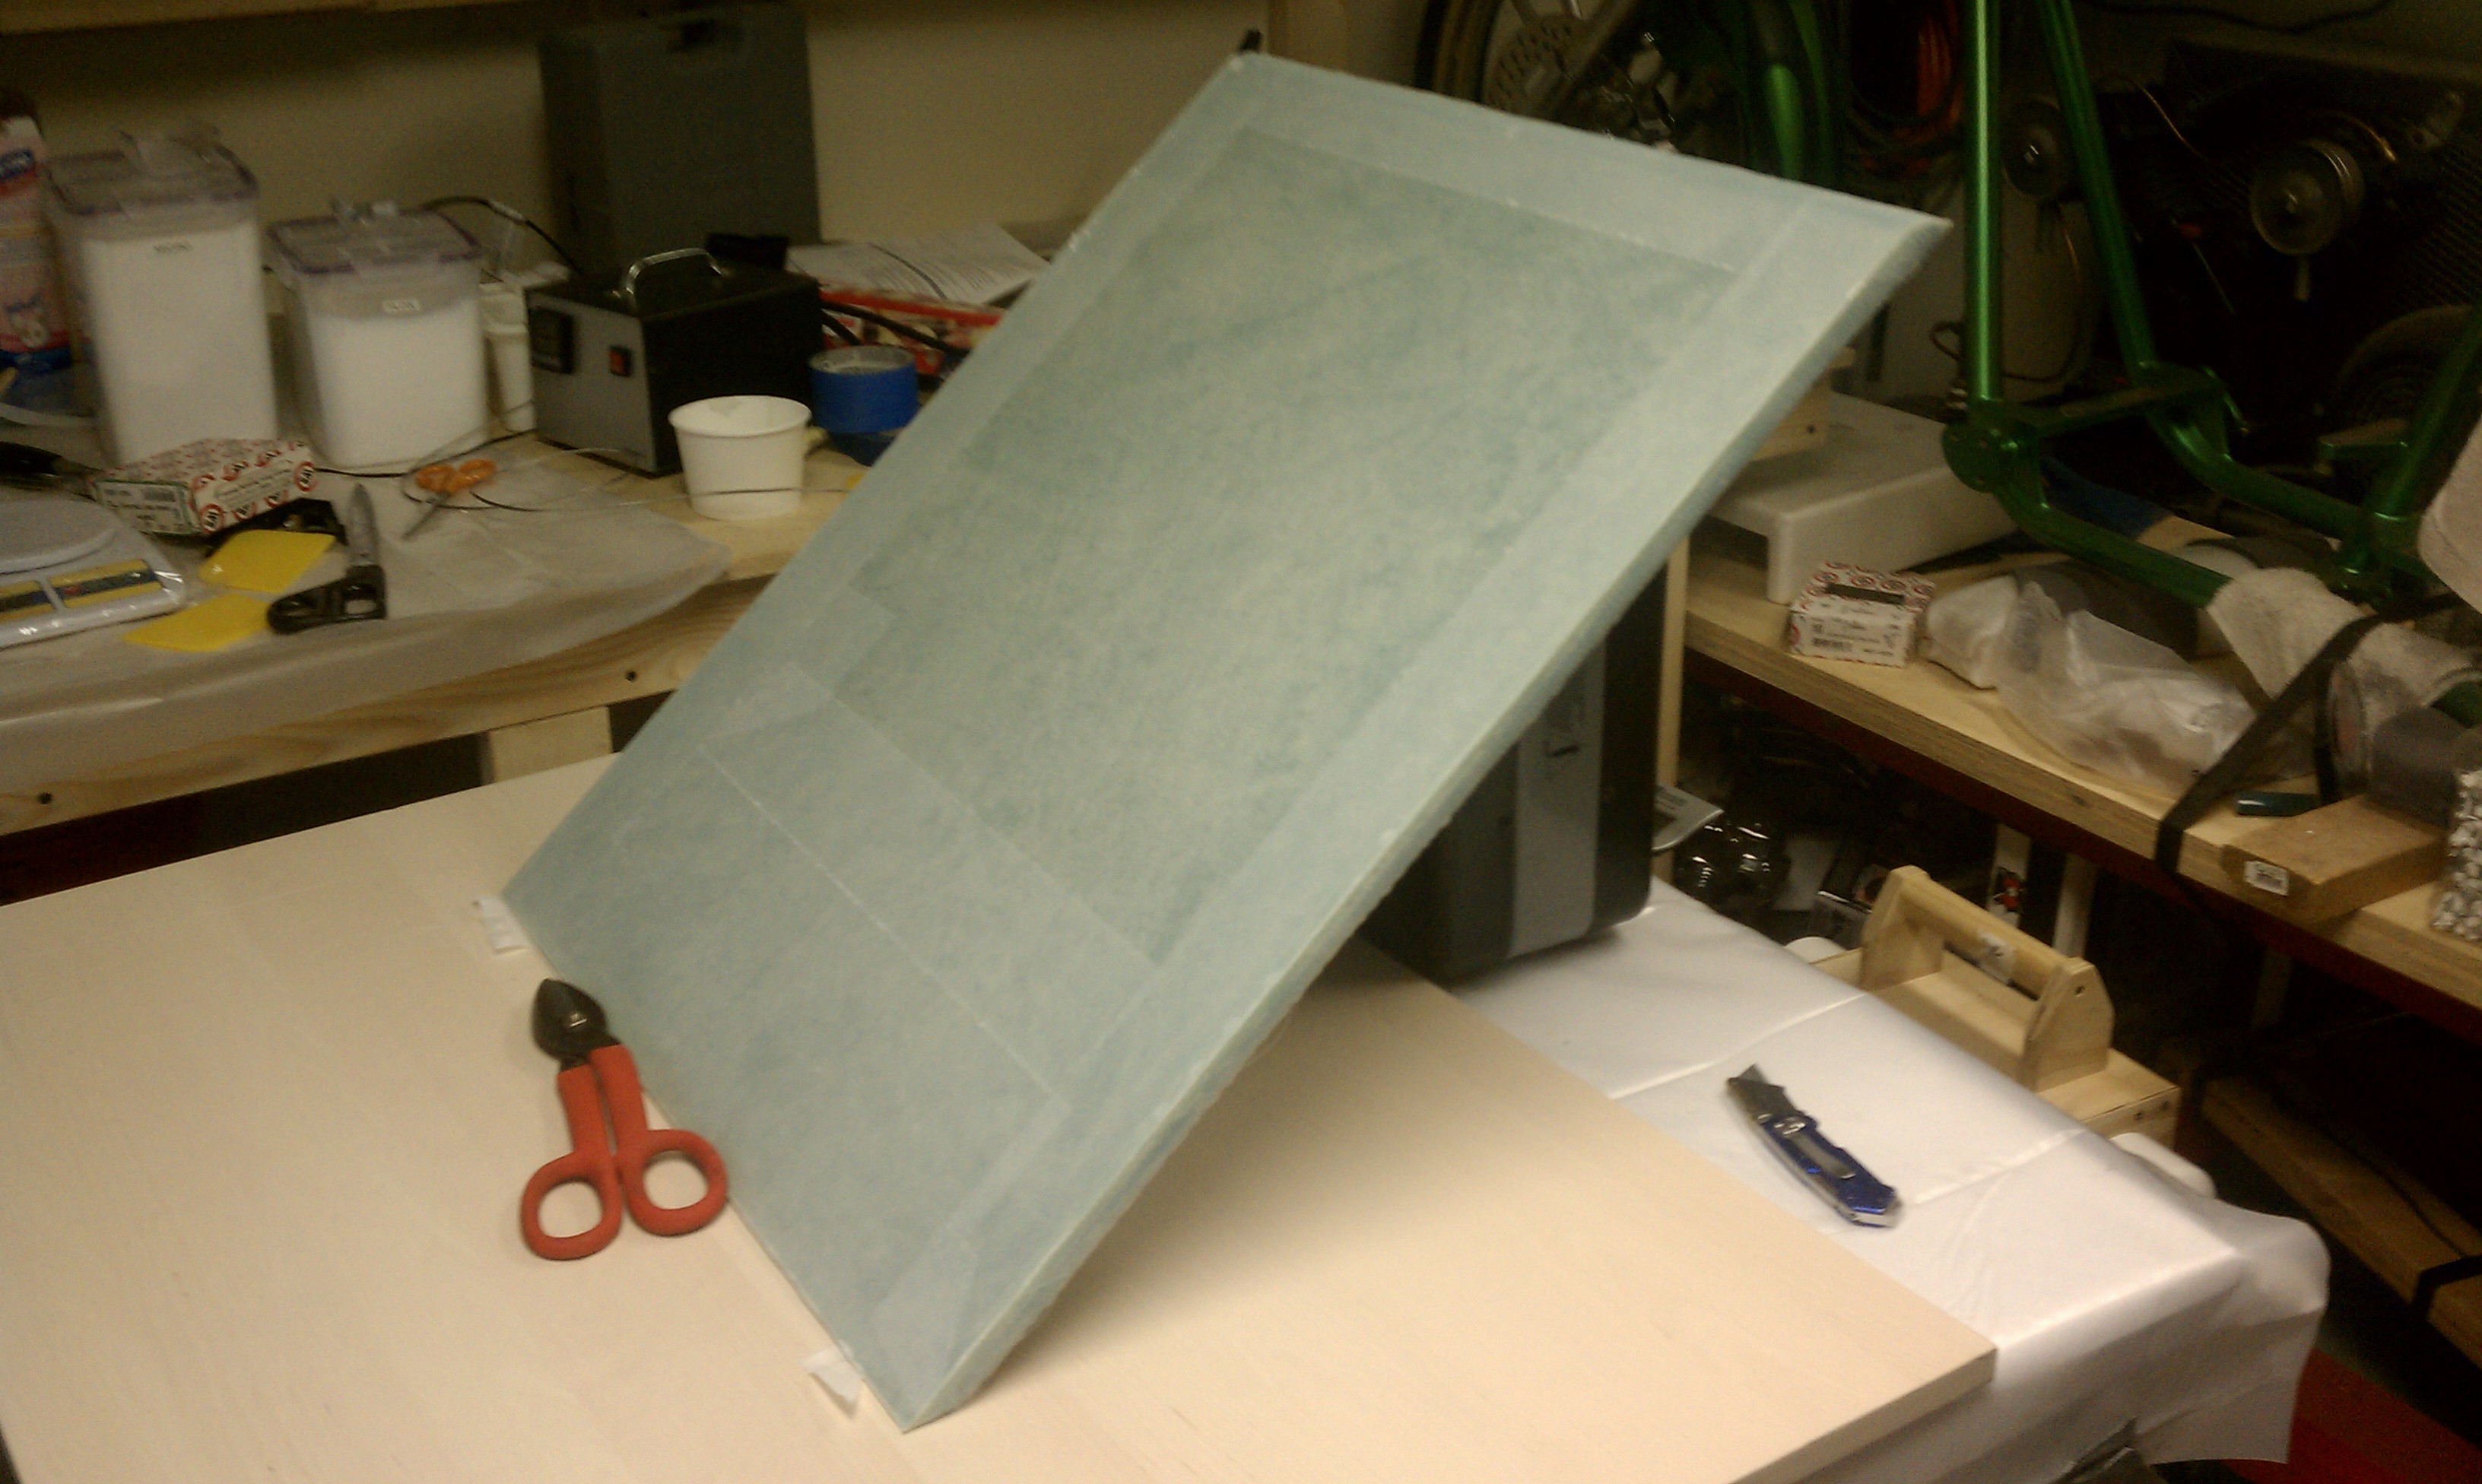
28 April 2011 – Here’s a shot of the rear seat bulkhead after the vacuum bagging materials were pulled off. I understand there is wax paper in the vicinity, and that I will burn in hell for using it, but honestly that’s what we were taught in our EAA composites course. After being soundly thrashed by a few seasoned Canardians, I stopped the heinous practice of using wax paper!

A shot of the two finished seat bulkheads: front & rear.

•••
Chapter 4 — Step 3 of 4
30 April 2011 – I only have this one pic of glassing the instrument panel bulkhead. As you can see, I vacuum-bagged the instrument panel. Vacuum bagging really does suck out all the extra epoxy and produces a much lighter part.