
I actually took the first 2 pics yesterday, but since I was heading out to meet some friends, and was trying to field an influx of phone calls, I missed my window to mount the pitch trim hardpoint into the sidewall.
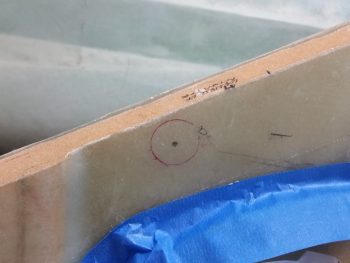
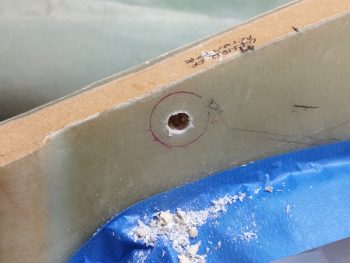
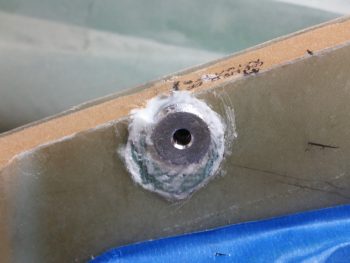
No worries since it just gave me more time to figure out my exact plan on how to embed the pitch trim hardpoint into the right sidewall. Below you can see that I started drilling out the hole where the hardpoint will get floxed/micro’d/flocro’d into place.
Today I finished the pitch trim actuator assembly hardpoint install, although when I got home my phone was dead, and it being my current camera I didn’t get a few key intermediate pics… and I really needed to proceed with this install since I’m falling behind schedule on this build!
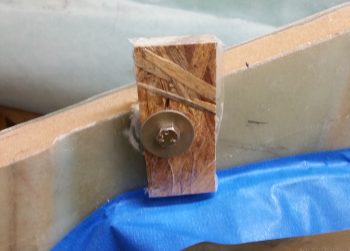
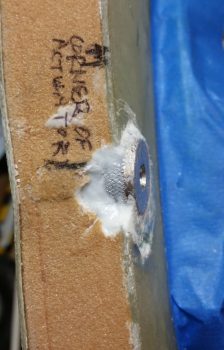
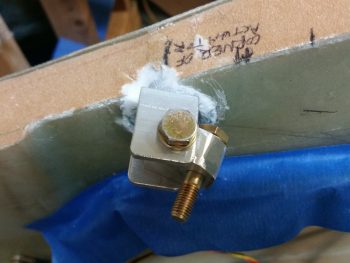
I took a scrap piece of wood, drilled a 1/4″ hole into it, then covered the outboard side with packing tape. Not shown is the clamp and the wedge that I used to keep the head of the bolt fairly parallel with the aircraft CL, and the face of the mounting hardpoint near 90° vertical. This pic was taken a little while after I had removed the clamp and the wedge, when clearly my phone was recharged.
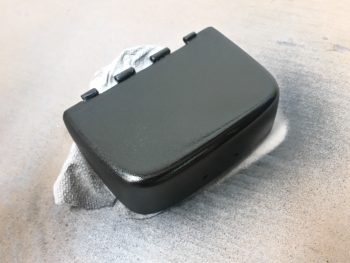
While I let the pitch trim mounting hardpoint cure, I wet sanded the tool box with 500 grit wet/dry sandpaper, let it dry, then mounted it, and hit it with 2 good coats of clear coat.
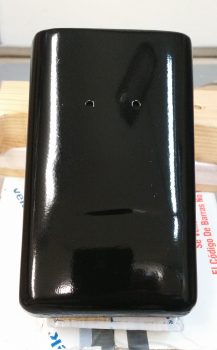
While the lower tool box body clear coat was drying, I then wet sanded the tool box lid, which of course proved to be a bit more stubborn than the tool box body in smoothing out the surface imperfections. I got to a point where I just needed a bit of clean up around the corners when of course –although being VERY careful– I broke through the black paint to the primer below. This tool box lid truly is proving to be the problem child from hell! So, I dried it off and hit the corner edges with 2 more coats of black paint. I’ll let it dry a few days before wet sanding it again and hopefully getting a few good coats of clear on it!
Here’s another something that I didn’t get a pic of earlier. Apparently, when I drew my install point target circle, the geometry of how the mounting hardpoint fit into the sidewall was different when I could actually test fit the hardpoint piece IN the sidewall. The original hole started in the lower left corner in relation to where I eventually mounted the hardpoint, which of course meant backfilling the open area of the hole with spare Divinycell foam.
I also knew that even though I drove the position of the mounting hardpoint as far forward and up as I could, that I still may very well need to rewicker the mounting bracket to get the spacing and/or alignment of the pitch trim assembly correct. In addition, I know this hard point install won’t win any beauty contests, but just keep in mind that this will all get sanded, floxed, and covered with 2-3 plies of BID when the nose top gets constructed.
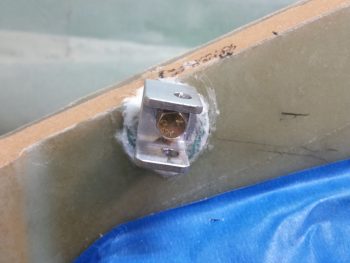
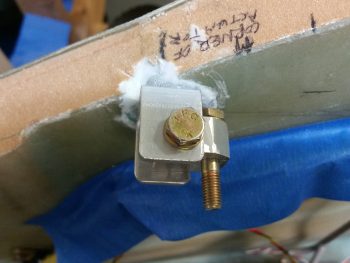
Here’s a downward shot of the pitch trim mounting hardpoint showing the mounting face of it straight in comparison to the sidewall. Also, although hard to tell in the pic, the face is also vertical where the sidewall tapers out slightly as its height increases.
With the micro & flox pretty much cured, I then attached the mounting bracket to test fit this sucker!
I took about 10 minutes to file down both the top & bottom edge of the swivel bracket to allow for a better fit inside the U-channel mounting bracket. Below you can see it swiveled inboard.
And here it’s swiveled outboard. If it doesn’t look like it’s swiveled outboard much, you’d be right! I still need to shave down the width of the swivel bracket on the outboard side by about 0.10″ so that it has clearance to swivel outboard the required amount.
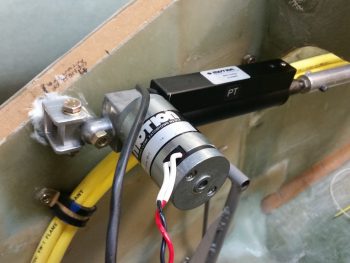
I then mounted the pitch trim actuator and assembly. I could instantly tell that this entire assembly was sitting about an inch low. My suspicion when mounting the hardpoint proved correct, meaning I’ll have to rework the mounting bracket assembly. I’m still very happy with this install though since I’ve refined my target positioning from about 50 meters down to 5 meters . . . meaning that while not in it’s final, spot-on position, it’s very close and very workable!
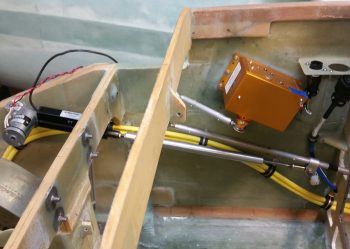
Here’s a wide angle shot of the entire pitch trim assemble. In his install directions, Vance Atkinson states to mount the pitch trim assembly at a point on the elevator control tube about 1.5″ forward of where the control tube passes through the instrument panel. Right now, I’m about 3/8″ (0.375″) forward of that (so, 1-7/8″ forward of the panel). I’m hoping since Vance had his assembly pretty much parallel with the aircraft waterline, and mine is much more aligned with the actual angle of the elevator control tube, that the added 3/8″ won’t be an issue.
[Note: As I understand it, some Strong pitch trim units installed in the same position where I’m mounting mine proved to be a little problematic, with resulting minor oscillations and difficulty in trimming the aircraft. Of course I’m not using a Strong unit, but nonetheless I’ll keep my eye on these potential issues and work to correct them if need be.]
Ok, although not a slam dunk right out of the gate, I am –again– very happy with how the pitch trim unit install is going. I like it up front here because although it’s tight quarters where I’m installing it, it moves weight forward, keeps the aft part of the airplane more clear of components, results in much shorter power wires, and should keep my comms clearer & more noise free due to the motor works being away from any of my comm circuits.