
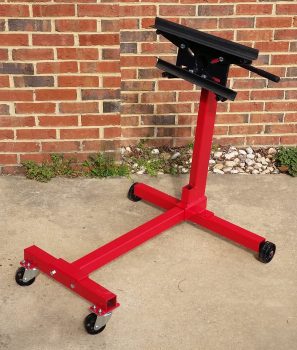
I started out today with kind of a fun little project: assembling the engine stand that I picked up at Harbor Freight with a 20% off coupon. As I was assembling it, a note in the instructions caught my eye: “Not for use with Aircraft” . . . hmmmm?
I also set the lengths of angled steel on the top and bottom mounts to provide an idea of how those will mount to both the engine stand and the engine mount (this angled steel was one of the pieces that Marco cut for me on his ginormous metal band cutting saw… which cut through this stuff like butter!).
I then did about 2 hours worth of spring cleaning in the shop to get it a little squared away for all the upcoming activity.
Next, although I didn’t get a pic, I mounted the right wheel pant. I noted some trimming I’ll have to do on the wheel opening, but it’s seriously on the order of about a 1/16th of an inch. That will get it in line with the opening dimensions spelled out by Gary Hertzler. In addition, I took some measurements on the right wheel pant that I had already taken on the left. The conclusion was that the wheel pants match perfectly from the gear leg forward to the front pant tip. However, from the TE of the gear leg to the back tip of the wheel pant the right one is about 3/16″ farther aft, or maybe I should say 3/16″ longer. No big deal and it was more of a curiosity thing than anything… I can tweak it a bit when I finish the wheel pants.
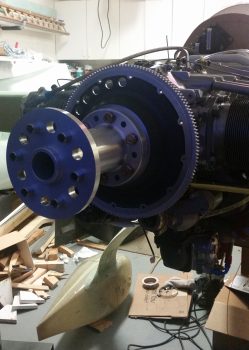
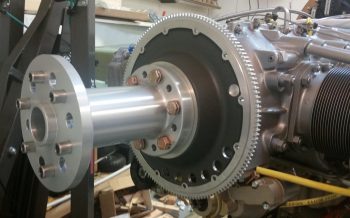
I then set my sights on mounting the 8″ prop extension to the flywheel and the engine prop flange. It took about a half hour, a block of wood and a bunch of medium strength taps with a rubber mallet to get that sucker seated to within about 0.1″ of the flywheel. Then I very gently tightened all the bolts to get the prop extension to seat tightly against the flywheel.
Then, as per Sam’s (from Saber Manufacturing) directions, I torqued the 6 prop extension, prop flange and flywheel bolts to 50 ft-lbs each.
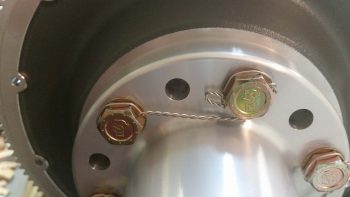
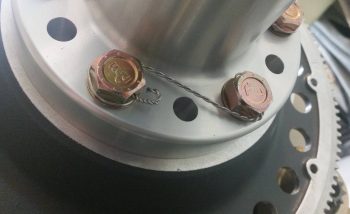
I then safety wired the bolts in pairs using 0.041″ stainless steel safety wire.
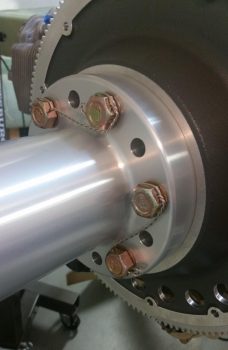
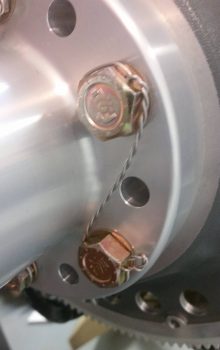
This is my first go at safety wiring, so if anybody out there sees anything disagreeable, please give me a shout. I’m always open to constructive criticism. Of course, I’ll have my EAA chapter bubbas look at the build as well.
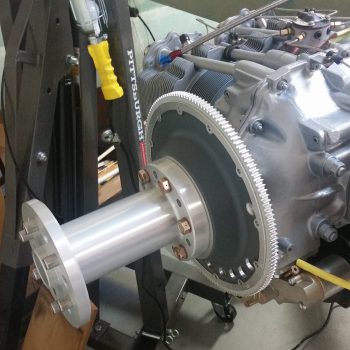
Here’s the final shot of the installed prop extension. Let me tell ya, the only time this thing is getting removed is when the alternator belt needs replaced! [Tomorrow I’ll test mount the prop and of course will take some pics… so I figured I would get the prop extension install out of the way today].
It was getting later in the evening, so I decided to relax and watch some TV while I played with my new toy: a ClampTite tool. I removed and brought the fuel line and oil heat oil line with me upstairs.
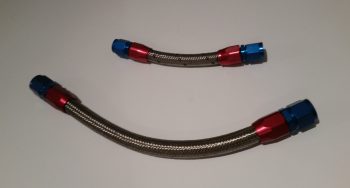
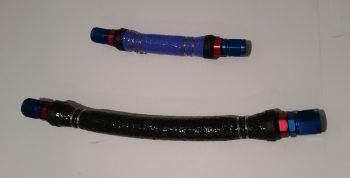
Then, using the Clamptite tool (another first for me), I fire sleeved the 2 hoses. Note that I’m using blue fire sleeve for fuel lines and black fire sleeve for oil.
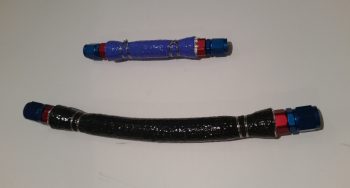
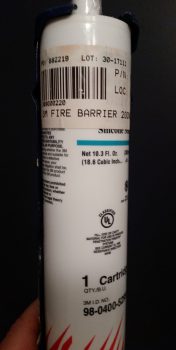
As I’ve seen on Joe Caraggio’s site and others, there seems to be a requirement out there (or at least a good idea) to seal up the ends of the fire sleeve so the wool-type lining doesn’t soak up any stray oil, fuel, or what have you. I had some of the expensive gray 3M fire barrier on hand so I decided to seal up the ends with that.
Here I’ve applied the 3M Fire Barrier to the ends of each fire sleeved hose….
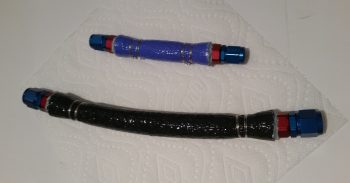
However, I’m not a big fan of how the gritty, blotchy gray Hi-Temp RTV ends looked, so I cut a narrow piece of heat shrink and covered the RTV’d ends up…ahh, much better!
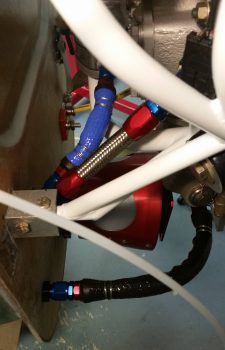
My final build act of the evening was to simply reinstall the hoses back onto the engine. I definitely think the fire sleeving will work and I’m glad I went this route.
Tomorrow is picture day and my next door neighbor will be using his Uber awesome digital camera to get some nice aft end pics of my Long-EZ build. Once that happens, my next goal will be to get the engine off the fuselage and onto the engine stand. I’ll then drop all my engine focused shenanigans and will start on finishing up the nose and getting the canopy built.