
I started off today doing a bunch of research on the Silver Hawk EX fuel injection system to figure out the mechanical lever configurations and how the throttle handle and mixture lever would control the fuel injection servo. I needed this info to get a good approximation of where the throttle and mixture cables would be run down the fuselage sidewall. This allowed me to better figure out where my oil lines will go inside the cabin for the oil heat system.
I also did a fair amount of research on the FT-60 “Red Cube” fuel flow sensor installation, as well as the Matronix pulsation damper I have on hand. Finally, I took a good look and assessed the placement and installation of the oil pump for the heating system.
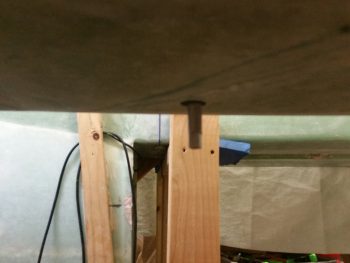
Upon finally getting back into the shop, I figured it was time to drill out & clean up the currently glassed over fuel sump drain valve hard points. After carefully drilling the overlying glass and then cleaning up the holes, I then ran the 1/8″ NPT tap back through them to clean them up (although not a great pic, I wanted to show the general task).
I then did a quick install to check how the fuel sump drains looked and felt from both the outside of the fuselage and inside the fuel sump. Although these are –again– just a quick install to see how the overall fit is and if there are any problems, I’m already very happy with the elevation of the fuel drains. Once I clear out some more foam and dead flox, they’ll mount even farther up inside the outer skin exterior.
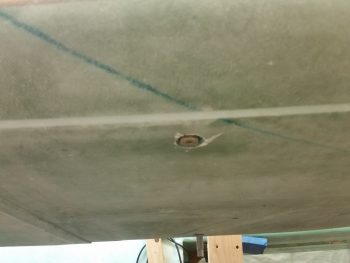
I had to use a light to get a shot of the right fuel sump drain valve.
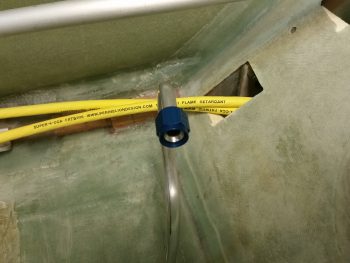
Here are both drain valves together. Take note were that green line is next to the left drain valve in the foreground.

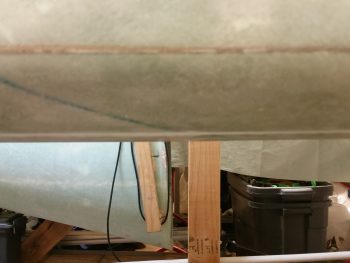
And here’s a pic showing a straight elevation shot from the left side of the fuselage looking right. And what can you see? If you look at that green line shown in the pic above, you can’t see the drain valves from the side. And again, these are very initial installs. Thus, I think the final installs will be exactly what I was looking for.
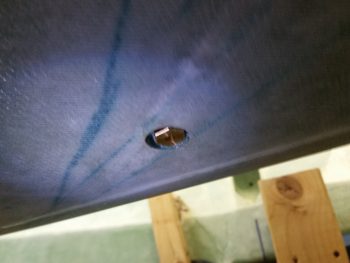
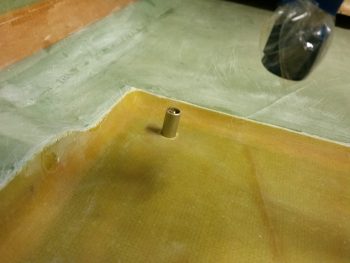
Here’s a shot of both drain valves protruding up through the fuel sump floor. I drilled these out now because when the sump walls get installed I figured it would be much more difficult to drill these out & clean them up.
Here’s the right sump fuel drain valve.

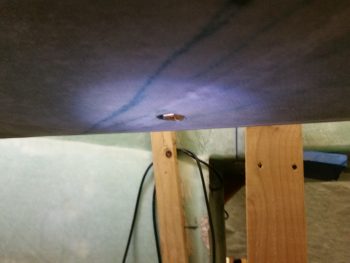
And the left sump fuel drain valve.
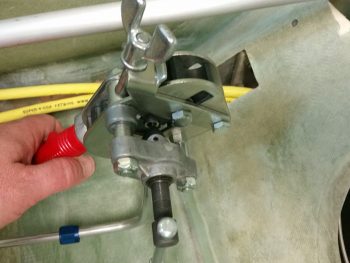
I spent a good half hour creating a wire template and then bending, shaping and cutting the fuel line that goes from the right sump tank up to the fuel selector valve. As I was finishing up flaring the front side tube for the AN-6 fitting, I though I should document my flaring the fuel tubing for a fitting, so here it is.
Below you can see the flaring tool ready to go on the aft fuselage floor. The tubing that I’m going to flare looks like a 3/8″ cobra ready to strike! In prep for flaring, I taped up the tubing on the front side in the pilot’s seat area to keep it upright.
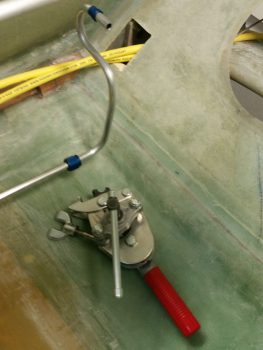
Here I’ve clamped the tubing into the flaring tool. For every flare I ensure the cutting edge on the flaring tool gets a small drop of oil.
And here’s after I screwed in the flaring cone into the end of the 3/8″ fuel line tubing. If you look closely you can see the flared end of the tubing.
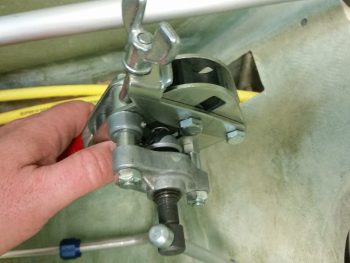
And here it is all nice & clean after I removed the flaring tool.
And with the sleeve up nice & snug with the flared tubing.
Finally, here’s the nut in place and the fuel line ready to be installed.
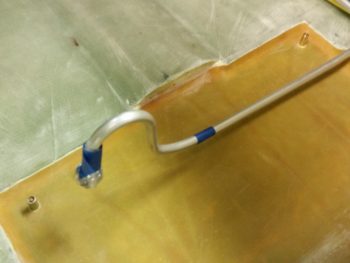
Again, I just flared the right fuel line tubing that connects the Holley Hydramat fuel feed to the right intake on the Andair fuel selector valve.
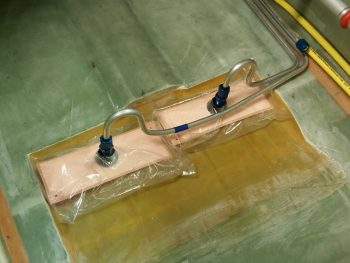
Here’s another shot of both left & right Holley Hydramats connected to their respective fuel lines.
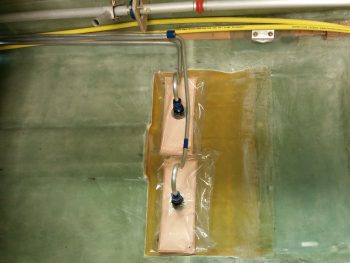
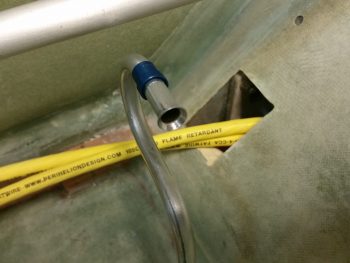
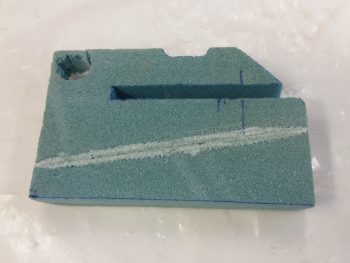
With all the fuel lines completed (as far I need them to be thus far) I could then configure the front right corner 1″ thick Divinycell foam piece that will make up the right front sump wall extension that actually connects the thigh support fuel sump to the right fuselage wall. I needed the fuel lines to be completed so I could know how to configure them in & through this block of foam. I also needed to account for the 2 big power cables that weave their way through the length of the fuselage from nose to engine compartment.
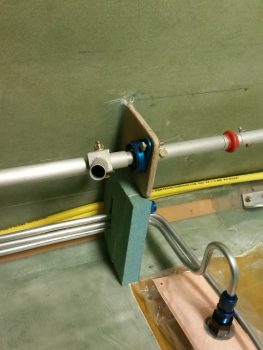
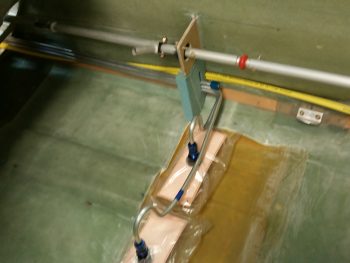
As you can see, I cut a groove for the 3 fuel lines and little notch that will allow me to thread the big power cables through this bulkhead later on. Again, the sump front wall piece that I just glassed will tie into this piece and make up the front sump wall & mini bulkhead across the fuselage at this point.
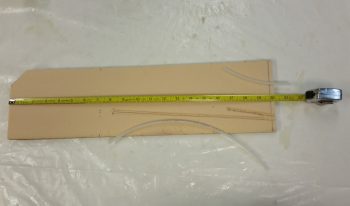
Moreover, once I configured the right front sump wall extension piece, I was then able to measure the exact length of the fuel sump front wall piece that I had just glassed yesterday, and trim it down a bit.
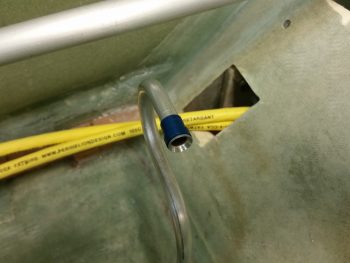
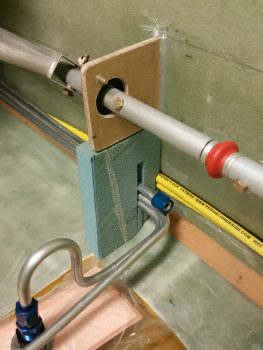
Also, as you can see in the pic below I made a couple of channels in the foam to run Nylaflow conduits for the sump low fuel alarm sensor wires for each side.
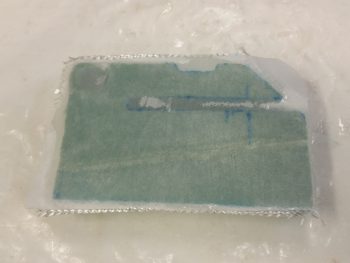
I added a hole in the upper right hand corner of my fuel sump right side wall extension piece for the routing of all the wires heading back to points aft that ARE NOT the 2 big power cables. I cleaned up the foam and prepped it for a 1-ply BID layup.
After micro’ing the foam surface, I then laid up 1 ply of BID on top and then peel plied it. Tomorrow I’ll do the other side.
In addition, tomorrow I’ll continue to work on the sump and all the prerequisite items that I need to complete to be able to finalize the sump build, and then subsequently the pilot seating area configuration. Of course this all leads to the final component install in the nose area, which in turn will allow me to finish closing up the top of the nose and get it glassed.