
Today I started out by trimming the right front corner piece of the fuel sump’s front wall extension. I had glassed the aft side last night, and now I trimmed it up in prep for glassing a ply of BID on the front side. I did leave the glass over the channel in the middle alone for now just to maintain a little bit more strength in the piece while handling it.
I then micro’d up the foam and laid up 1 ply of BID on the front side.
Something I didn’t mention from last night is that I took the small bit of left over epoxy that I had, whipped up some flox, quickly prepped 2 Clickbonds, and floxed them to the corner of the fuselage in a couple spots to secure the pair of big electrical cables going from nose to aft. I also embedded a RivNut (not shown) in the pilot seat bulkhead, for an additional Adel clamp for these big battery cables.
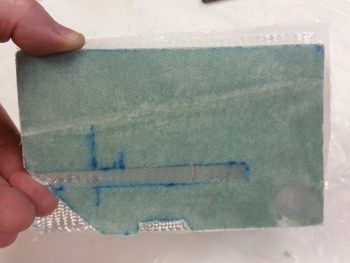
So, before I mixed up the epoxy to glass the 1 ply BID layup on the fuel sump right front wall extension piece above (today), I made up two small 2-ply BID pre-preg setups with ~2″ x 2″ plies to secure the Clickbond assemblies that I floxed in place last night using the leftover epoxy. I laid up a 2″x2″ 2-ply BID layup over the first Clickbond, which is located in the area below the pilot control stick.
Here’s a closer look.
The 2nd Clickbond lies halfway between the pilot seat bulkhead and CS118, aft control assembly mounting mini-bulkhead. It also got a couple plies of BID. As you can, I also peel plied both of these Clickbond BID layups.

Still using the same epoxy as the above layups, I whipped up some more flox to attach yet another Clickbond for the big battery cable pair, and also embedded another RivNut in the GIB seat bulkhead for the same purpose. I know that I’ll need one more Adel clamp in the Hellhole for the big battery cable pair, perhaps two, but that will be it for securing these mondo cables up to where they either attach (-) or pass thru (+) the firewall.
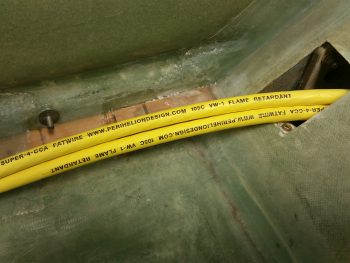
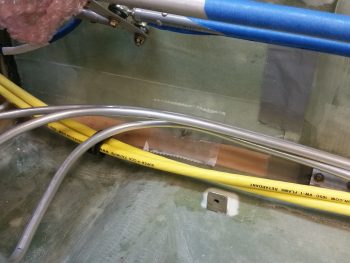
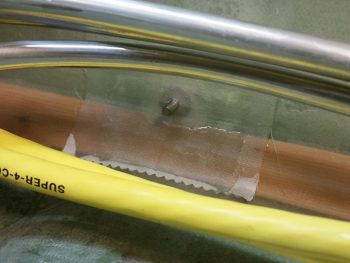
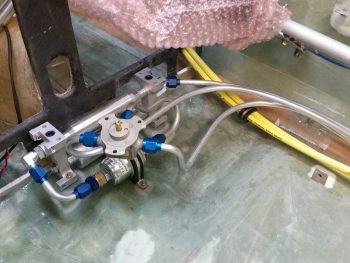
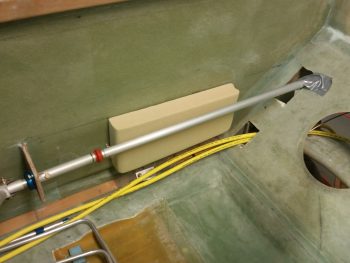
I realized that I was remiss in showing a pic of the fuel selector valve with all the fuel lines in place, so here’s a shot. Also, to the right you can see one of the new Clickbonds.
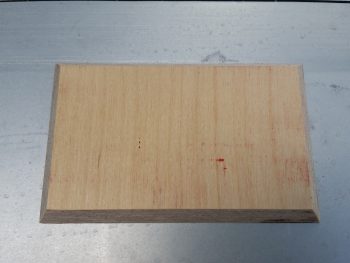
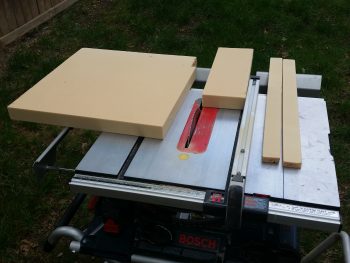
I then pulled my table saw out of the shed and cut a 1/4″ thick piece of Finnish Birch plywood for the oil heat pump mounting pad. I also beveled the edges in prep for it getting glassed into place.
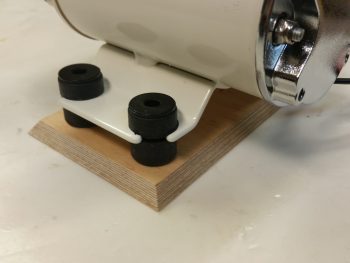
I then tried out the fit of the oil heat pump on its new mounting pad. The 4 each AN3 bolts will stick through the pad –with the heads embedded in the plywood on the back side– to secure the oil heat pump. In addition, before I glass all this I’ll sand the beveled edges of the pad to remove any sharp corners.
While I had my table saw out I took the opportunity to cut up some 2″ thick urethane foam for some plugs. The 2 longer strips on the right will be plugs for the heat & air ducts, while the block in the center is the GIB right armrest storage pocket plug. FYI – this storage pocket is somewhat like the “map” pocket in the front right pilot’s console, only much bigger.
I hate wasting dead space in this plane, especially since storage space is a premium in Long-EZs. Since I have just a hair wider back seat bulkhead (around 0.8″), combined with the Cozy Girrrl’s Cozy style control sticks [which straddle the control tube vs. attaching just on the inboard side], I needed to move my control tube assembling inboard about 3/4″ if I wanted the configuration to match that of the plans. All these minor mods served to create a significant gap between the aft control tube and the right fuselage sidewall. A gap that I of course exploited to use as storage.
I had jotted down some initial configurations last night, and further dialed those in today to come up with a storage pocket measuring 12.5″ long x 1.7″ wide x 6″ deep (tapering up to 5.2″ deep on the aft side).

This configuration not only provides a fair amount more storage, but it also allows all the engine fuel feed line, main tank sump feed line, big power cables and a smaller electrical bundle to all traverse around or under it.
Thus, with my design good, and wanting to dial in the engine fuel feed line, specifically, I decided to go ahead and glass this baby up.
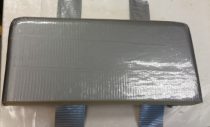
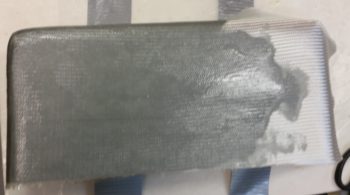
I started by taping up the urethane foam plug with silver duct tape. For a smoother interior pocket surface after it has cured, I then followed that up with a layer of clear packing tape.
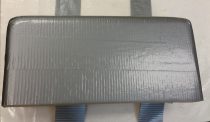

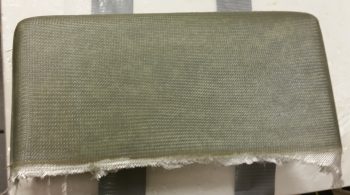
I used BID as the first ply down, followed up by 2 plies of UNI biased in opposite ~30° directions. To add a little bit more stiffness than my “map” pocket, I added 1 more ply of BID that covers the entire side and about half of the bottom and each end.
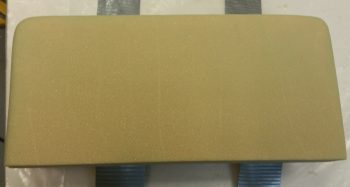
Here’s the glassed GIB right armrest storage pocket.
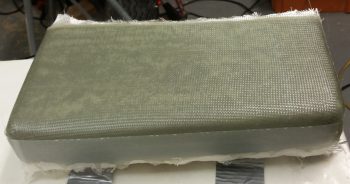
I then peel plied the bottom, front and back sides to allow for future glassing in place with BID tapes.
I then left it to cure as I went out for the evening.