
. . . is the bomb!
I seriously couldn’t have been nearly as effective in building this airplane if it hadn’t been for so many people, but two that I would like to point out to thank specifically are Marco & Dave. They’ve been the source of so many great ideas and wonderful sounding boards for what I’m trying to accomplish here. Thanks guys!
Now for the post. First, off I’d like to apologize for the pics. I’m not really sure what is going on other than my phone camera is struggling, and that’s all I have at my disposal right now. It either seems in focus at the time, then looks a bit fuzzy later. Or really just wants to be difficult when it comes to focusing. I’ll see what I can do, but please bear with these at least passible pics.
Today fairly early on I got my 2 Holley Hydramats delivered. Again, each of these will go into the sumps that I will glass under the GIB thigh support.
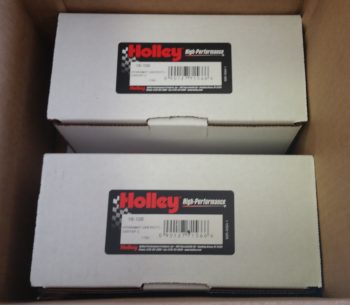
Here’s a shot of them out of the box. I bought the 3″ x 8″ version.

Here’s yet another device that Dave B. brought to my attention. These very lightweight Optic-Electrical sensors warn of low fuel levels in the sumps and send that info to my EFIS.

Before heading out of for the afternoon & evening, I cut some scrap wood and mocked up my GIB thigh support sump setup. I used two ribs only because I was merely trying out the feel of the thigh support.
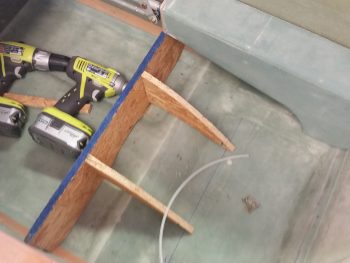
As I was cutting out the pieces for the thigh support, I wondered to myself what I was going to use as the top of the thigh support, which makes up the seat. With some scrap wood pieces lying on the ground I realized that I could simply use strips of wood Adirondack chair style and screw them in place.
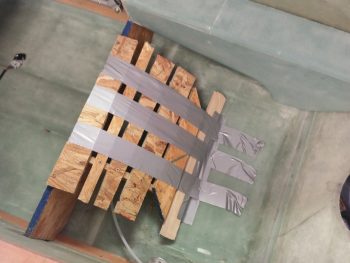
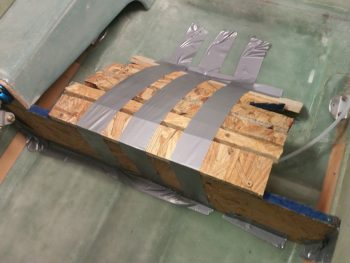
Here’s another shot of the thigh support sump from the front looking aft. I have to say this is amazingly more comfortable than the original plans seat. I did note a couple of minor dimensional tweaks that I’m going to make, but I think my design is good.
After returning home from my social outing, I decided to knock out a fairly quick layup. I want a thin map-style pocket on the side of both armrests right against the sidewall to hold checklists, documents, and yes, even maps, if need be. To verify what kind of documents would fit in this area of the side wall, I pulled out an 8-1/2″ x 11″ piece of standard paper, a small binder, maps, a checklist, etc. I then checked each one to see what would feasibly fit in this area. After some messing about and pondering each one, I kept coming back to the map size, which of course would easily hold a standard sheet of paper folded in half. Or a checklist for that matter.
I didn’t want the pocket to be too thick, and was shooting for around 0.370″ deep from side wall out. I took 3 maps and pressed them together: too thin. I added a 4th map and it was too thick. So, I took one of my old maps and cut it in half and that made the pile very close to 0.370″ thick. To ensure the maps didn’t get messed up, I wrapped them in shipping style plastic wrap, then taped them with clear packing tape.
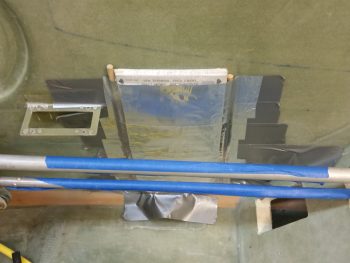
I was about ready to lay this up on a work board when I realized that the work board is totally flat, but most likely my fuselage sidewall is not. So, I checked the sidewall and sure enough, it wasn’t totally flat & straight. Thus, I decided to simply slap this map-packet up on the wall and glass it there. At first I had some issues with the vertical edges after I duct taped it up on the sidewall. I added the 1/4″ round dowels to help formulate the edge shapes better. I then covered the hole thing with aluminum foil tape, which helped smooth out a lot of the issues I was having with my duct tape base tape. I then quickly applied 1 coat of wax to the aluminum foil tape before starting in on cutting out the glass for the layup.
Since I have a ton of spare UNI laying around, I decided to put some of it to good use. I determined that I needed plies 8.5″ wide x 9.5″ high to cover all the areas with a little extra overhang. When done, the overhang will get trimmed down, but will provide a mounting edge that will allow me to mount this using RTV (or flox if desired).
The resulting layup schedule I decided on was 2 plies of UNI, biased in opposite 30° directions, and 1 ply of BID. Now, since the more robust glass should be where the docs are in contact, I put the BID on the interior side, with the 2 plies of UNI on the exterior side. I then prepregged (big surprise) the whole thing, added a strip of 2″ peel ply along each vertical edge of BID, and then laid this sucker up.
To be clear, with the tape already acting as a barrier, obviously I’m just looking for a good general shape here before I pulled the cured glass of the wall/tape, trim it to good dimensions, then slap it back up using either RTV or flox.

Tomorrow I plan on really focusing on the GIB thigh support sump tank build.