
I started off today by popping off the 1.5″ taped board that I was using as an overhanging mold for the 1″ top lip for mounting the top of the fuel sump.
I then trimmed the overhanging top lip at 1″ wide using my new “Fein” saw.
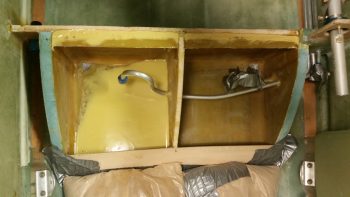
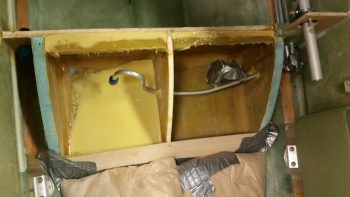
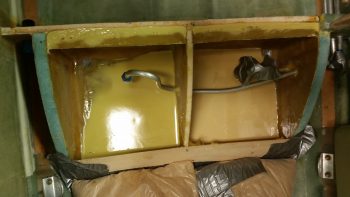
I micro’d up the aft floor to dam intersection on the right sump tank and then laid up 1 ply of BID into the intersection, overlapping onto the side walls. The pic for the layup turned out terrible so I didn’t include it here. Of course I used E-Z Poxy.
About 4 hours later, with the glass still tacky and only about halfway cured, I jacked up the right side of the plane and the nose wheel and then poured micro into the right sump tank to create a slanted floor up to the right drain valve for water collection. I think I used slightly less micro and didn’t post cure it quite as long as the left side, thus the striking color difference between the 2 sump tank floors.
Tomorrow I’ll press on with the thigh support sump tank build, and will most likely start working on both the top cover, the access hatches (for annuals & to swap out the Hydrants every 5-10 years). In addition, I’ll also be working the fuel feed lines from the main tanks.