
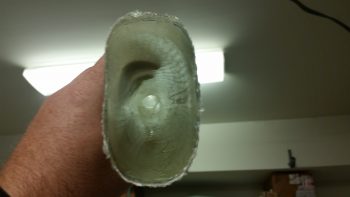
I actually took these pics yesterday, but I’m merely rolling them into today’s post. Here is the ram air inlet & expansion chamber after the glass cured and I ripped the internal urethane foam plug to shreds to get it out.
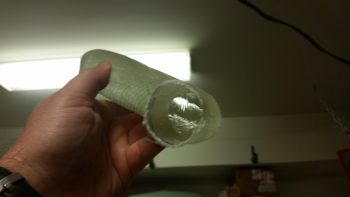
Here’s the other side, although the angle makes the 1″ diameter opening look much wider than it is in comparison to the rest of the air inlet.
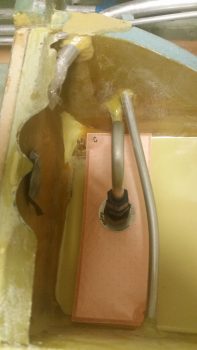
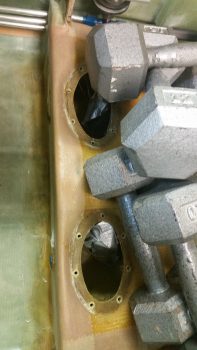
 Today I cleaned up the layups of the 2 Holley Hydramat screw posts that I floxed and glassed into the right front corner of each sump tank. Below is the right sump screw post and fuel drain valve shown in place with the Holley Hydramat installed.
I then sanded virtually every surface on the sump, shop vacuumed it all and cleaned it up. I then prepped for the final mounting of the sump top by taping all the openings that I didn’t want any errant flox or epoxy getting into.
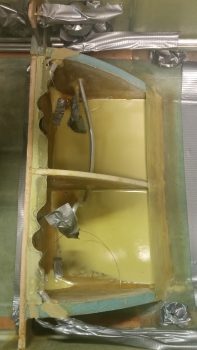
I then removed the access cover tops and sanded both sides of the sump top, in whatever surfaces were subject to getting glassed to the lower sump base. I did have to Dremel around the forward floxed edge of each access hole nutplate ring to ensure that it was smooth, yet a bit textured for yet another round of flox.
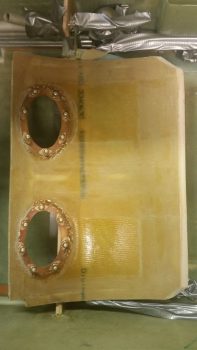
I then spent 6+ hours total floxing and glassing the sump top to the sump base. Why did it take so long? Well, one reason was I underestimated –a couple of times– just how much flox was required on all the parts of the base to get this sucker glassed in place!
After I finished cleaning up at the end of this unannounced monster layup, I took a shower and went out to grab a celebratory beer & burger. When I returned an hour or so later, while checking the layup, I went ahead and removed all the tape that was around each hole protecting the nutplates from errant epoxy, flox, etc. I also trimmed back the BID and peel ply about 1/8″ further towards the front sump wall away from the front edge of each hole to provide a nice ridge-free setting for each access hole cover plate and gasket.
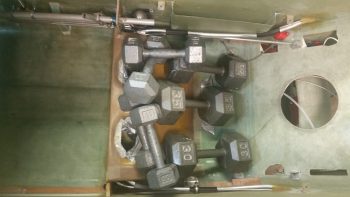
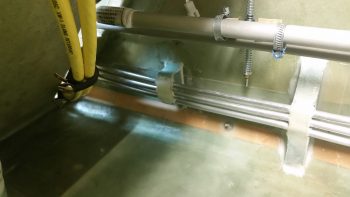
I also cleaned up something I forgot to mention earlier, and that was the mounting of the second foam fuel line mounting bracket. I had mounted this earlier, then floxed up the fuel lines and threw on a quick piece of 1″ wide BID from about an inch above the bracket, all around the front over the fuel lines, to about an inch below the bracket. I used MGS with fast hardener so after about 8 hours it was definitely ready to be trimmed and cleaned up.
It won’t win any beauty queen awards, but it looks and feels nice and sturdy. Besides, all the fuel lines, foam brackets, big yellow power cables, etc. will be stuffed away behind an upcoming 1/16″ Balsa wood and BID kick plate that will sit just in front of the fuel lines [in line with the outboard side of the flight control tubes… the kick plate cover will not be an extension of the GIB armrests].
Tomorrow I’ll take some steps to finalize the install of the sump top to the sump base.