
It’s both… it’s the marvel of modern technology!
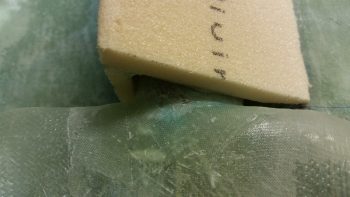
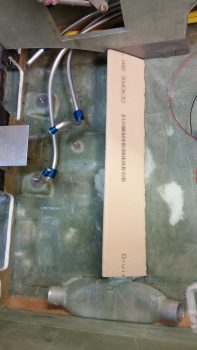
Today I started out by removing the air duct plenum from the fuselage where it’s new side appendage had been shaped by the thigh support wedge duct. I pulled the peel ply, trimmed the triangle duct and cleaned up the plenum.
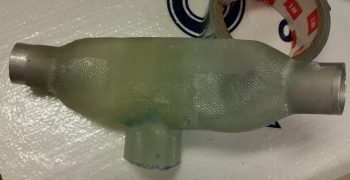
I had to trim down some glass edges inside the triangular duct, but after 15 min worth of work it was looking good.
I then set it back in its place inside the fuselage. For reference the left sidewall is at the top of the pic.
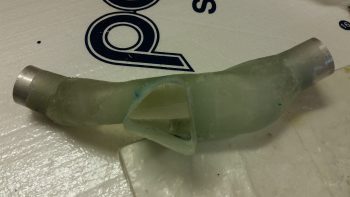
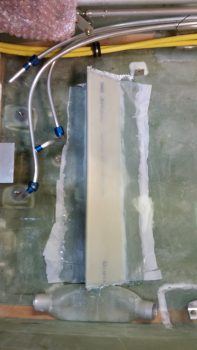
I then mocked up the thigh support wedge duct over top of the duct plenum to see how it fit.
As you can see, the new air feed into the thigh support wedge duct fits nicely. My next task was to install these 2 components into the cockpit permanently, but first . . .
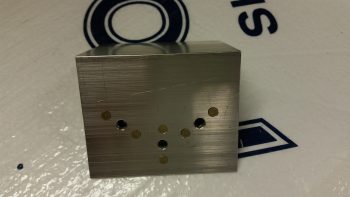
I wanted to finish riveting the K1000-3 nutplates to the fuel selector valve bracket. Below is technically the aft side of the bracket.

While this is the front side.
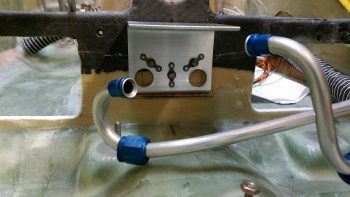
I drilled the first 2 of a number of lightening holes on the fuel selector valve bracket, and then mounted it in place just to check that all is good. And it is so far!
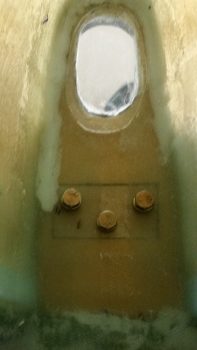
Here are the 3 fuel selector valve bracket bolts from the inside of the nose wheel well.
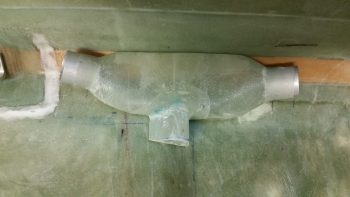
With the fuel selector valve bracket mounting bolts all taken care of, it was time to permanently mount the thigh support wedge duct and the duct plenum into the cockpit.
I whipped up some micro using fast hardener as usual, then micro’d/flocro’d these two pieces in place.
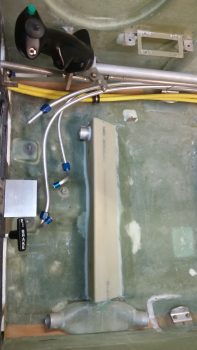
This pic may simply look like it did before, but this time they’re permanently mounted.
I then took about 20 minutes to sand the aft edge of the thigh support wedge duct to fair in into the existing seat pan. Once I finished sanding and vacuumed up all the mess, I glassed the thigh support wedge duct in place with 2 plies of BID, overlapping onto the cockpit floor both front & back. I then peel plied the layup.
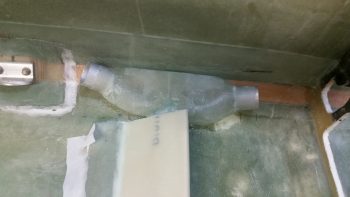
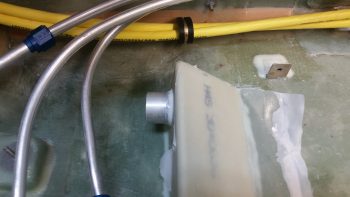
A couple hours later I razor trimmed the layup and snapped this shot of the duct plenum, mounted in place permanently.
I then cut the glass out of the 1-1/4″ diameter hole for the aluminum duct vent tube, which will be used to connect SCAT tubing to the thigh support wedge duct. I then pulled the front peel ply strip and the peel ply immediately around the duct vent tube hole. I then micro’d the 1-1/4″ OD aluminum duct vent tube into place.
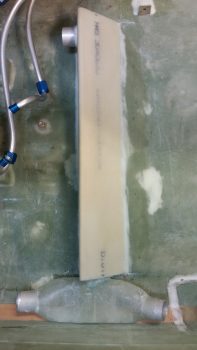
I then removed the peel ply from the rest of the pilot seat thigh support wedge duct. The pics below are simply a wider angle and closer up view of it.
Again, tomorrow I will continue to press forward with internal cockpit stuff for at least another few days until l get the GIB & PIC area heating & air ducts in place. In addition, by next weekend I plan on having the pilot seat area thigh support, fuel valve structure and left arm rest installed (including throttle quadrant). Then I can sit in the airplane and finally determine exactly where my nose components need to be located. Finally, I’ll continue to work GIB area component installs as well prior to the strakes being installed.