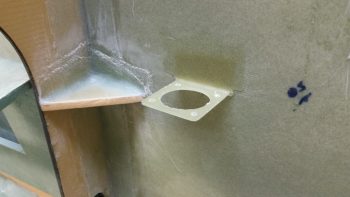
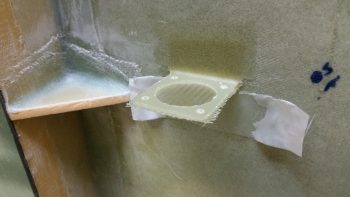
I started off today by razor trimming the bracket for the Throttle handle electrical cable P4 AMP CPC connector.
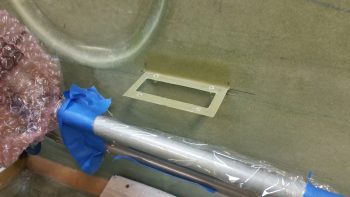
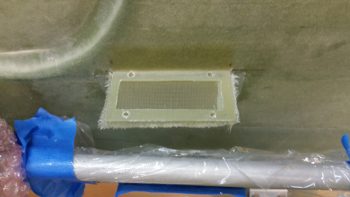
I did the same thing for the right armrest-mounted Dynon intercom bracket that I just glassed in using 2 plies of BID. On both of these brackets I was able to knife trim them right at their curing sweet spot, so the glass was definitely more on the cured side, but still just a tad pliable . . . so it cut well.
I then laid up 2 plies of BID on the bottom side of the Throttle handle electrical cable connector bracket. I used a small flox fillet in the corner and peel plied the glass junction with the sidewall.
I did pretty much exactly the same thing on the Dynon intercom bracket only for a bit more strength I used 3 plies of glass on the bottom side.
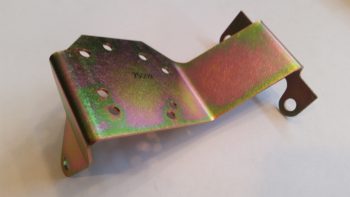
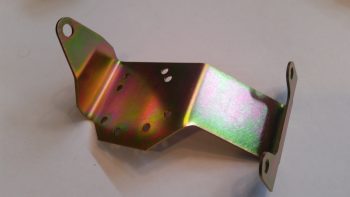
Speaking of brackets, I just received this today so I thought I’d throw it on the blog. This is the fuel injection spider mounting tab that goes on the top centerline of the engine. Yet just another item that will go on the shelf for the time being.
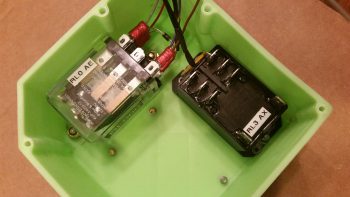
With my bracket glass curing, I started in on mounting the 4 beefy relays into the gear Relay Control Unit (RCU) box . . . fitting name, eh?! The first relay to go in was the clear cased 3 pole Auto Extension (AE) relay, RL000. It handles the actual engagement of the gear Auto Extension feature and also is a pass-thru for all the major electrons running the gear up or down.
I ordered this relay specifically with bottom mounting tabs, with the corner of the left tab needed trimmed diagonally just a hair for it to fit properly. It mounts with a 4-40 screw on each side, each coming in externally from the back. All the mounting screws coming in from the back side are countersunk to allow the back surface of the box to remain flat, which facilitates ease of mounting the box to the aft side of the Napster bulkhead.
Next relay up to get mounted inside the box was RL003, or the AX relay. This relay is the one I added back into the mix that charges the small 1.2A backup battery that was provided in Jack Wilhelmson’s original design. Relay #3 takes control of the system in case of a power emergency to drop the gear down using the 1.2A backup battery for power. In Marc Zeitlin’s new gear wiring design he doesn’t use this relay since his system incorporates a manual (ratchet) drive for emergency gear extension.
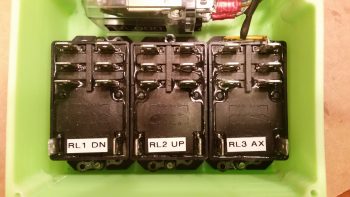
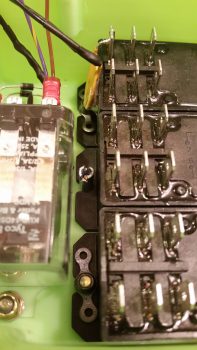
Finally, as for relay #3, I mounted this guy first since it has a unique feature that needed to be dealt with that the other two black relays don’t: down along the top side of the relay is the RXEF-250 wafer style fuse soldered into place that’s used during backup battery charging. Getting under this fuse to install the K1000-6 nutplate would have been a lot more difficult if I couldn’t get in from the side (where the other two relays sit) to mount the nutplate. After I mounted this relay, I put some double sided foam sticky tape underneath the wafer style fuse to keep it mounted to the front of the relay for anti-vibration. I also tipped the box right side up and glopped some E6000 adhesive (yep, the stinky stuff) onto each edge of the fuse to keep it secure to the relay, banned the box outside on the deck for a few hours while it cured and I took off to run some errands.
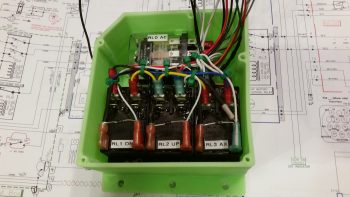
Upon returning from my errands (which included buying parts for the flexible sander Nick Ugolini describes how to build on his blog) I installed the last two relays: RL001 & RL002 [Note: Simply for space I truncated the relay IDs and labeled them on the actual relays with RL0, RL1 … etc.). As you can see, these two relays simply control gear up and gear down, respectively. All went well except for the life of me I couldn’t find a 6th K1000-6 nutplate to use on the top side flange of RL002. After searching for a good while, and simply not finding the pack of 23 I show having on hand (simply maddening!), in order to get this thing wired up tonight I improvised, adapted and overcame by using an aluminum binder stud, cutting off the top and then quickly Dremeling a not-so-pretty slot for a bladed screwdriver. I doused it with a good measure of blue Loctite and in it went… Voila!
Here’s another shot of my mounting improvisation . . .
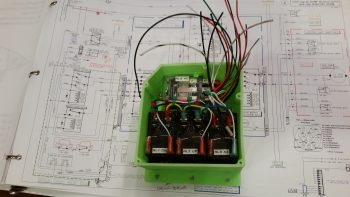
Over the next couple of hours I confirmed & verified the wiring in this box matched exactly what was on the diagram. Having had to pull all the terminals off their posts, I used a pair of channel lock pliers to compress the terminals just a bit to ensure their clamping pressure was nice and tight. I then slowly replaced all the terminated wiring back onto the relay posts, performing a continuity check as each set of wires went back in. After all the wires were back in place, I zip-tied them into place to ensure no wires would be vibrating and wreaking some future electrical havoc by gnawing through a neighboring wire, etc.
Here’s just a closer shot of the internal RCU box wiring . . .
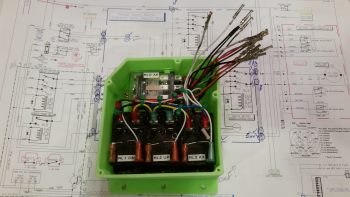
I then cut & terminated all the wires with AMP CPC sockets. Again, as I finished each wire I performed a continuity check to ensure all was electrical good on that wire circuit from source to connector.
With all the RCU box wiring set to be terminated into the AMP CPC connector, I called it a night. I may have actually done a bit more but it was quite late and I was collaborating online with Marco (who was in Hawaii for work!) on the specs for the AEM box.

