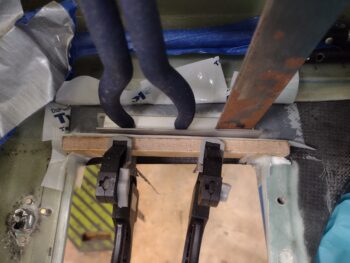
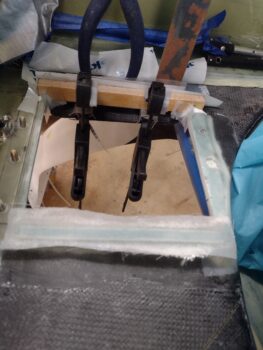
Yes, a myriad more small layups in the construction of the bottom cowl oil cooler mounting/sealing frame. The end of the layups for the oil cooler mounting is on the horizon, and then I’ll move into the actual hardware install to get this oil cooler mounted (let’s not forget the oil lines either!). Who knew so much went into just getting an oil cooler mounted into this bird… do the RV guys go through all this?!
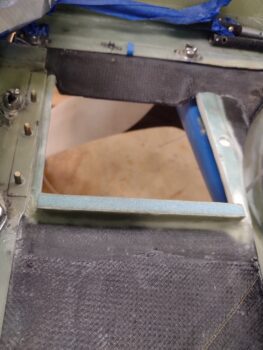
I started off this morning by pulling the peel ply, razor trimming and sanding the respective left and right inside channel layups. The layups came out well, and no complaints.
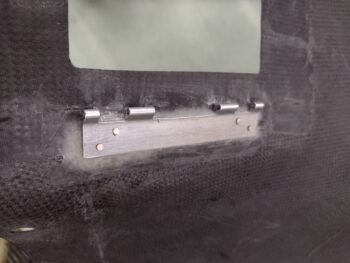
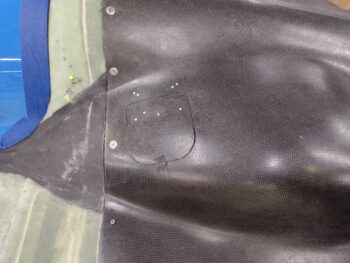
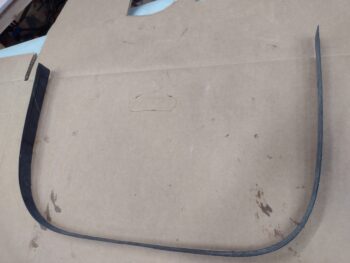
I then pulled the peel ply from around the edges and cleaned up the install of the oil check door top cowl-side hinge. Again, no complaints on how this guy turned out either.
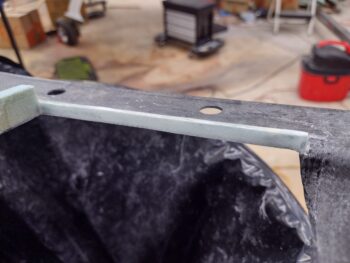
It took some Fein saw trimming and a few rounds of aggressive sanding with the sanding board to get the outboard oil cooler channel wall/seal to fit and play nicely with the left wing extended oil cooler mounting flange. I had to trim/sand about 0.05″ off the extended wing flange and aggressively sand the outboard side of the bottom cowl outboard oil cooler channel wall/seal to allow EZ, interference-free install of the bottom cowling.
I then set the oil cooler in place. As I expected, the aft wall was just a tad high and needed to be trimmed. I measured the left and right bottom mounting tabs of the oil cooler to check how high it was sitting off the side walls… grant it, I know there’s also a bit of extra gap I have to fill on the aft side of the right sidewall.
I marked the aft wall to trim off about 0.1″ inch, and started by using the Fein saw. I then finished up with a couple sanding blocks.
I did a few rounds of putting the oil cooler back in, checking height, pulling the oil cooler with a bit more trimming and sanding before I got it to an acceptable point. I will be adding a couple of plies of BID to close off the top, and also plan to have a thin rubber seal all the way around the oil cooler support base.
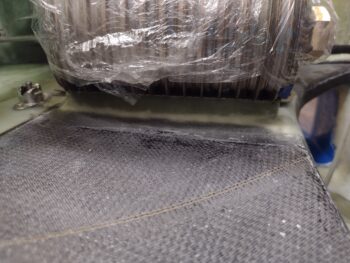
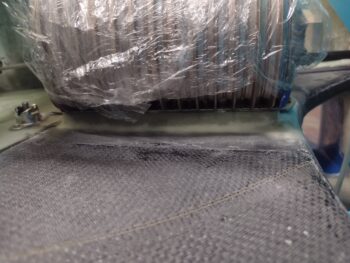
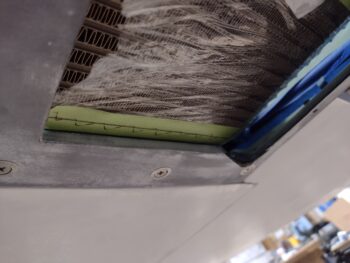
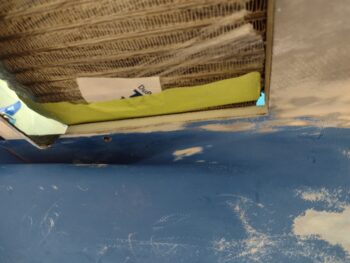
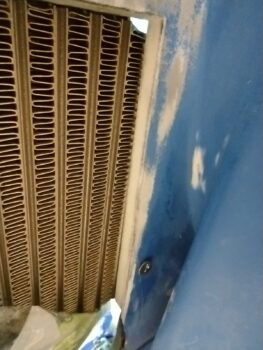
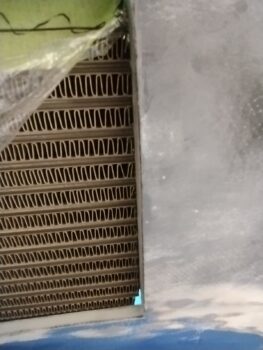
Although I have the tape holding on the protective plastic on the oil cooler in these shots, here’s the fit of the oil cooler with the channel side walls, outboard/left and inboard/right.
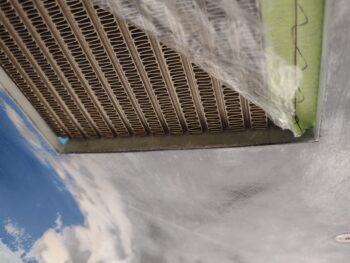
I peeled back the plastic to get a better shot of the first cooling row in relation to the inboard sidewall. Not an exact perfectly aligned line, but definitely 99.9% operational. Note that I also have the forward screw in place. Aft screw coming soon.
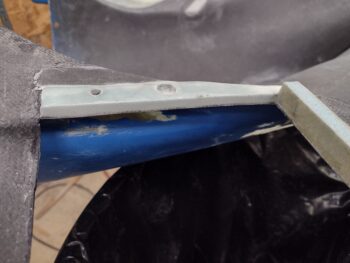
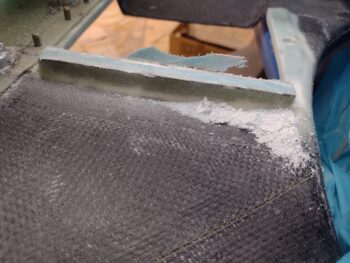
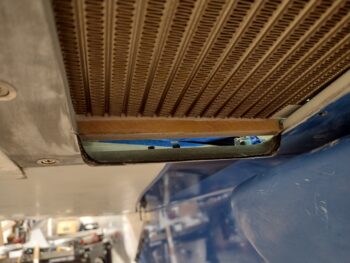
Pic #2 shows the aft inboard corner —which will get a small corner plug— and the aft wall of the oil cooler channel.
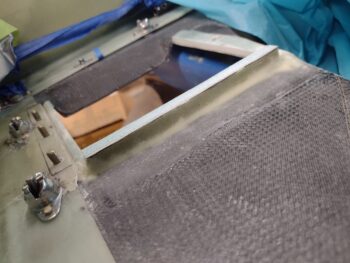
A more direct shot of the aft wall of the oil cooler channel on the bottom cowling. Overall I’m very happy with the fit and sealing of the oil cooler on its bottom cowl mounting base so far.
Now it was time to create the front wall/seal for the oil cooler. To allow for the length of foam with a ply of BID on each side, I had to turn to one of the leftover scrap pieces from the original fuel tank baffle stock that came with the Feather Light Strake Leading Edge kit.
I marked up my dimensions on my scrap piece and took it outside with my Fein saw.
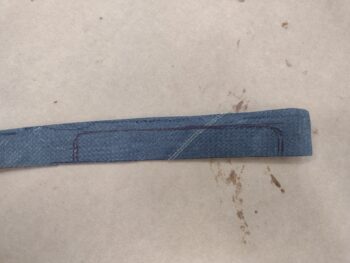
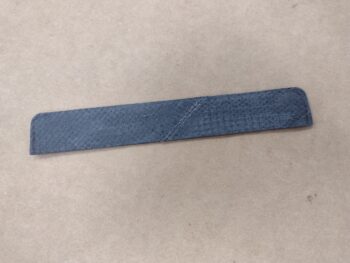
Here’s the foam/glass bridge piece micro’d in place to the inside surface of the bottom cowling with a little dollop of micro on each end. To get the interface just right, I taped up the bottom leading edge of the oil cooler and used it to weigh down the foam/glass bridge while it cured.
I actually misjudged (go figure!) the placement of the front wall bridge, so there is a gap between it and the sidewall on each side of about 0.1″… sounds like an opportunity to allow some micro to shine in its performance! (…sigh)
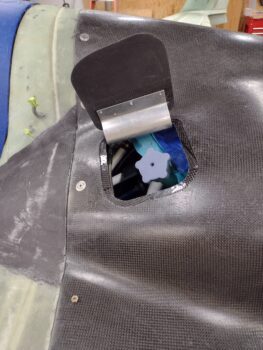
While the micro’d-in-place oil cooler channel front support bridge cured, I then mounted the actual oil check door to the other half of the hinge. I then assembled the hinge halves together and mounted the door in the best spot on the flange and taped the crap out of it to set it in place while it cured.
A few hours later I pulled all the tape off (I used fast hardener). And yes, just like the other hinge half I have BID plies, a small amount of flox, and rivets holding the hinge to the oil check door. To be clear, the BID and flox is primarily for spacing and gap control, while of course it does work quite well in its secondary role of securing the door to the hinge.
Also, while the small bit of flox may add a skooch of weight, I want this door affixed on here SECURELY!
And Voila! We have an operational oil check door!
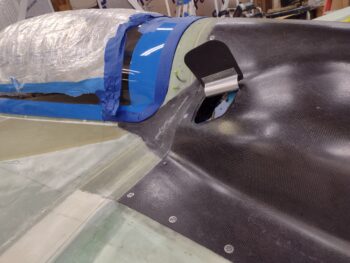
To get the door sitting as flat as possible on the top cowl flange, the resulting position had the front edge of the door just grabbing the top cowl edge at the flange. I had to sand about 0.04″ off the front edge and front top corner of the door to get rid of the interference.
Another wider angle shot of the operational oil check door.
Since my planned Hartwell latch simply will not fit on the lower compound curve of this oil check door configuration, I’m going to send it out to replace the heavier Hartwell latch on the right strake storage hatch. I’m simply not going to use a CAMLOC on this door, and have been designing a simple internal wire pull mechanism (ala Bill James) to open/secure the door. This will make it a very clean install in the end since no hinges or latches will be visible on the oil check door.
At this point my oil cooler forward foam/glass bridge was securely micro’d in place. I clearly needed a way to fill in or cover the exposed forward portion of the bottom cowl oil cooler air scoop. I considered using pour foam and simply filling in the scoop entirely, but I didn’t want to deal with the sanding mess nor do I like the look of a filled in scoop (maybe I’m too ‘ol skool?).
I’ll remind everyone that this oil cooler air scoop is baked into the design and mold of this Mike Melvill cowling. Further, I’ll remind ya’ll that Mike had his 17-row oil cooler nested into the forward part of the scoop. My 13-row oil cooler is positioned just even with the aft edge of the scoop.
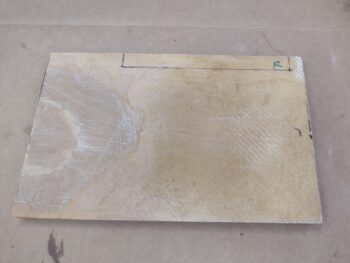
I decided to use a scrap piece of the original cowling CF and simply make a plate to cover up the forward scoop opening. I looked at all my CF scrap pieces, and the most viable candidate for the job ironically came from the original trimmed front edge of the lower cowling itself. I then marked up my scoop cover dimensions on the scrap CF.
And cut ‘er out. Here’s my CF cover… after I aggressively sanded both sides.
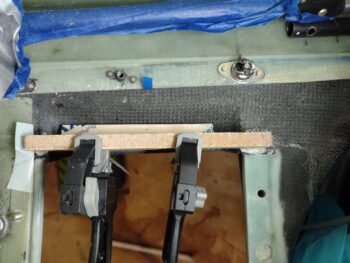
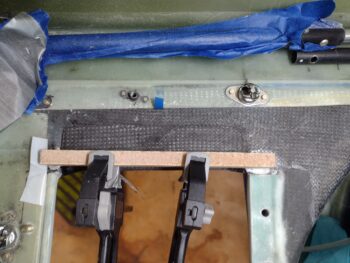
I prepped the scoop area by taking a taped popsicle stir stick and clamping it to the bottom edge of the bridge. This would make the bottom of the CF scoop cover even with the bottom of the bridge, at which point later I will simply slap a ply of BID across the two for support and to even up the scoop innards for a pleasing shape… uh, view.
Here’s the front scoop opening CF cover in place.
I then ran protective tape across the strake and wing side flanges to protect them during the layup.
I was more focused on the scoop cover so I only laid up a single ply of BID to cover it up. I know that a single ply of BID on each side of 3/8″ PVC is pretty darn strong, but I’ll probable add one more ply mainly on the front face of the bridge just overlapping onto the cover plate and sides to beef it up just a hair…. don’t want any issues supporting this hefty oil cooler during high speed turns <grin>.
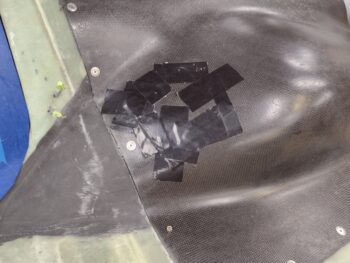
Finally, the CF cover was just barely curved and the cowling actually slopes very slightly down going inboard… so to keep all the edges pressed tightly together I added a bit of weight to the scoop CF cover plate while it cured.
I also made some small “flox” corner channels on the top of the aft wall and laid up a couple plies of BID on that… the second ply not so much for strength, but for padding and to also allow me to sand the surface very straight and smooth without breaking through the glass if just a single ply was on there.
It may not be overly visible, but I added a small piece of foam in the right aft corner to seal that corner gap visible in the pics above.
Finally, with plenty of leftover epoxy (never fails) I whipped up some more micro and slathered it into those 0.1″ forward gaps and sealed the corners with a single ply of BID, peel plied of course.
And with all these oil check door and especially oil cooler mounting base layup shenanigans in the bag, I called it a night!

